Fixing Up An Old Rangefinder Camera and First Film Roll - Canonet QL-19
I think like many of us with lots of time inside, we are trying to find things to take our mind off the huge change we have swirling around us. This post is about my latest little project.
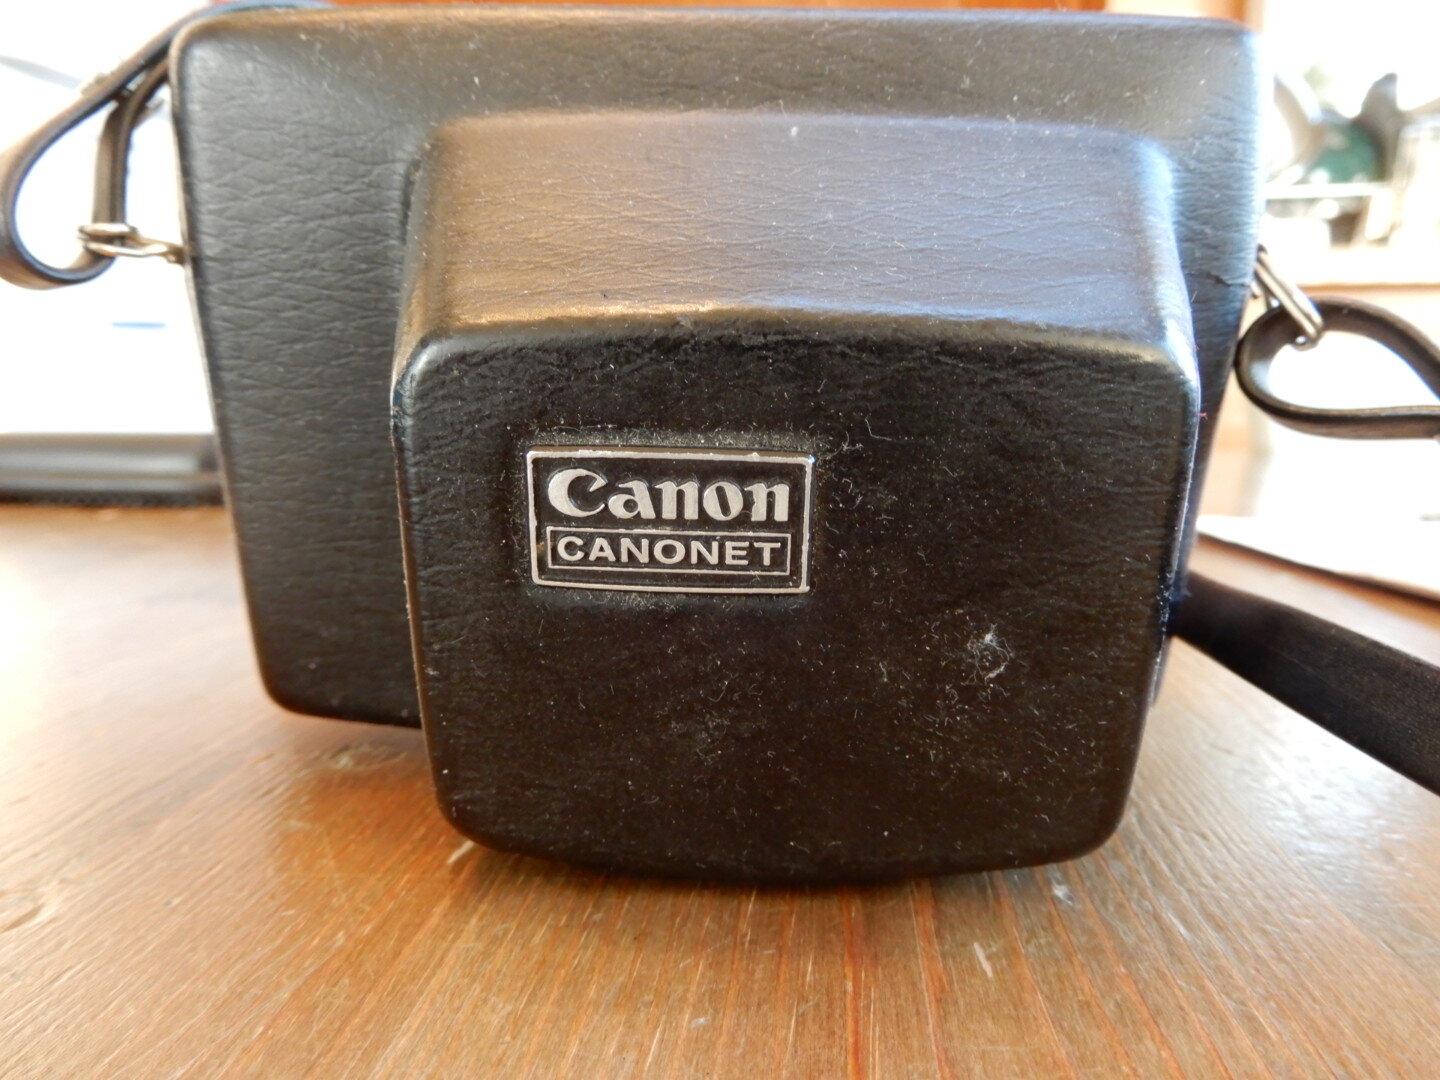
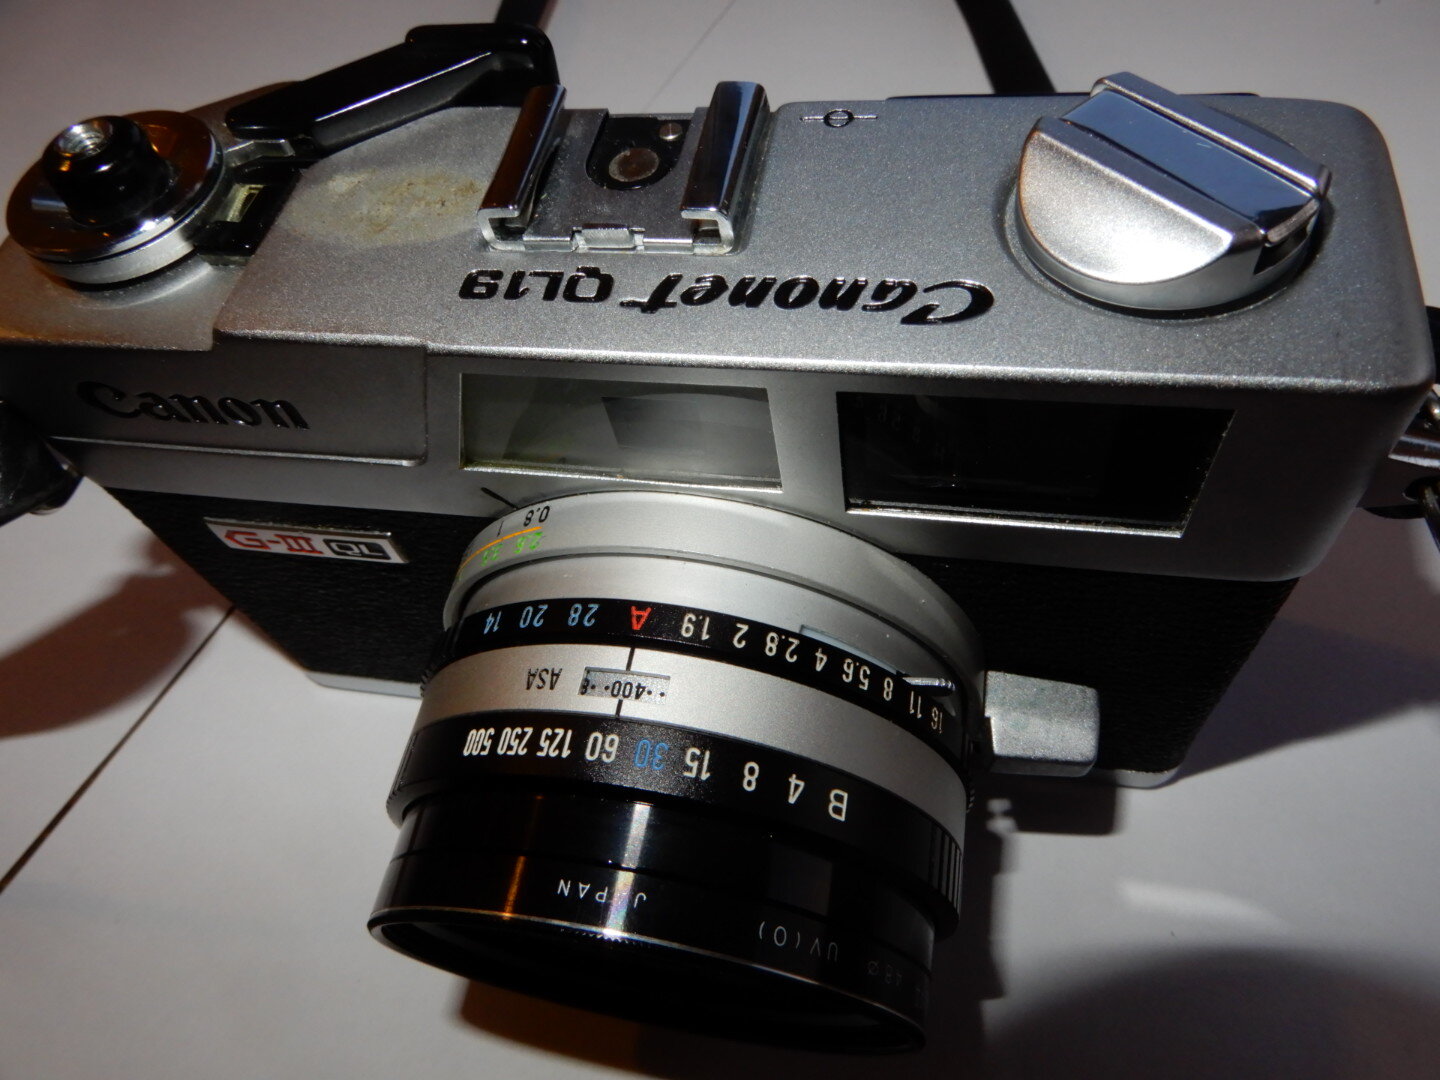
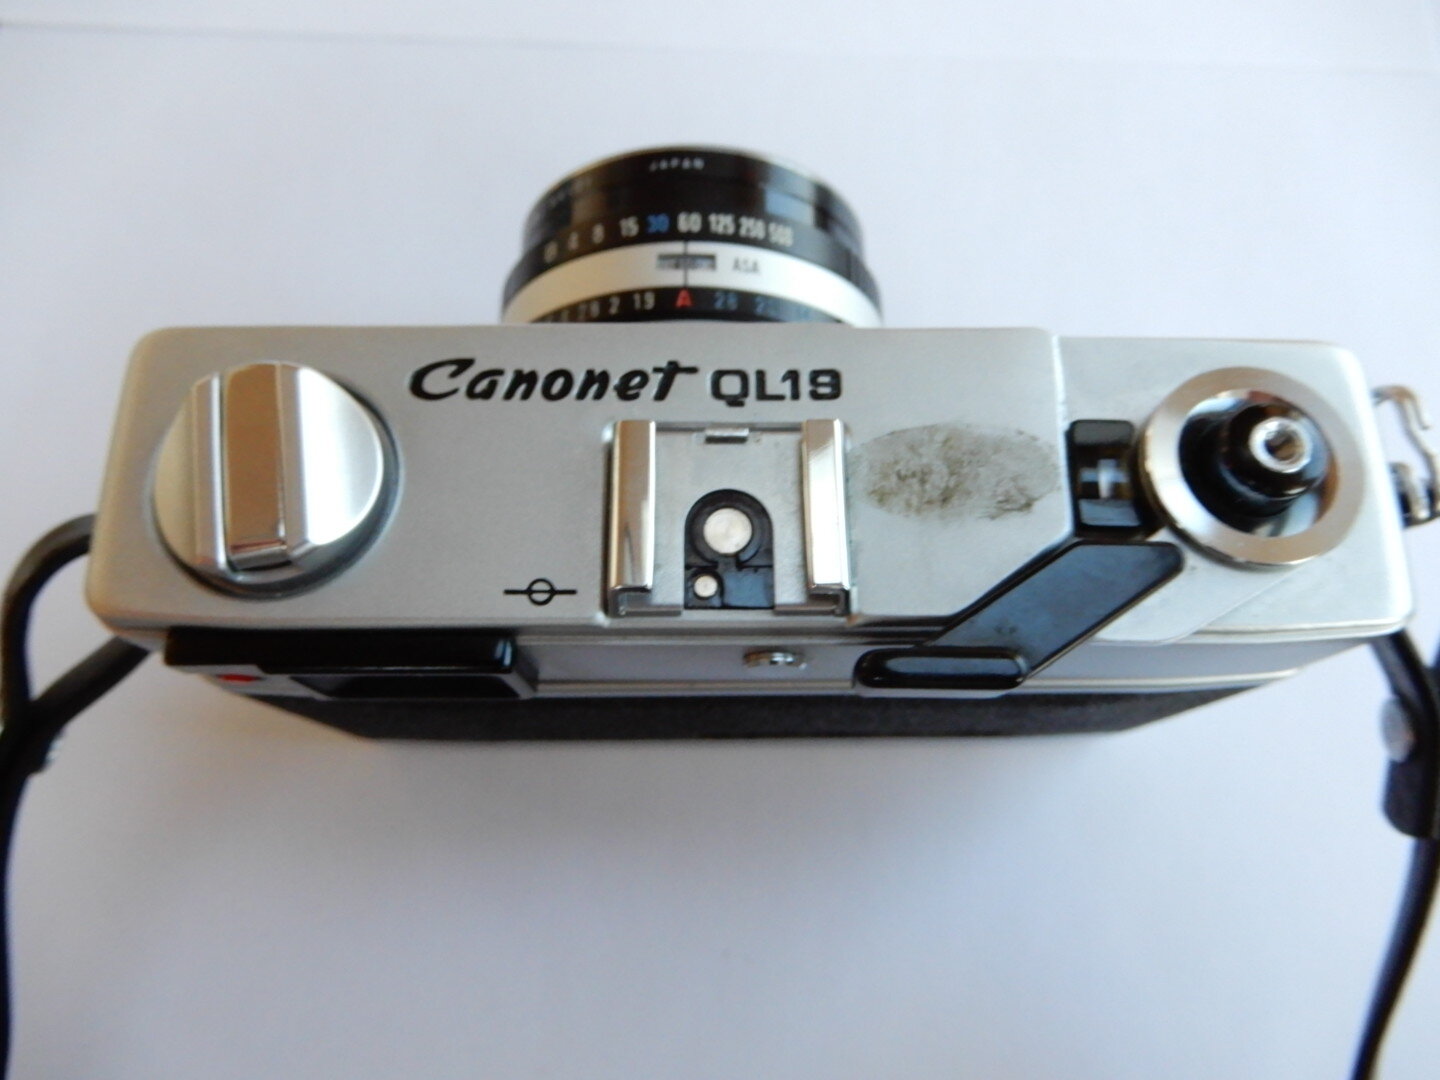
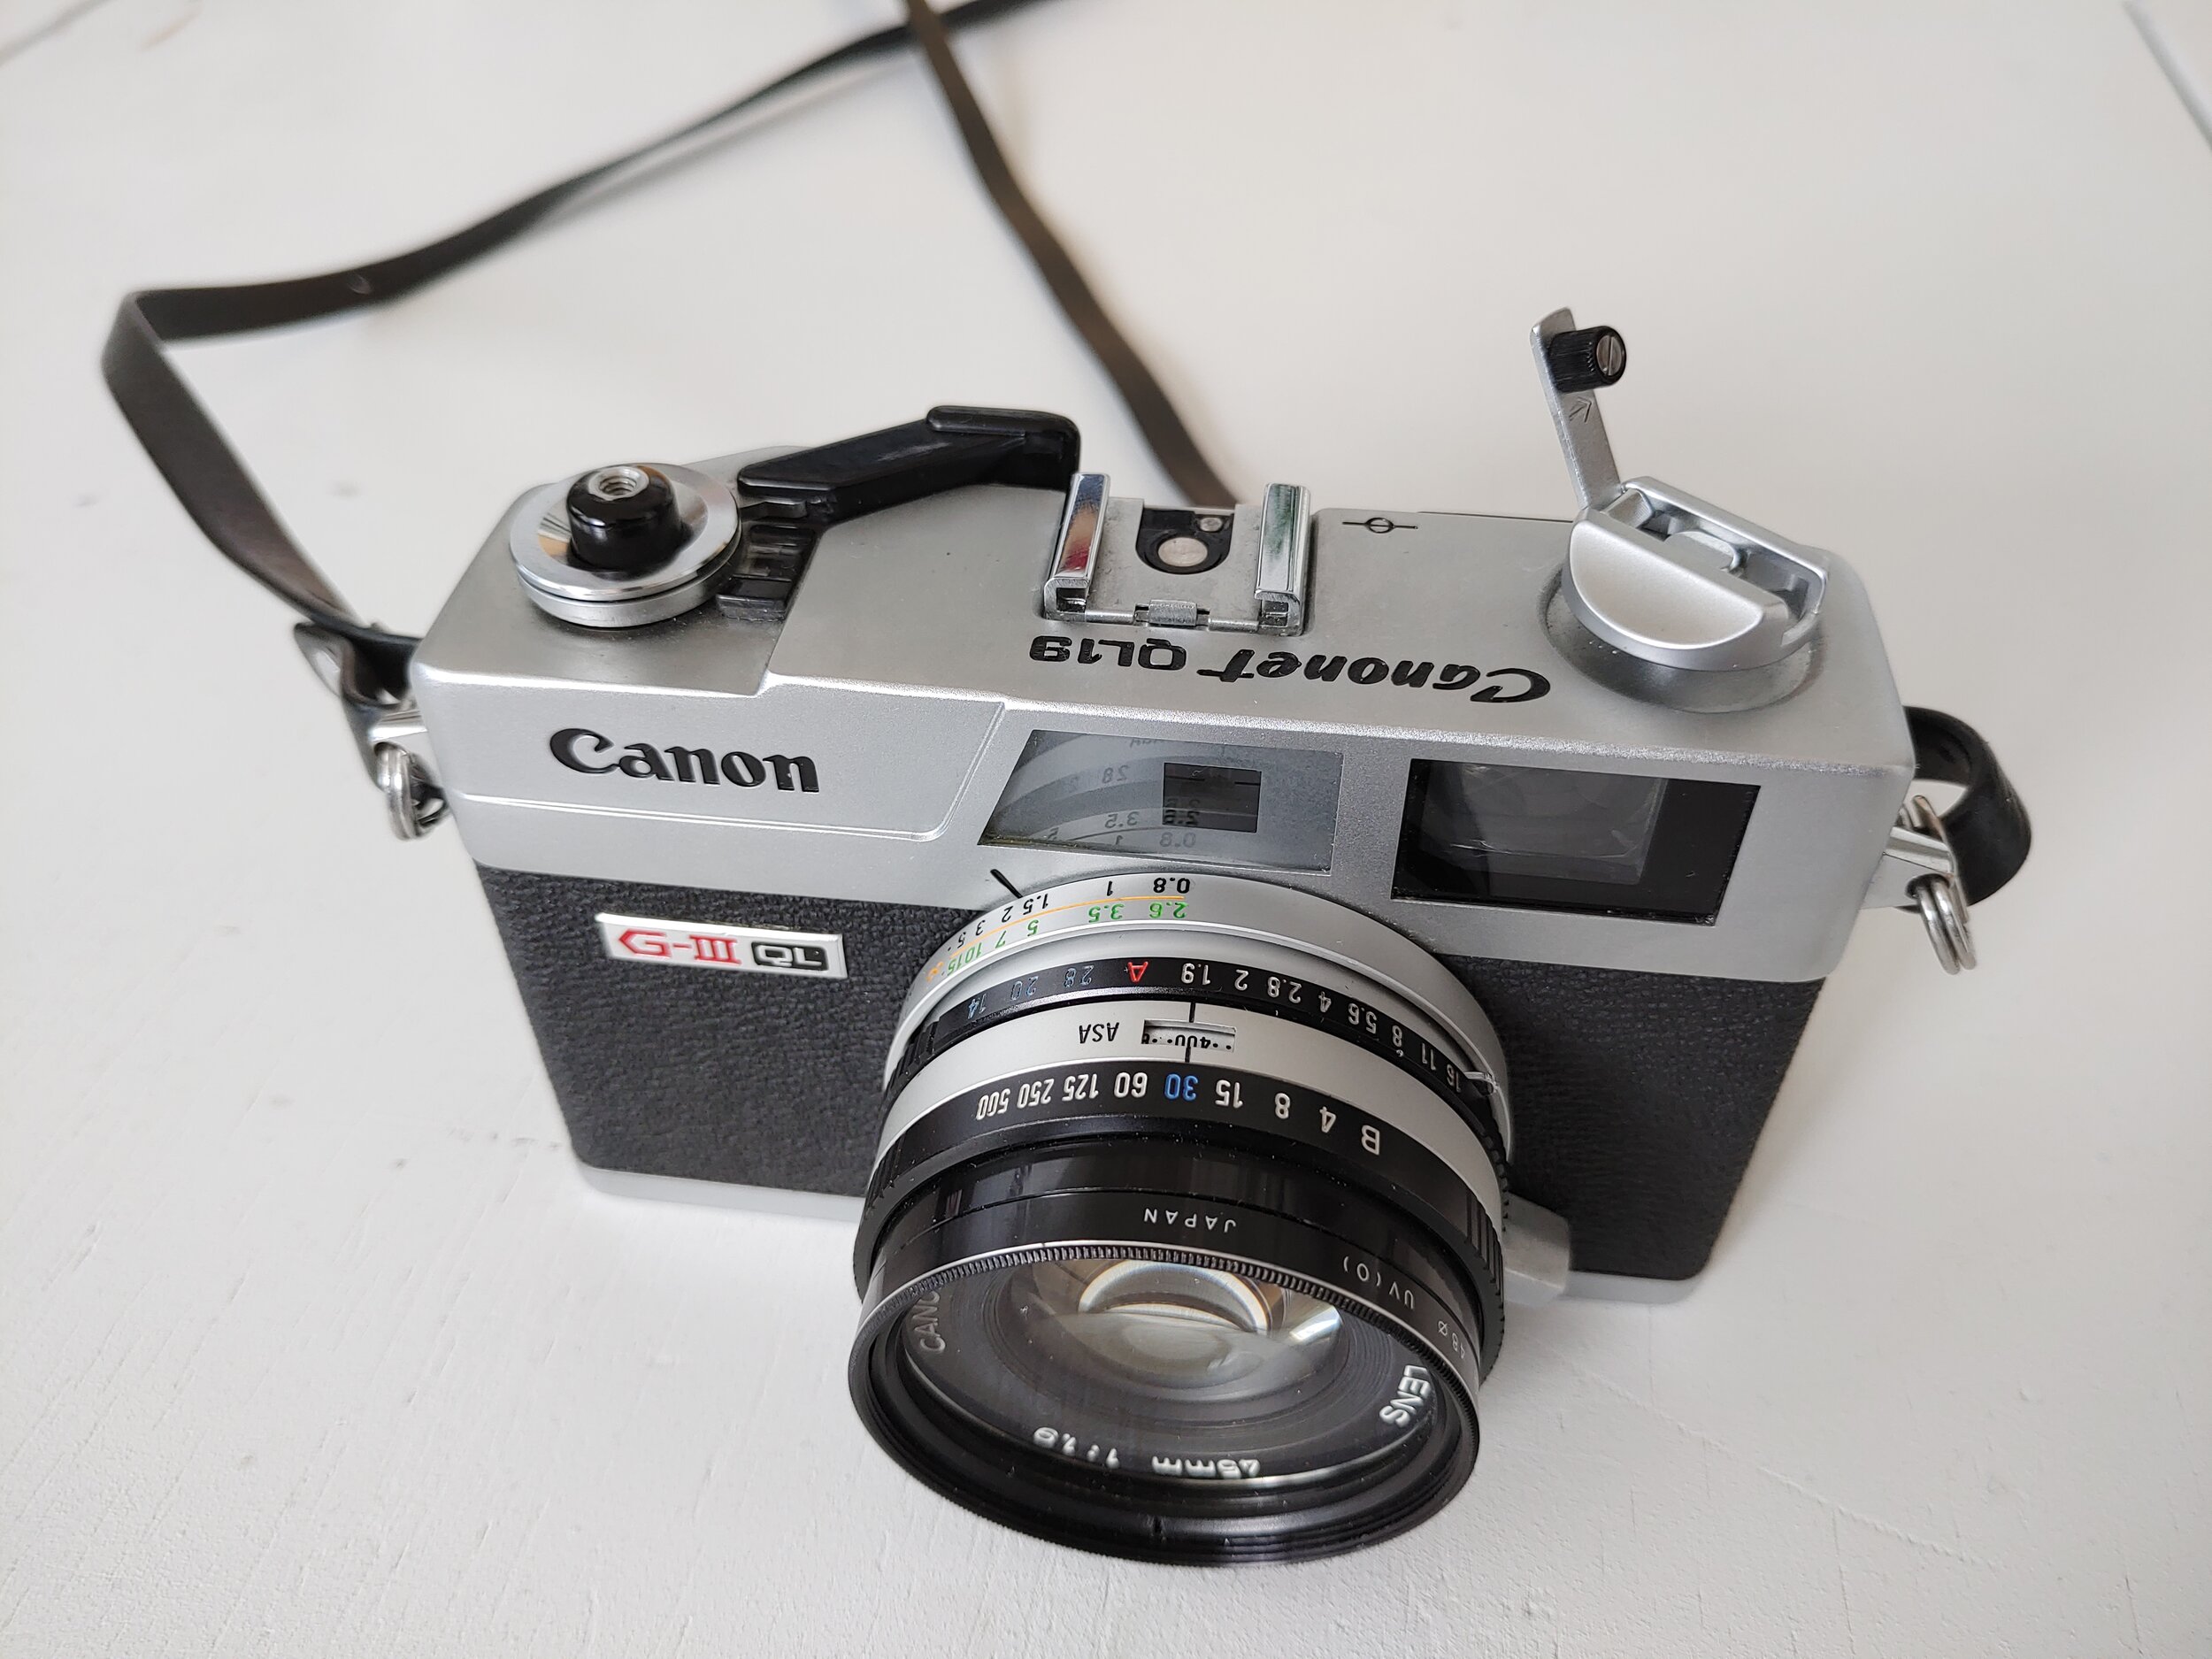
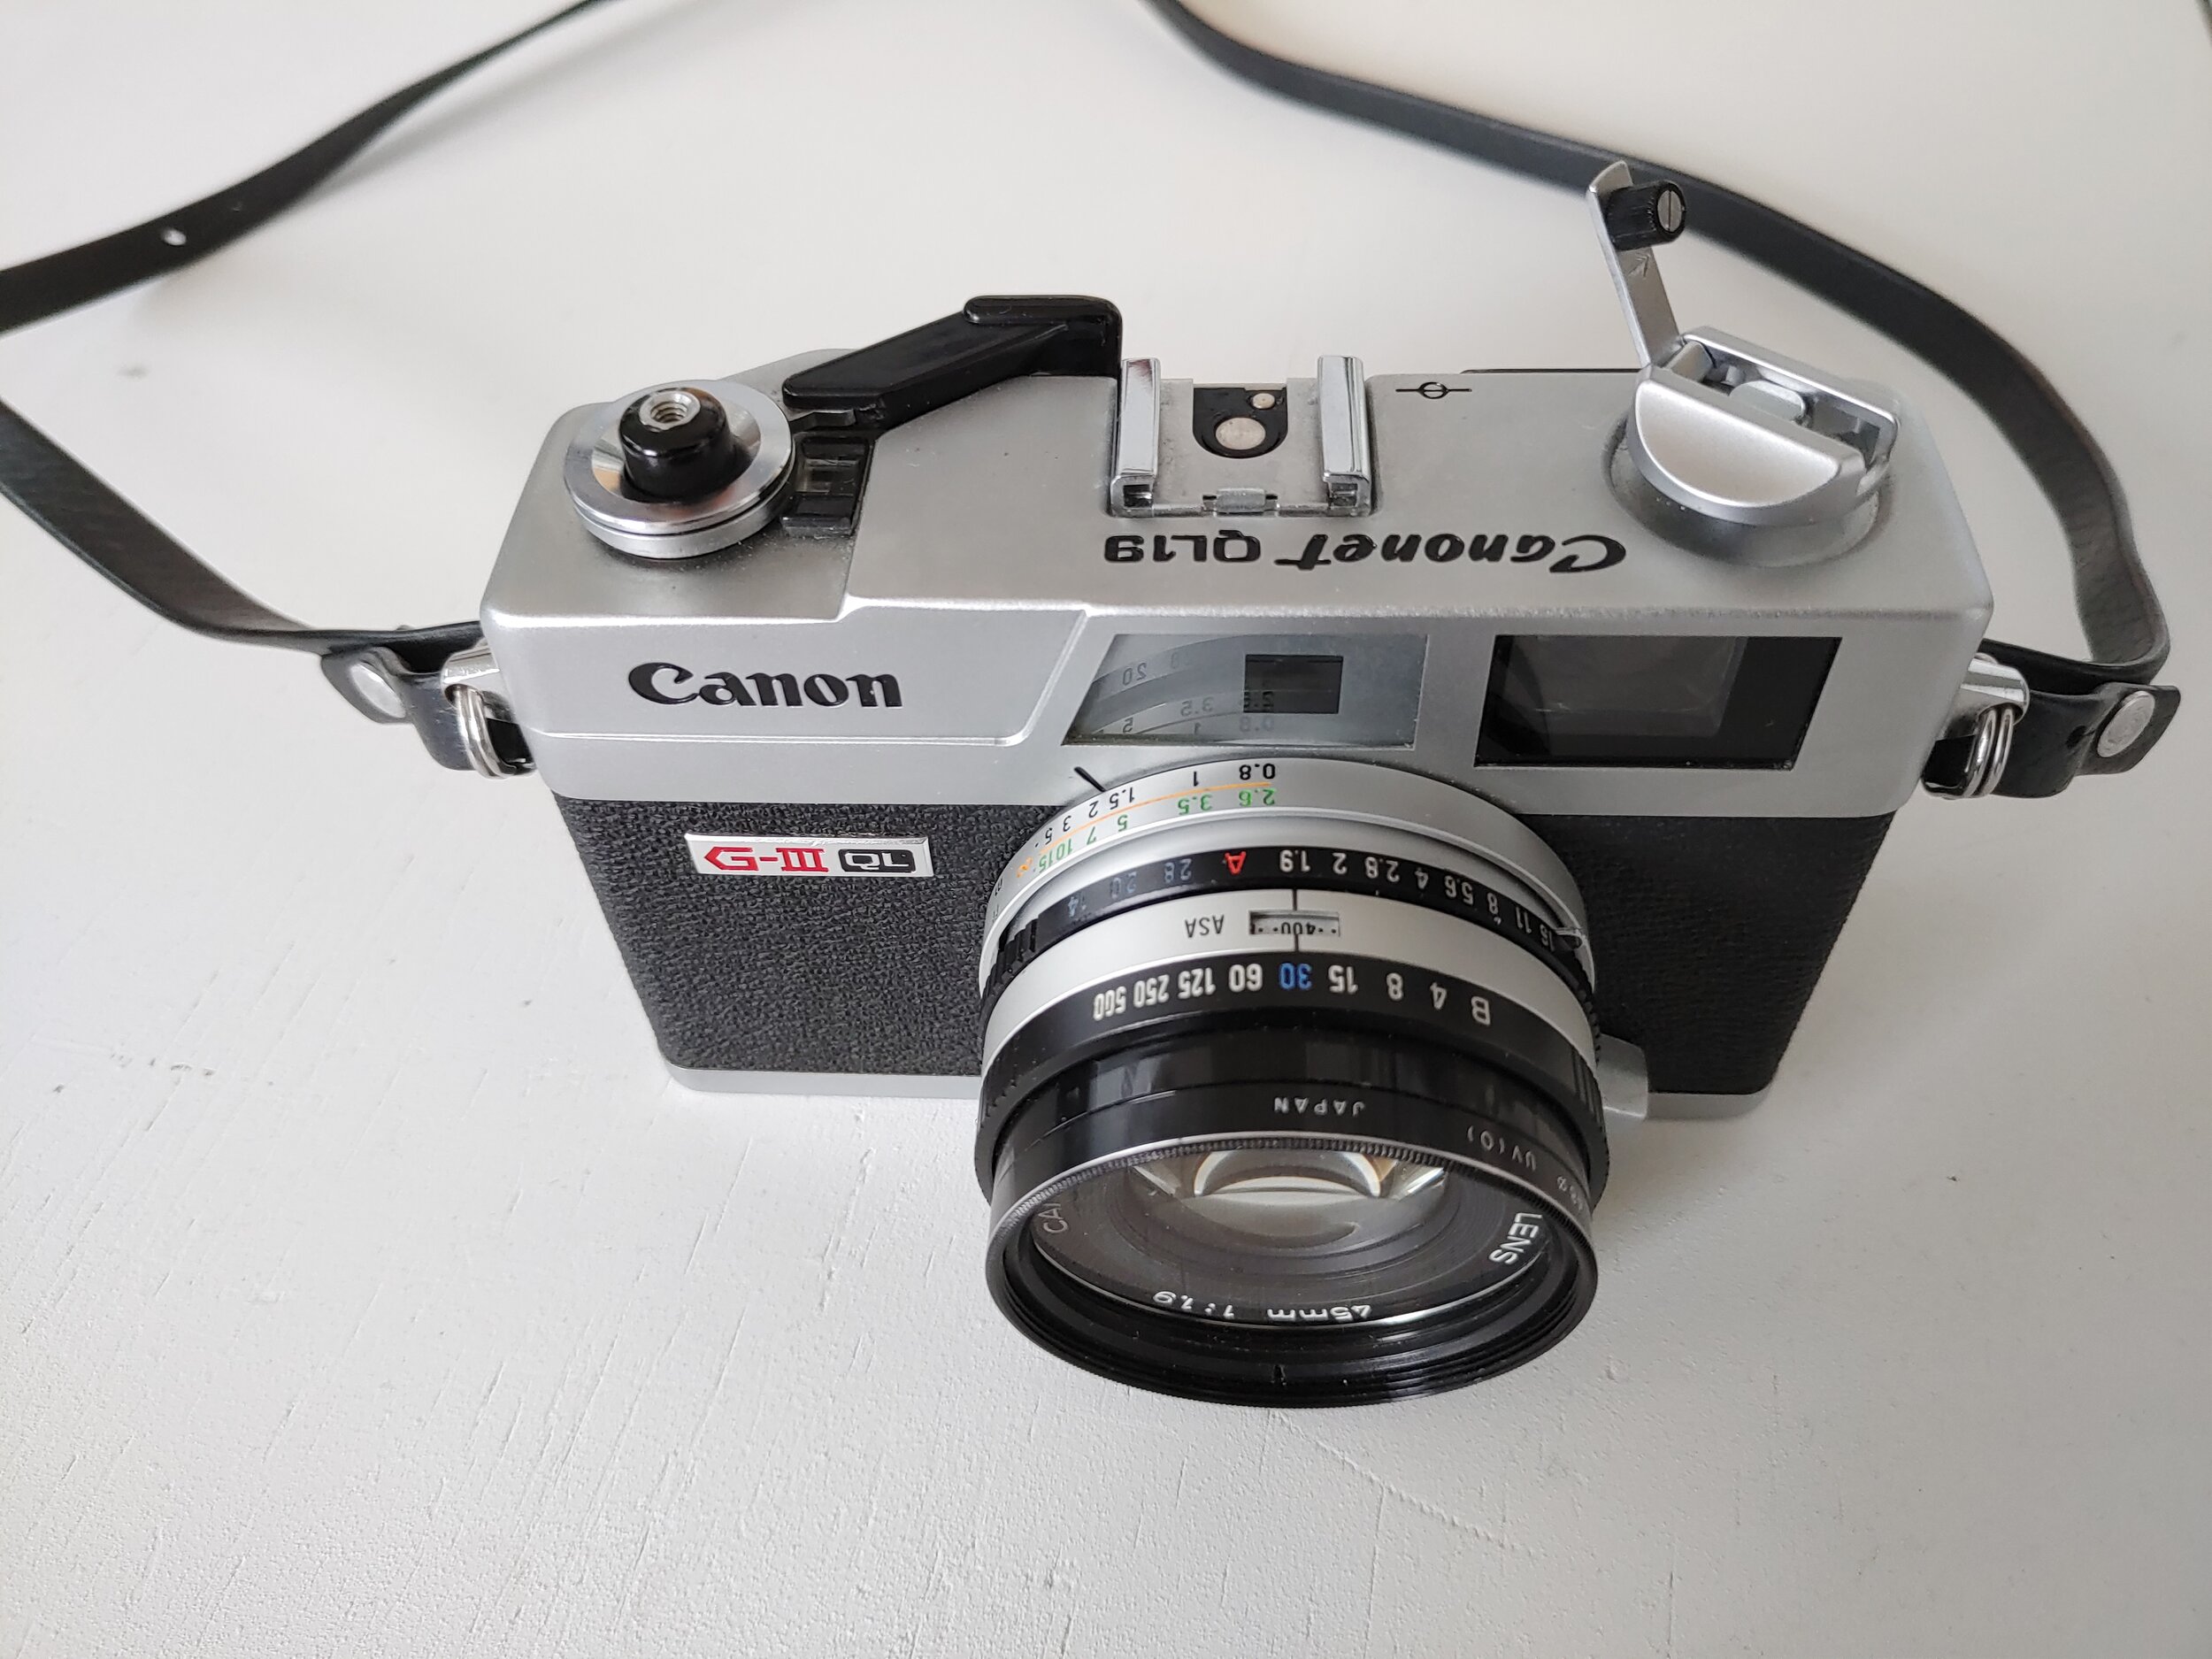
I really love photography, both looking at a great photographers work and taking pictures in the hopes that I will at some point be 10 percent as good. For years I have had an old Canon Rangefinder sitting in a basket. It was my dad’s camera and he had given it to me over twenty years ago. I had never used it, but I loved its retro look and thought that if I ever had the space I could put it out on a shelf. One recent evening, I started watching Youtube and a Rangefinder video came into my feed. I immediately recognised the camera as almost the exact same one I had hidden away. So as you do, I watched about five more videos and pulled out the old camera looking it over. That of course was just the first night, but I thought maybe I could get this almost fifty year old camera working again.
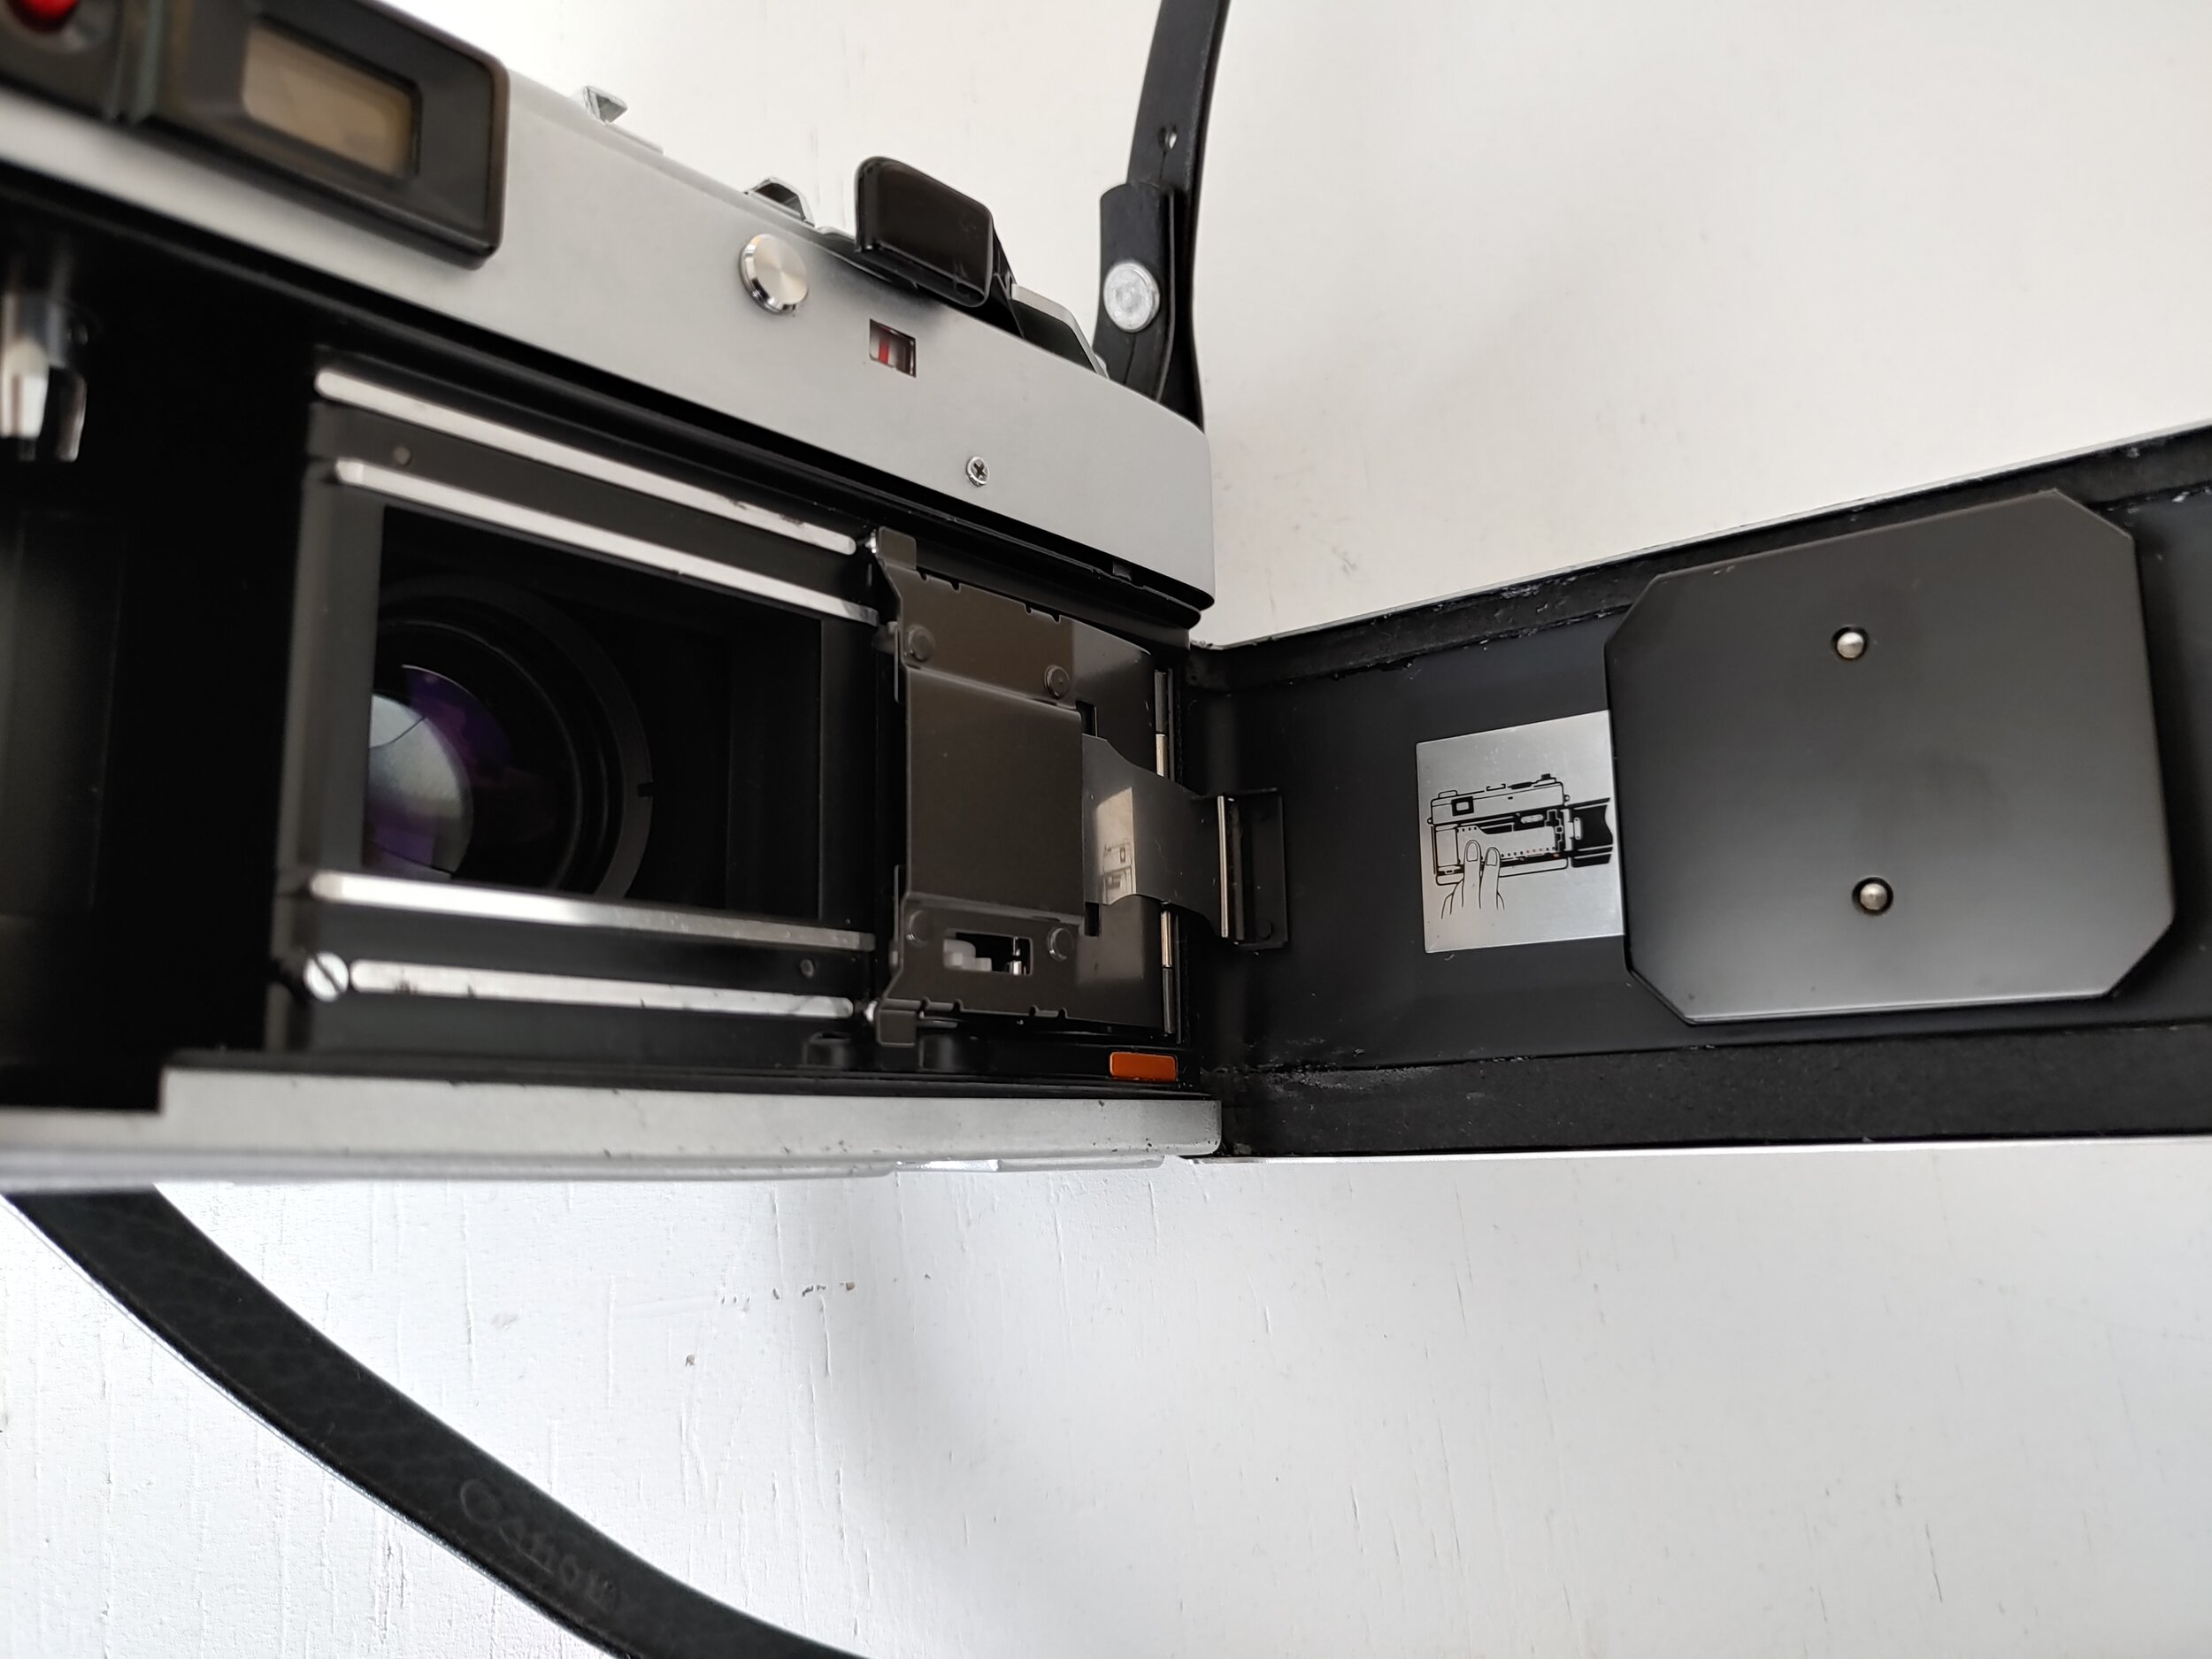
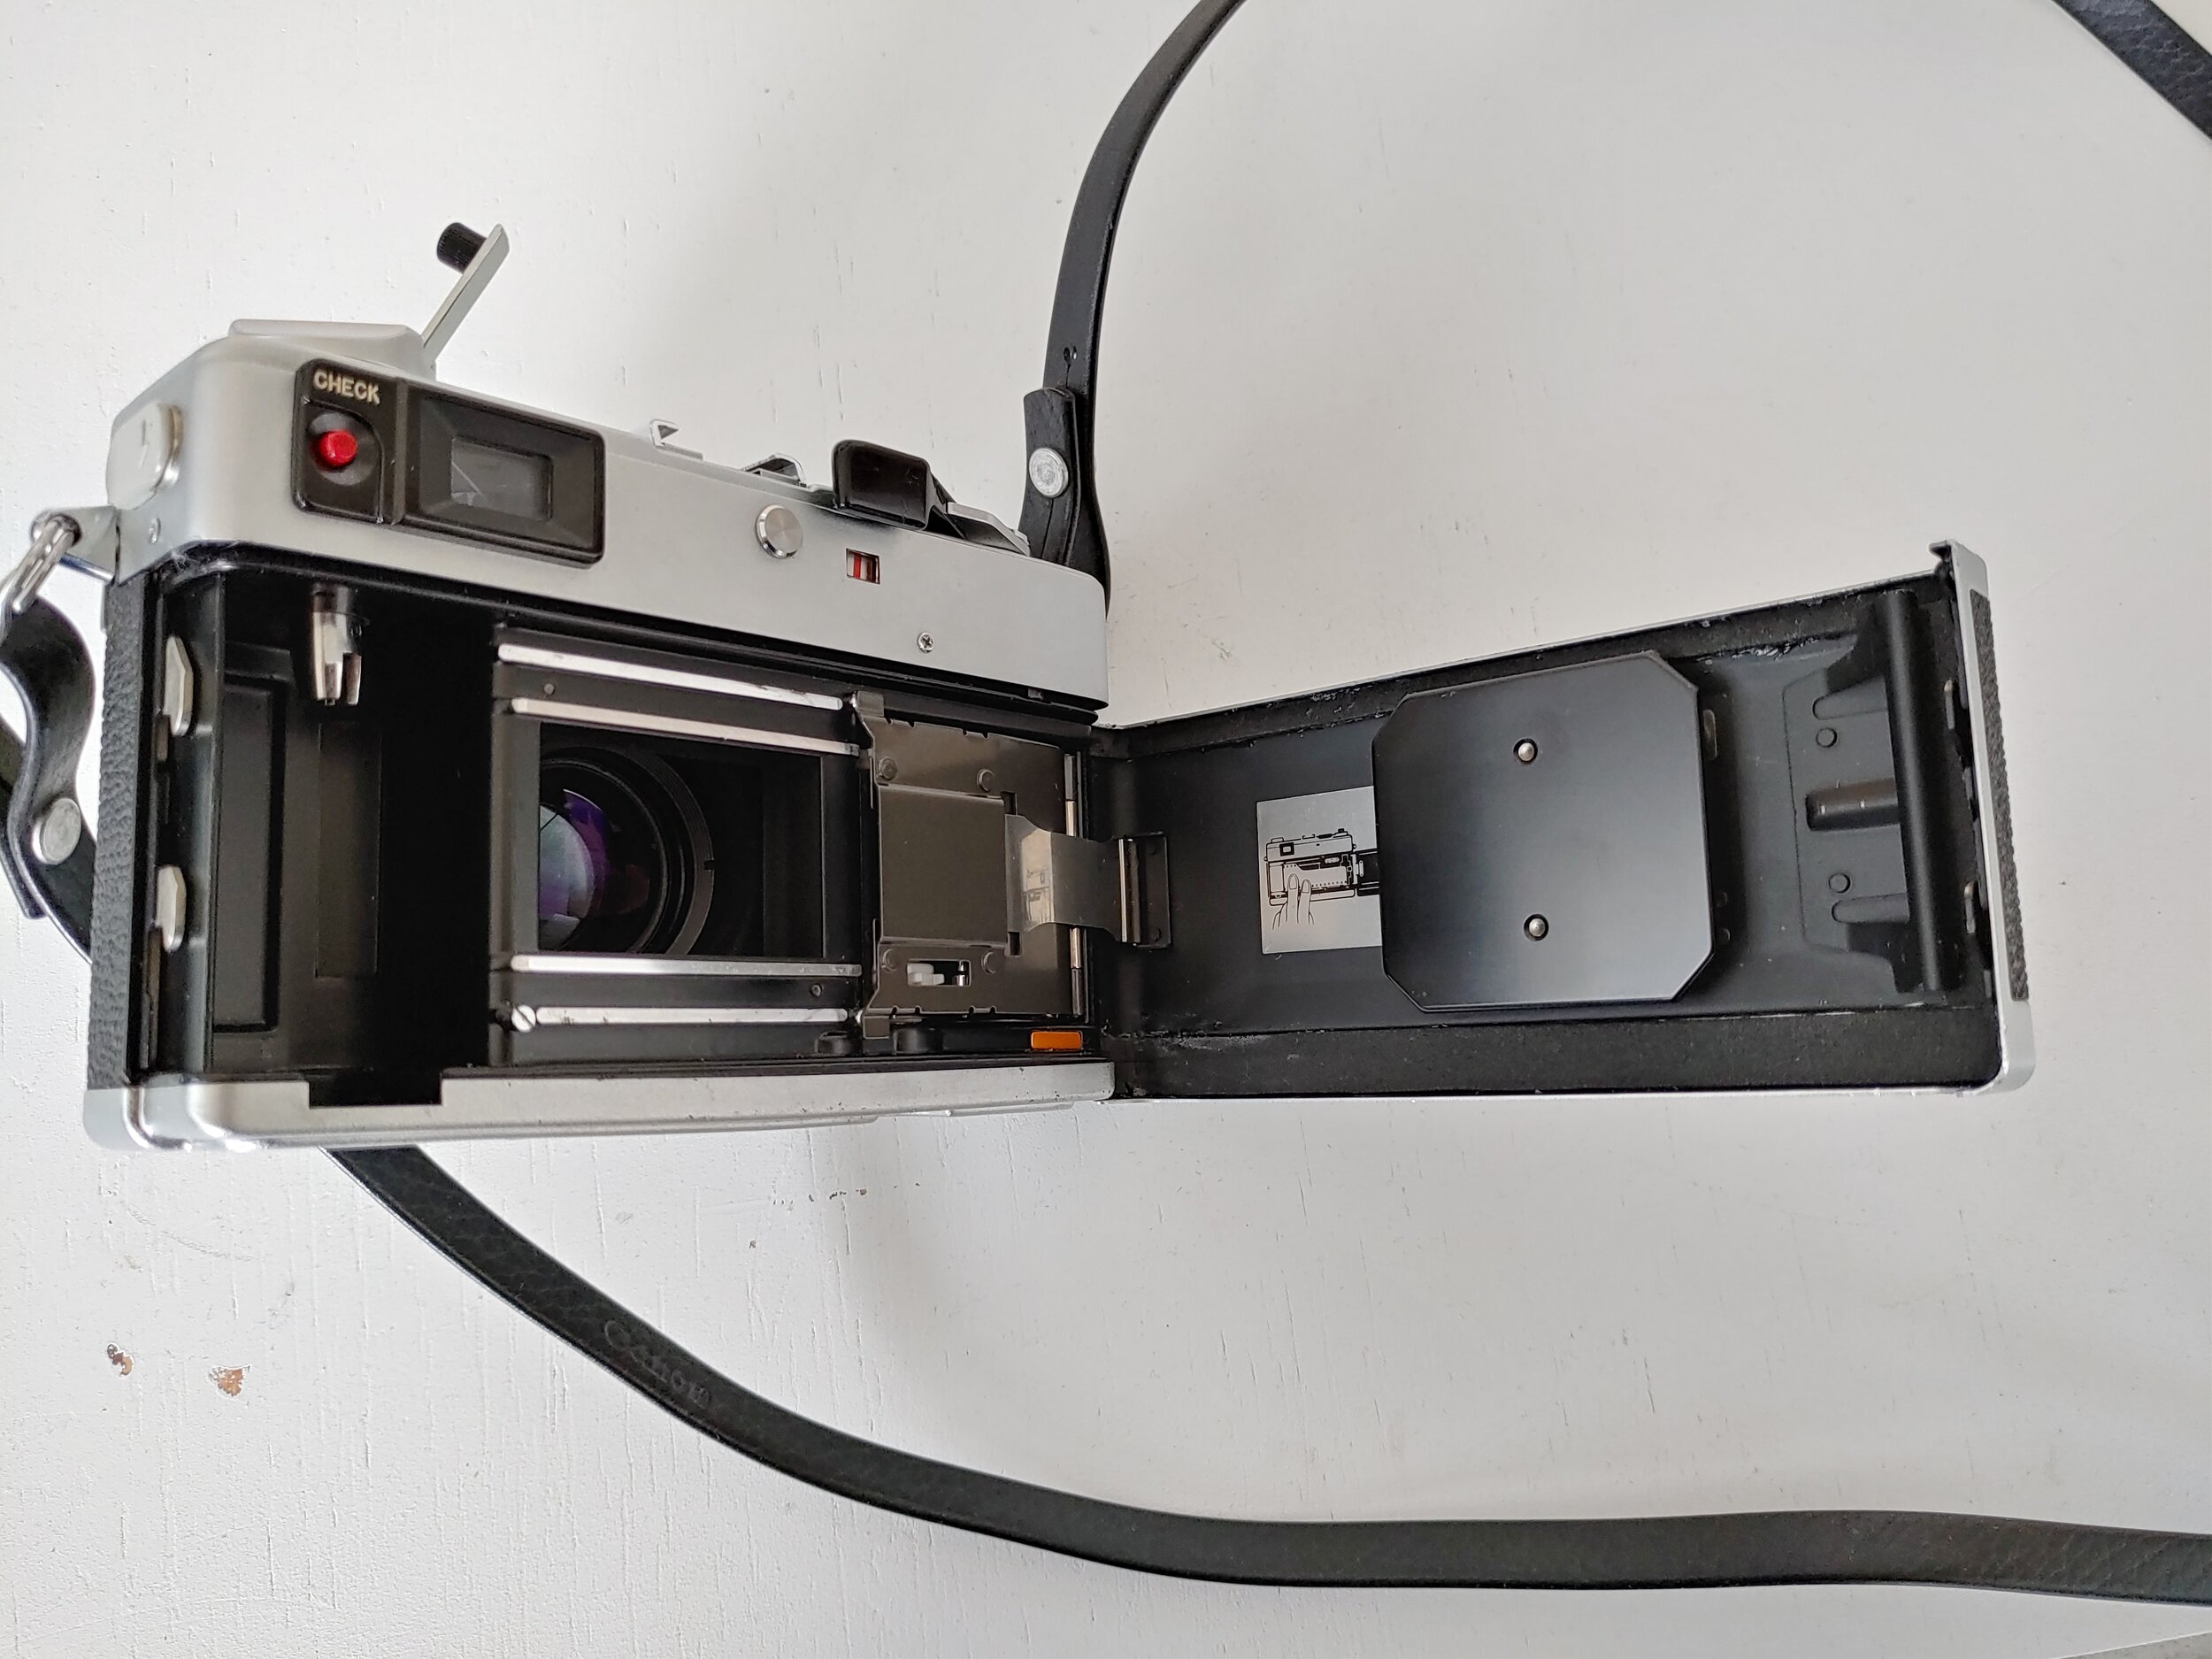
Of course, this isn’t just a matter of buying some film and going out for a shoot; a fifty year old camera needs a little bit of work to get going. This specific camera is a Canonet QL-19. AThe QL stands for quick load as it has an easy way to get the film loaded for the time. The 19 refers to the aperture of the lens can go up to F1.9 As I had seen in a few of the videos, one of the common issues is that the light seals disintegrate. Sure enough, when I opened up my camera, it was full of little errant bits of rubber foam and the seals were compressed and bubbly. Also while there was still a battery in the battery compartment it didn’t work and as I saw online the original batteries were no longer made as they contained mercury (I am sure the one in there was also not a mercury battery based on the number on it). So when I hopped on Amazon and started to see what supplies I could get.
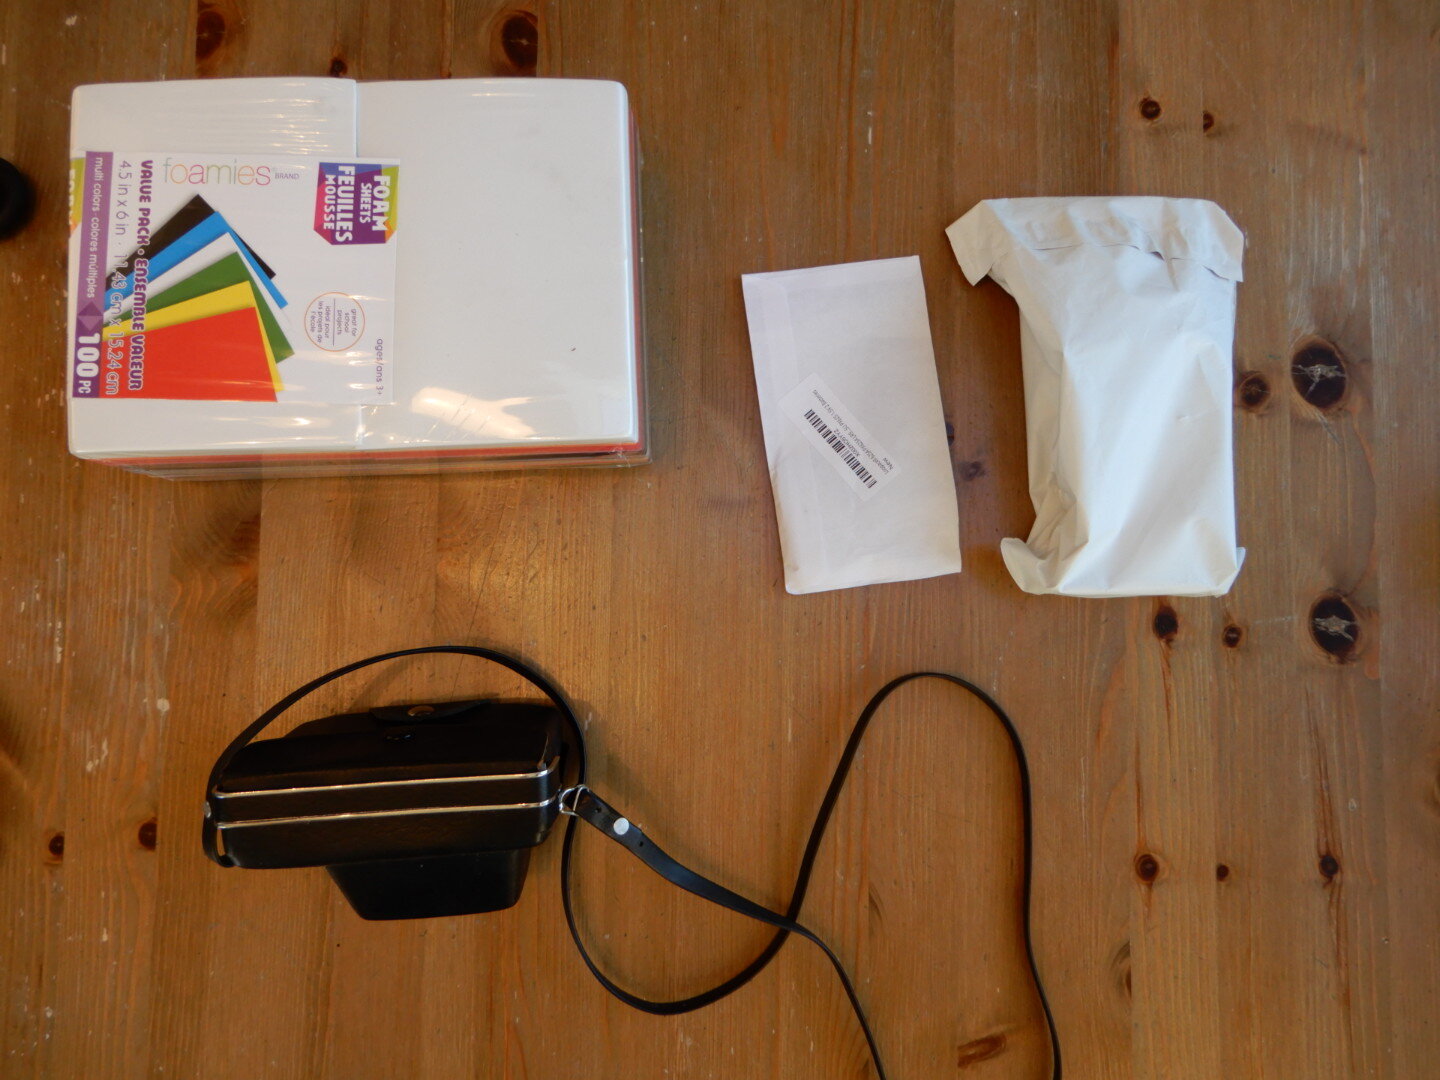
To complete the work I needed some craft foam, new batteries, some glue, and of course, film! Now the one thing that I think all of us have learned over the last many weeks is exercising our patience. I put in my order and it told me it would arrive a month later on April 30th. No worries, I can wait. Anyways the shipping gods must have been looking down upon me and it arrived just ten days later. Not Prime fast, but not too bad. I could barely contain my excitement to start working on it, knowing the whole time that it may not work at all. That said, the first thing I did was pop in the new battery to see if anything happened. With my eye to the viewfinder I saw the light meter spring to life. (The before and during photos are below)

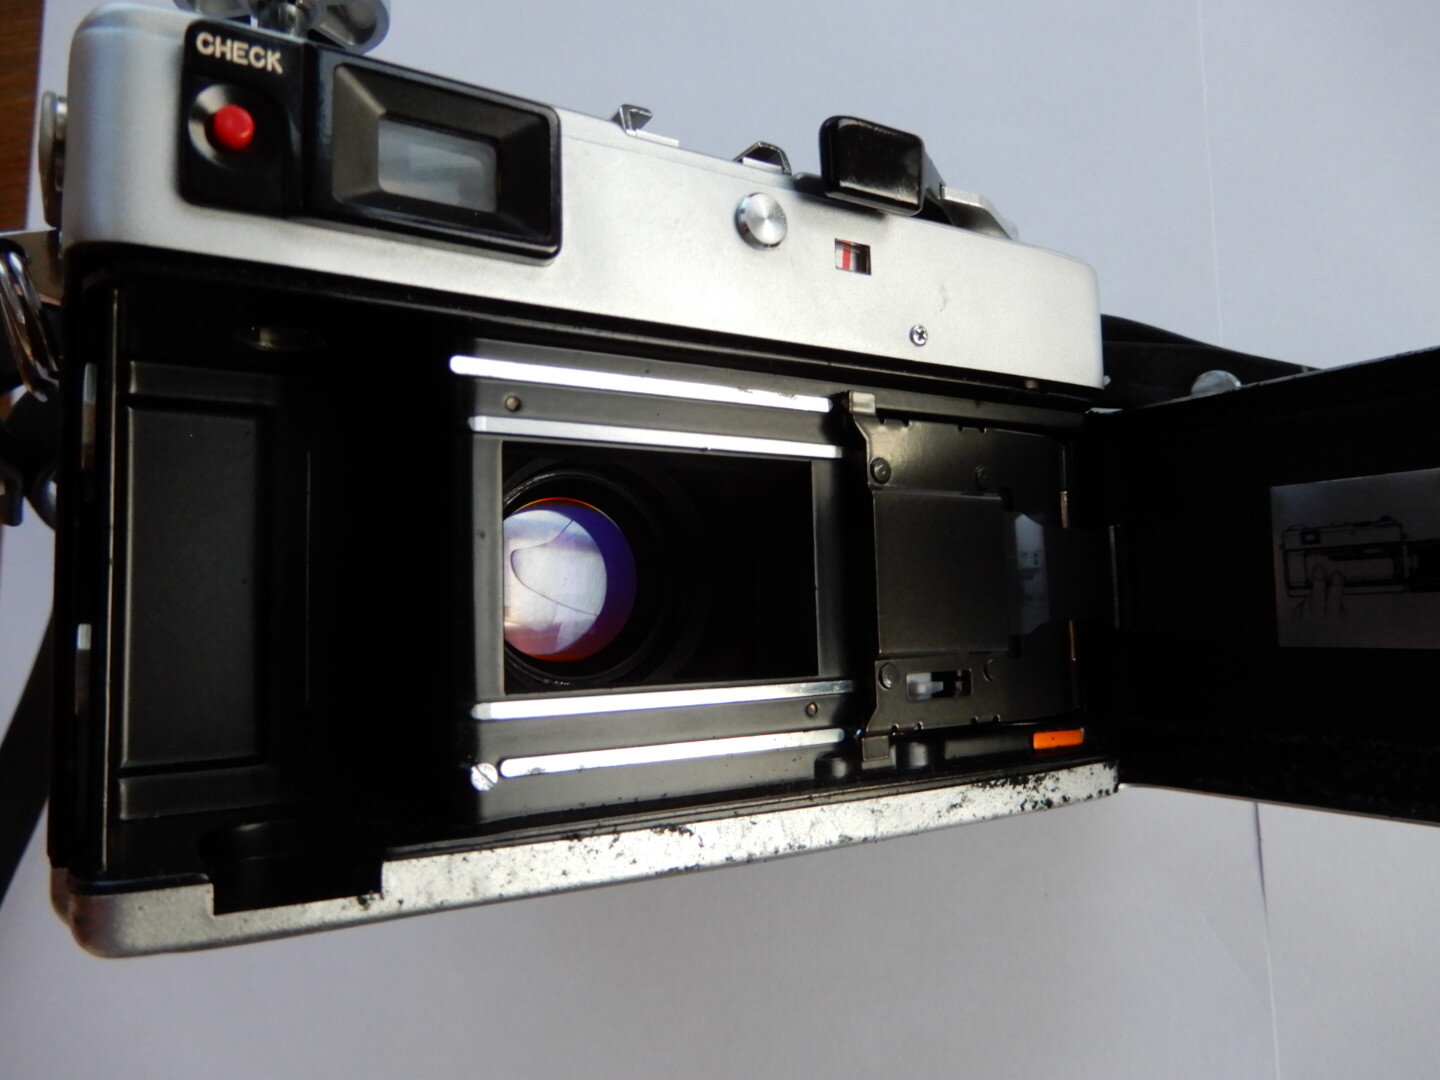
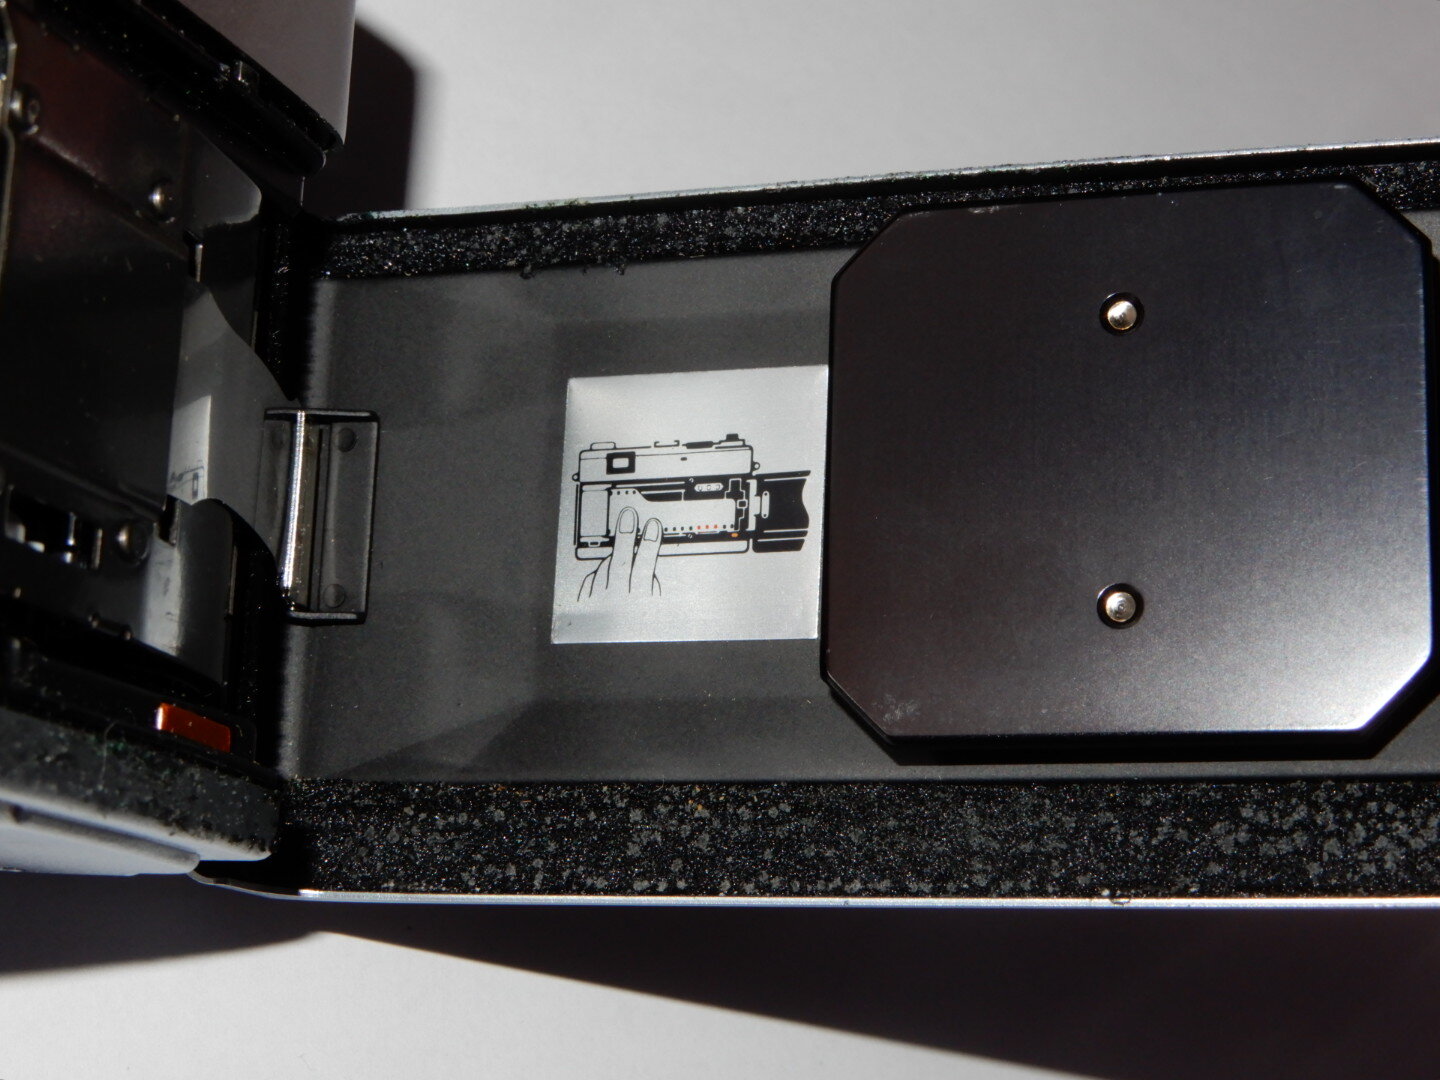
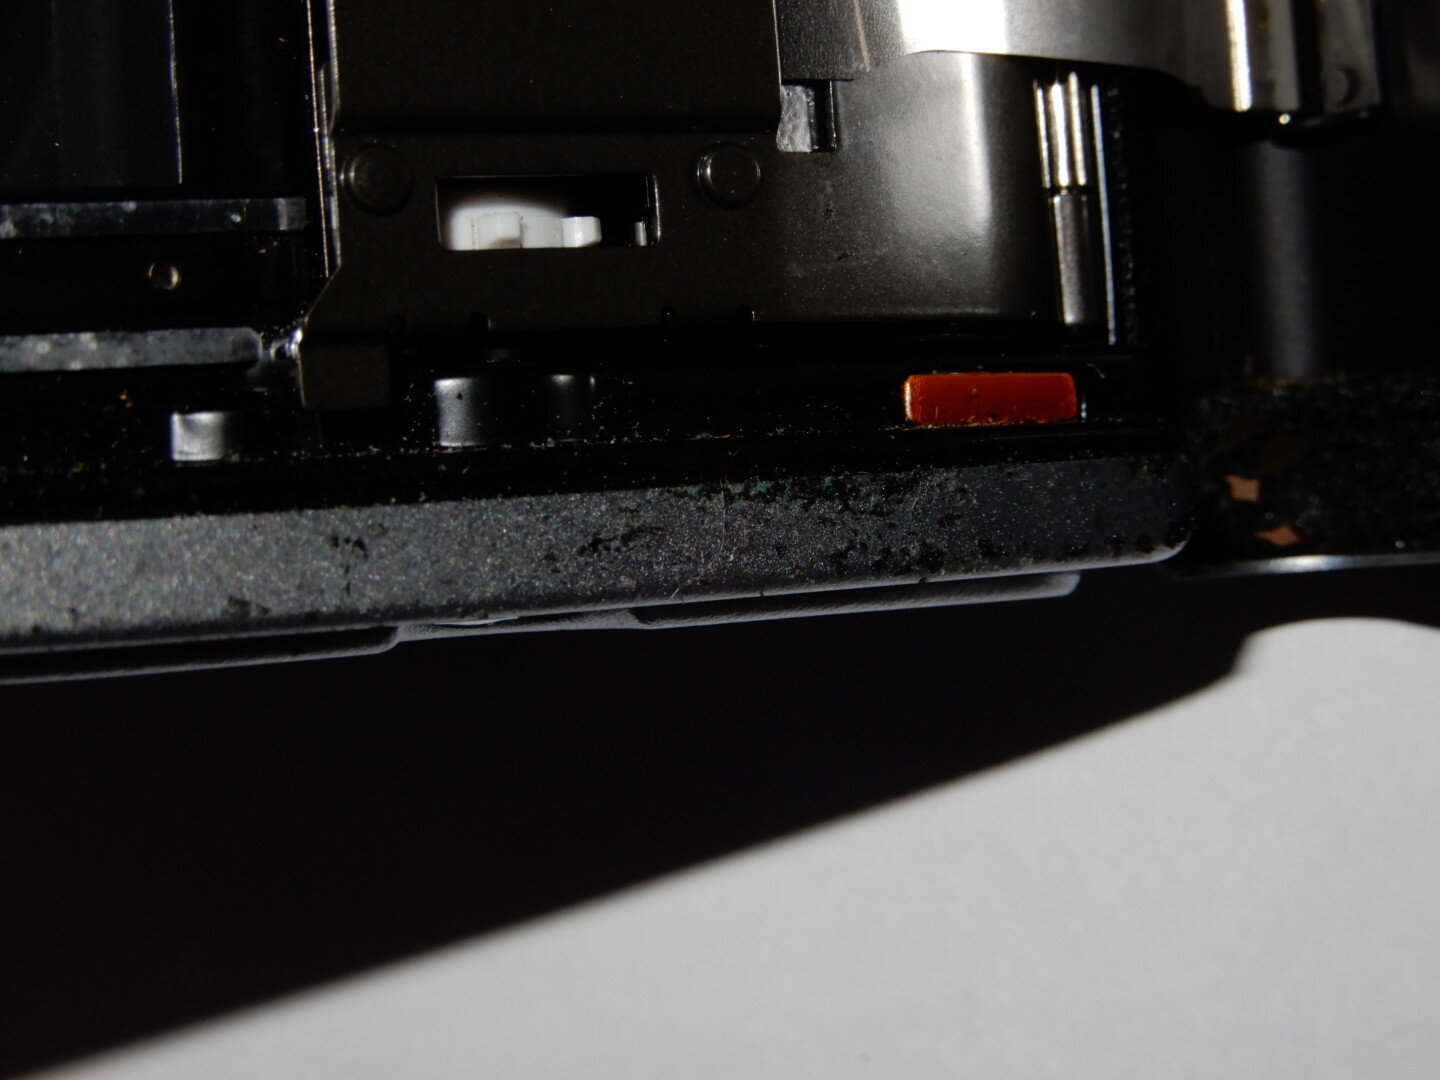
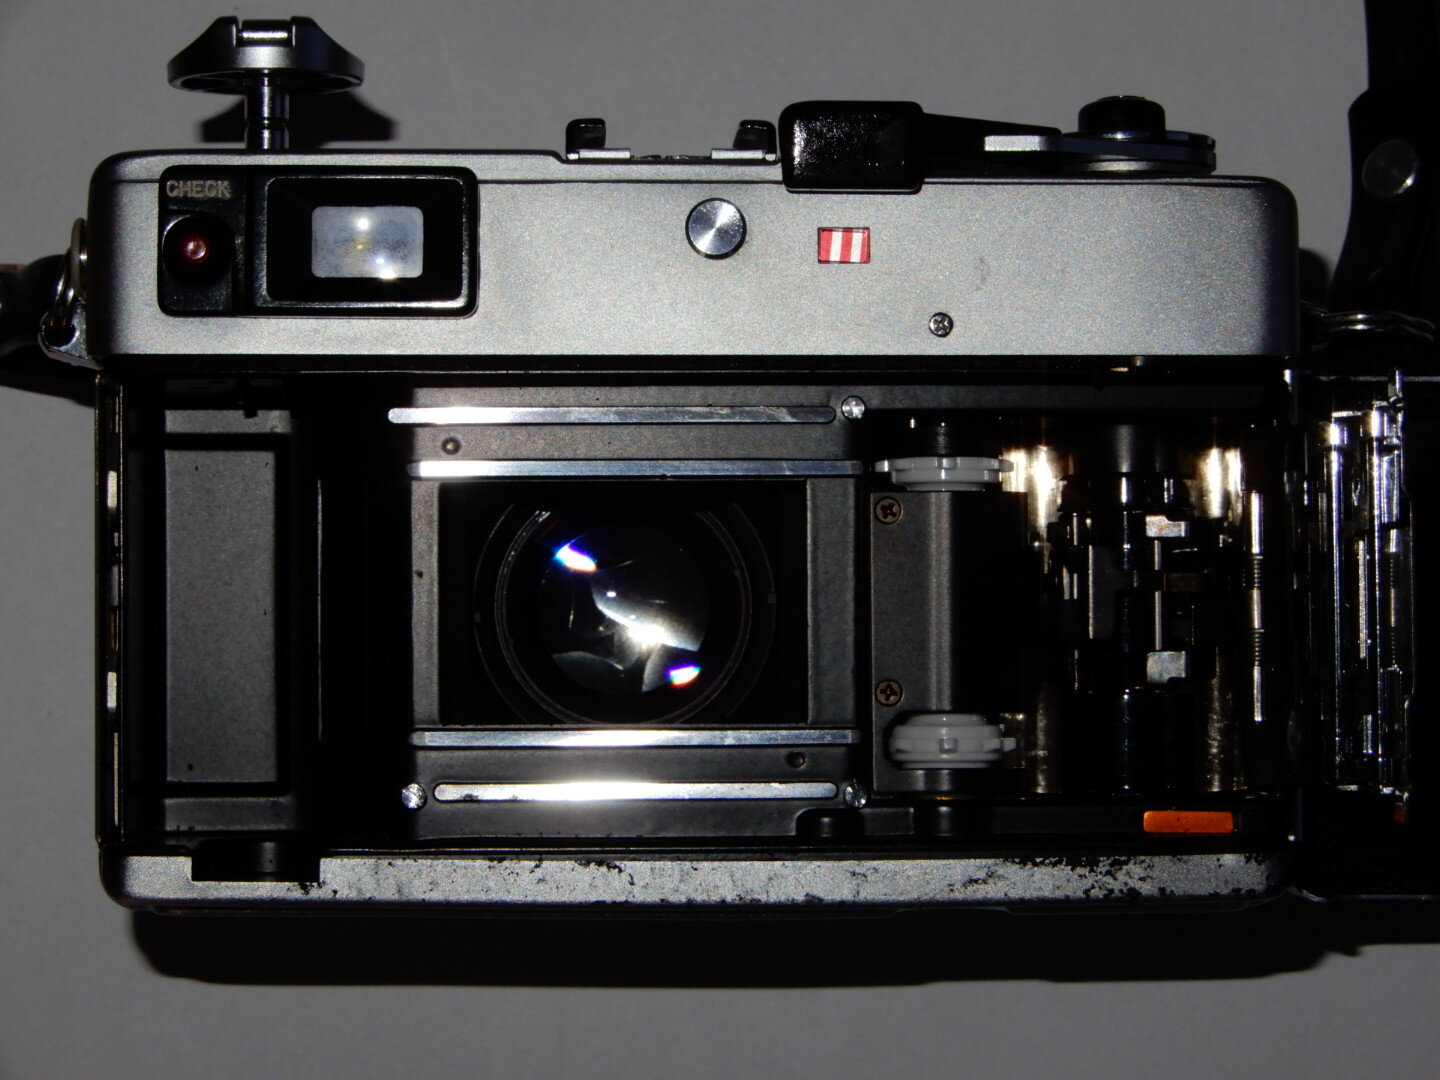
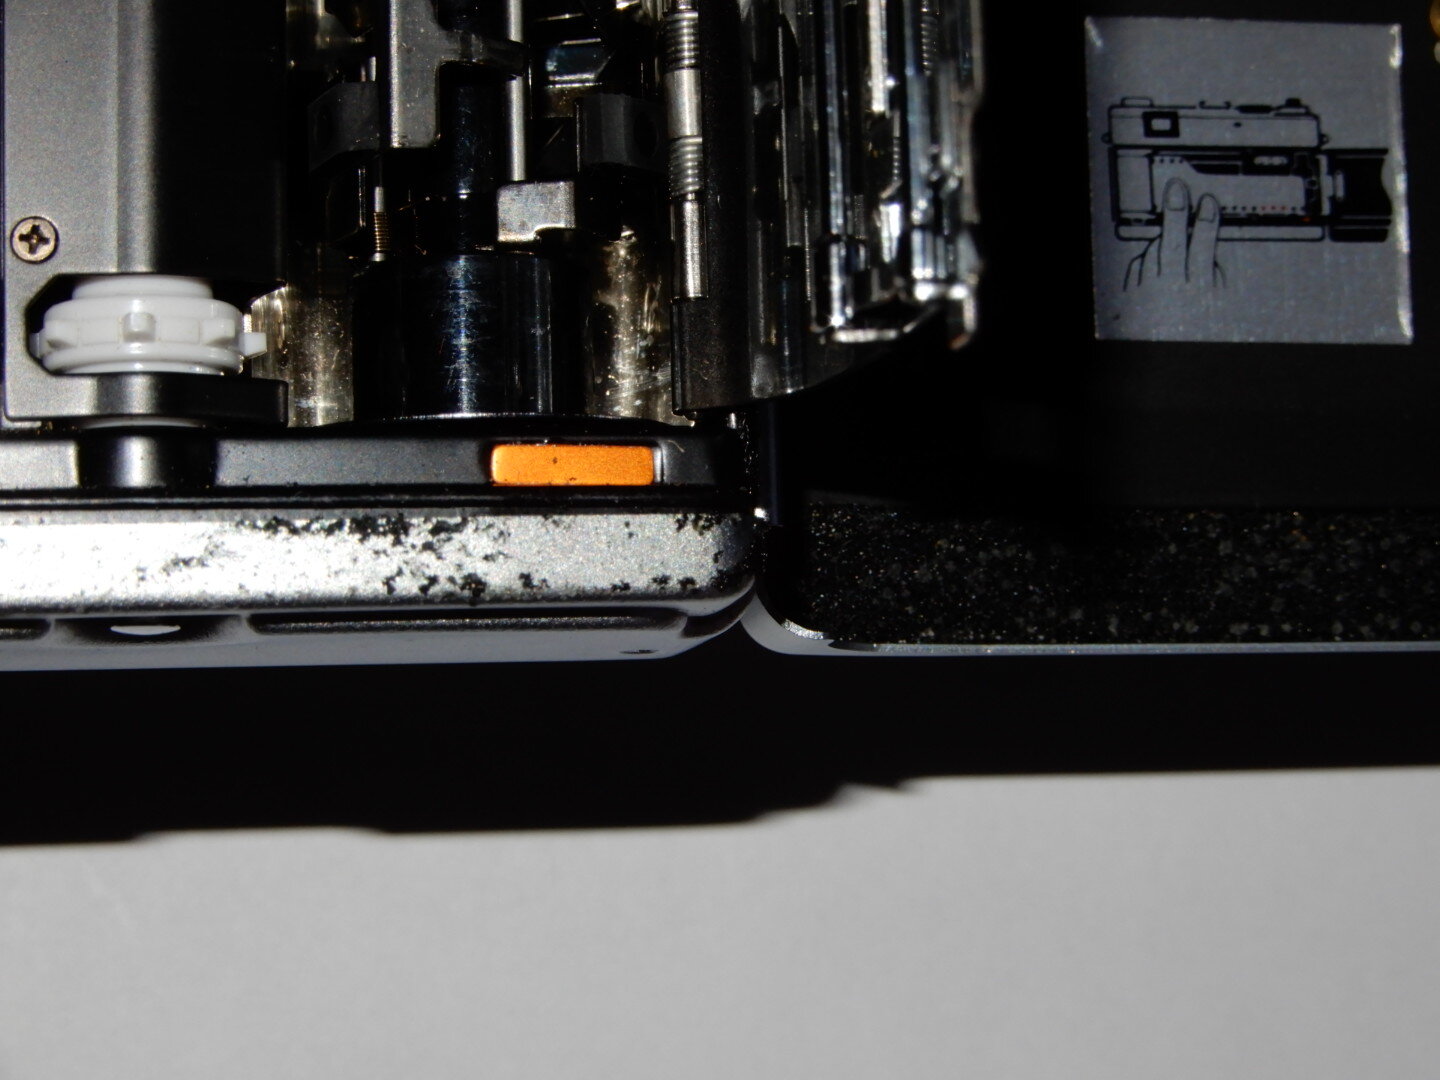
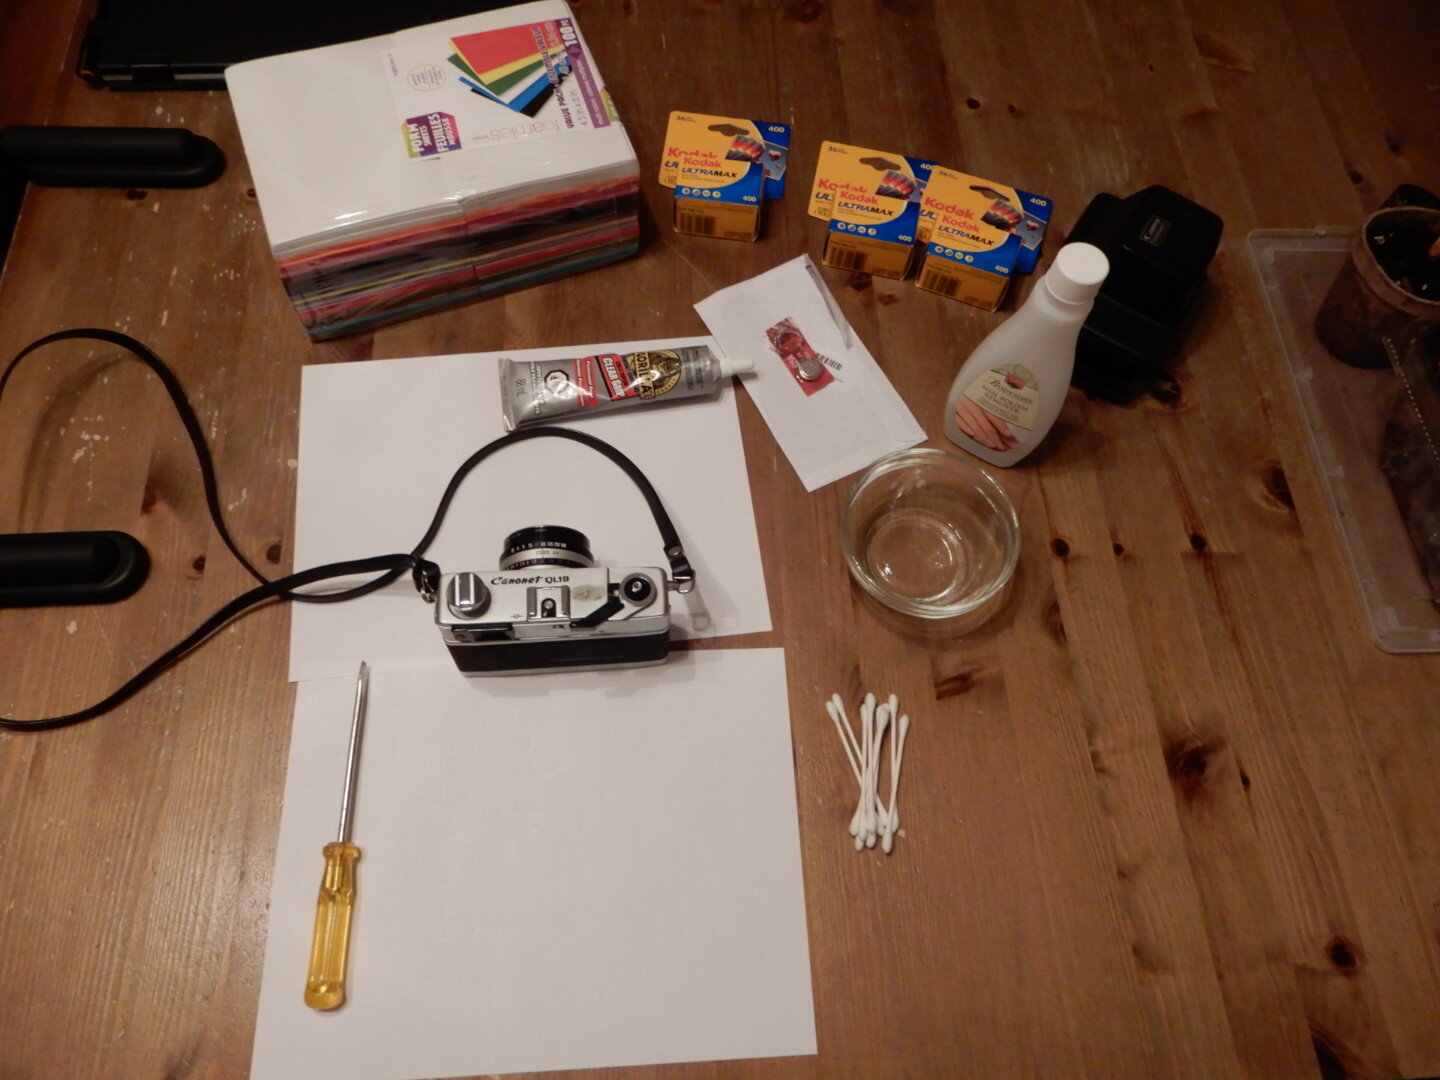
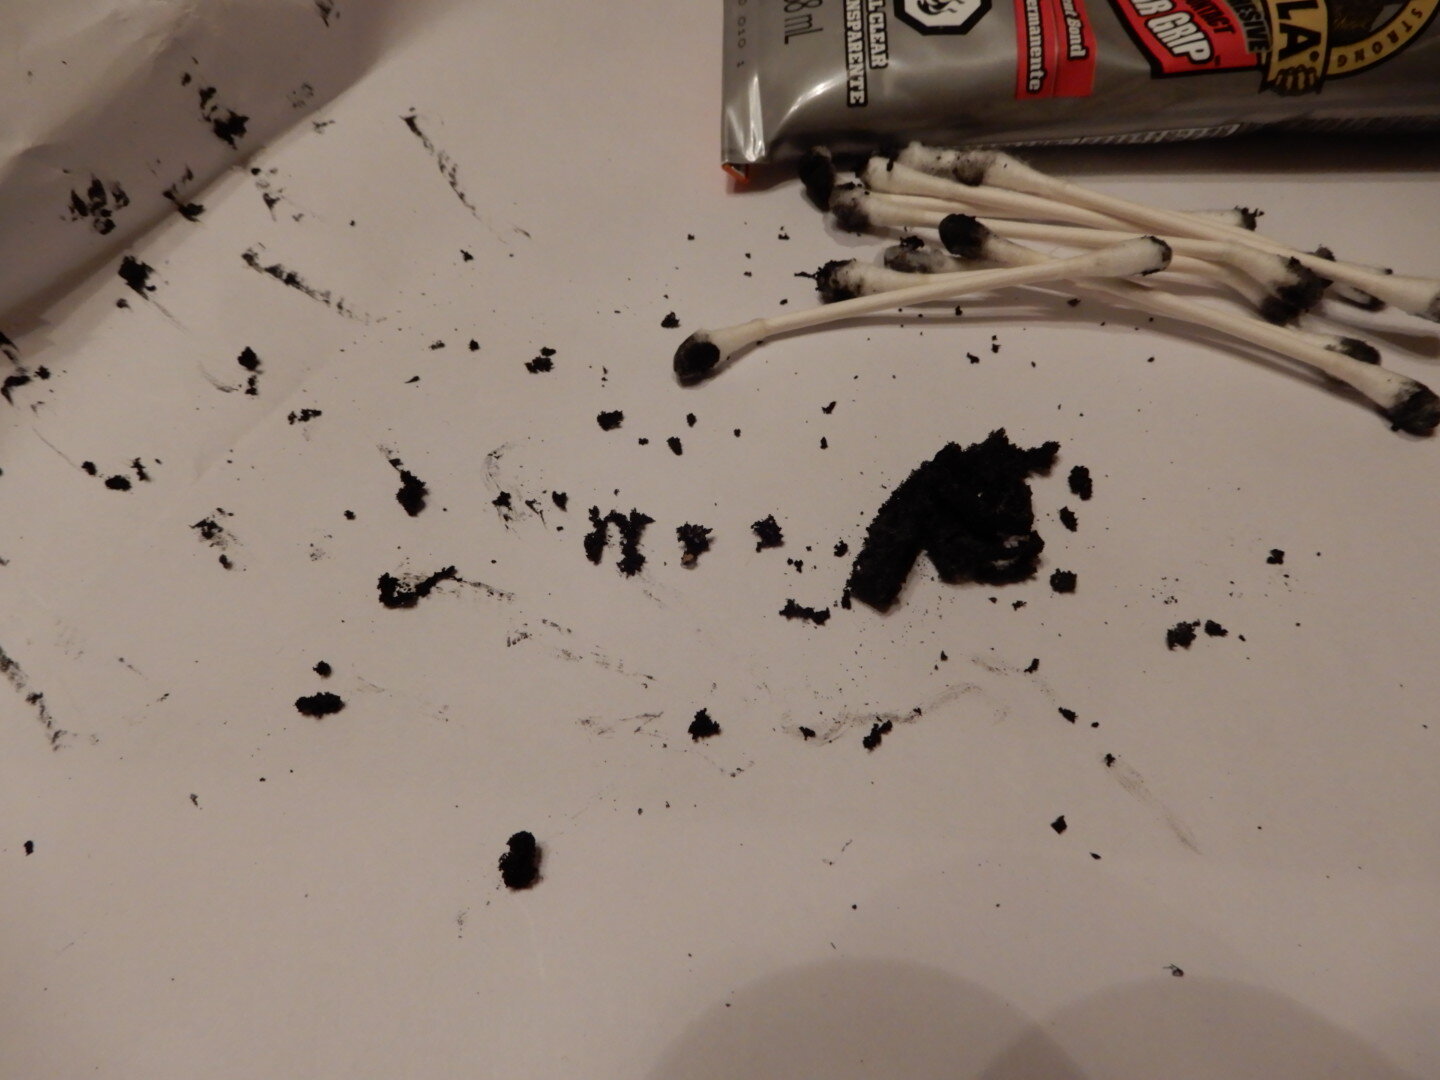
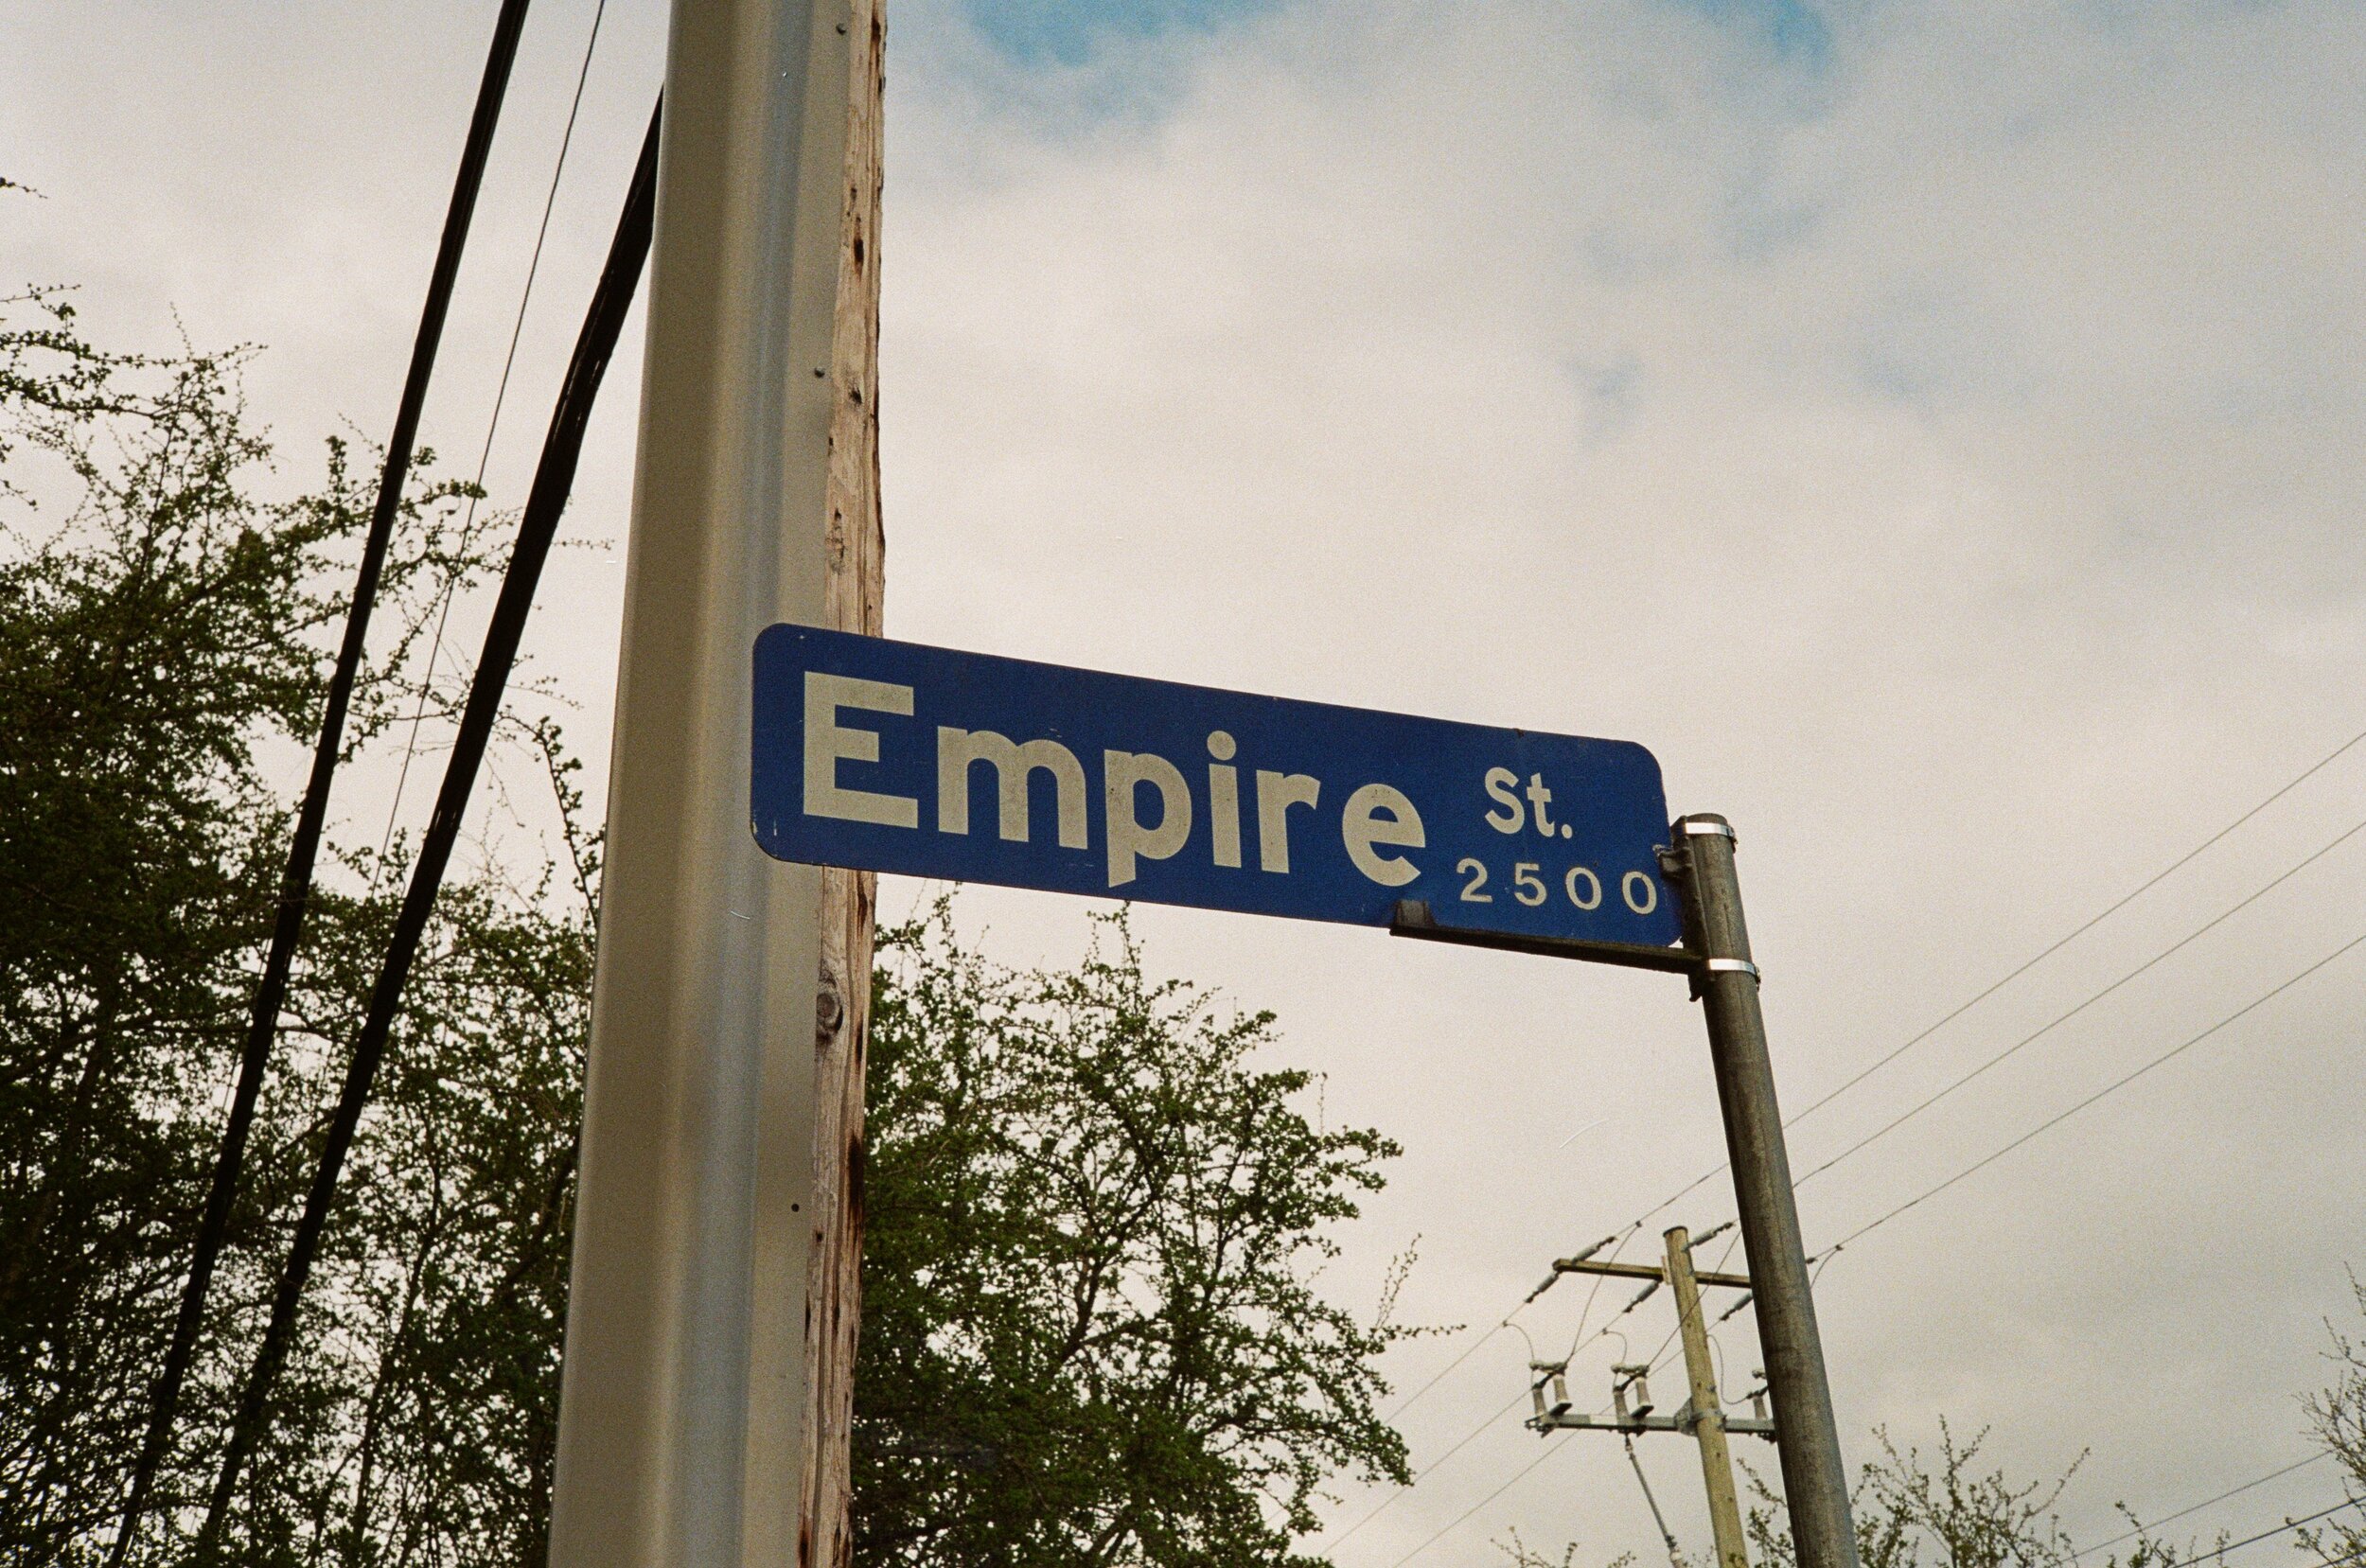
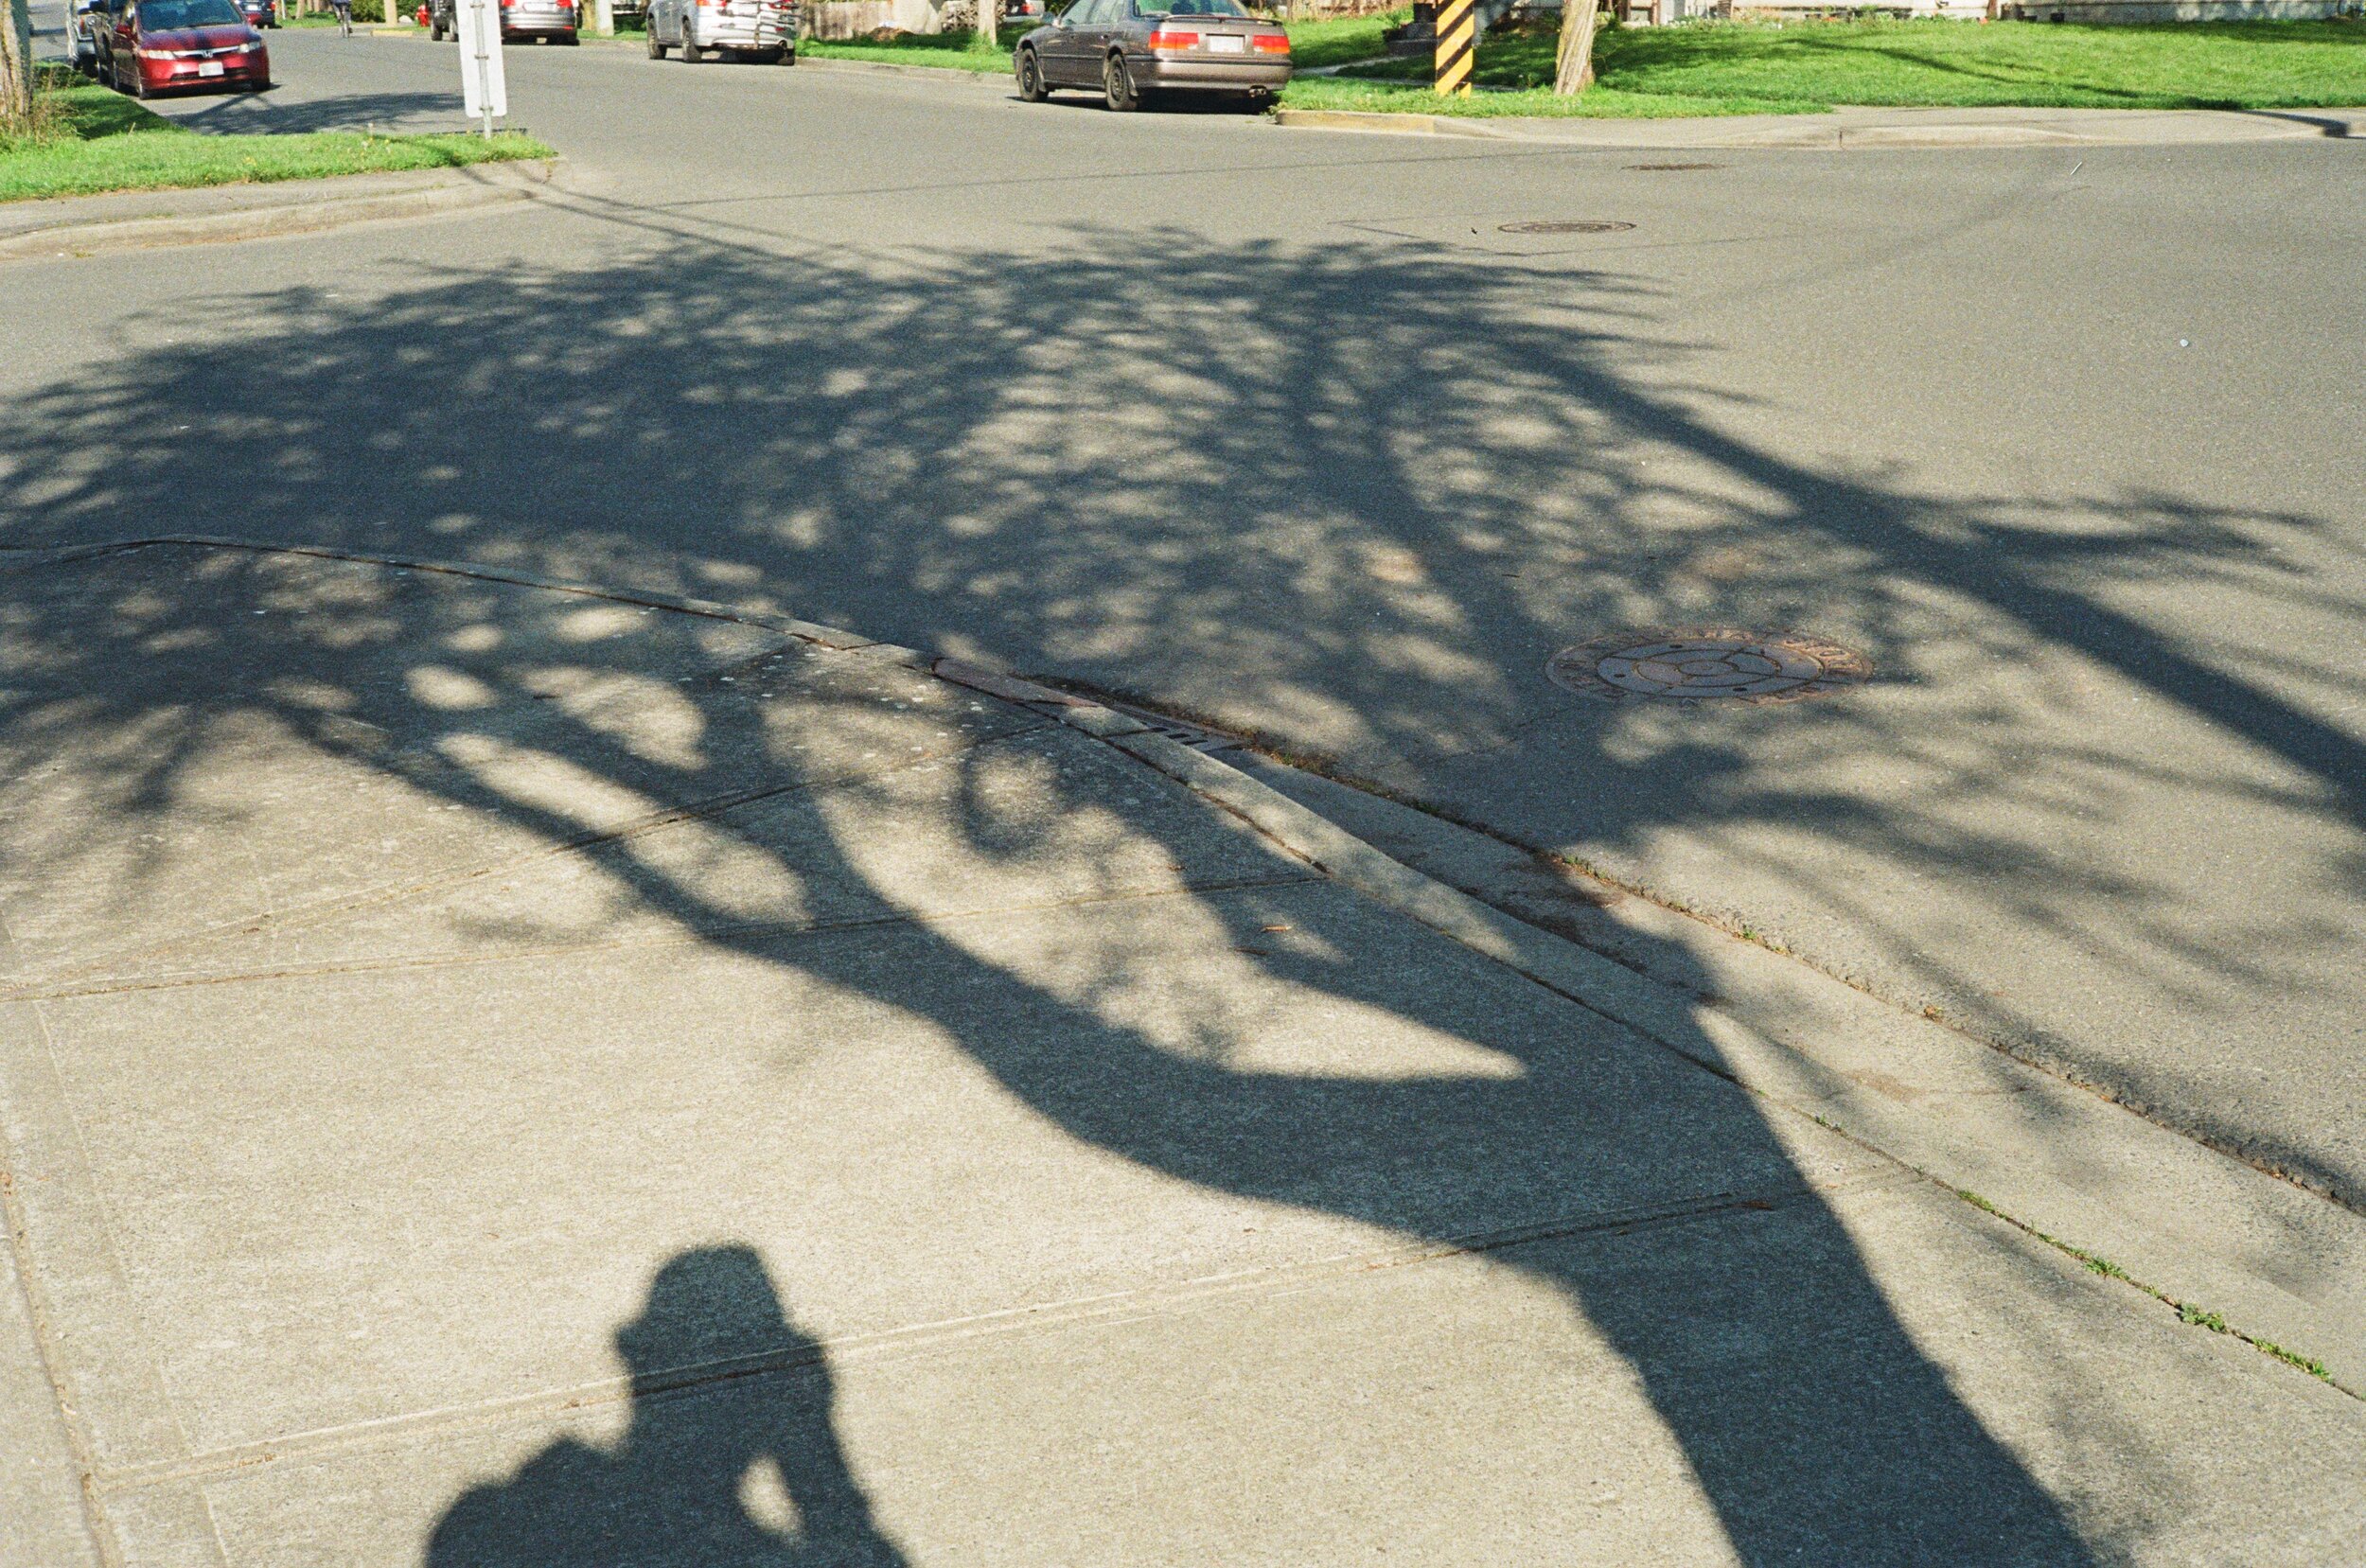
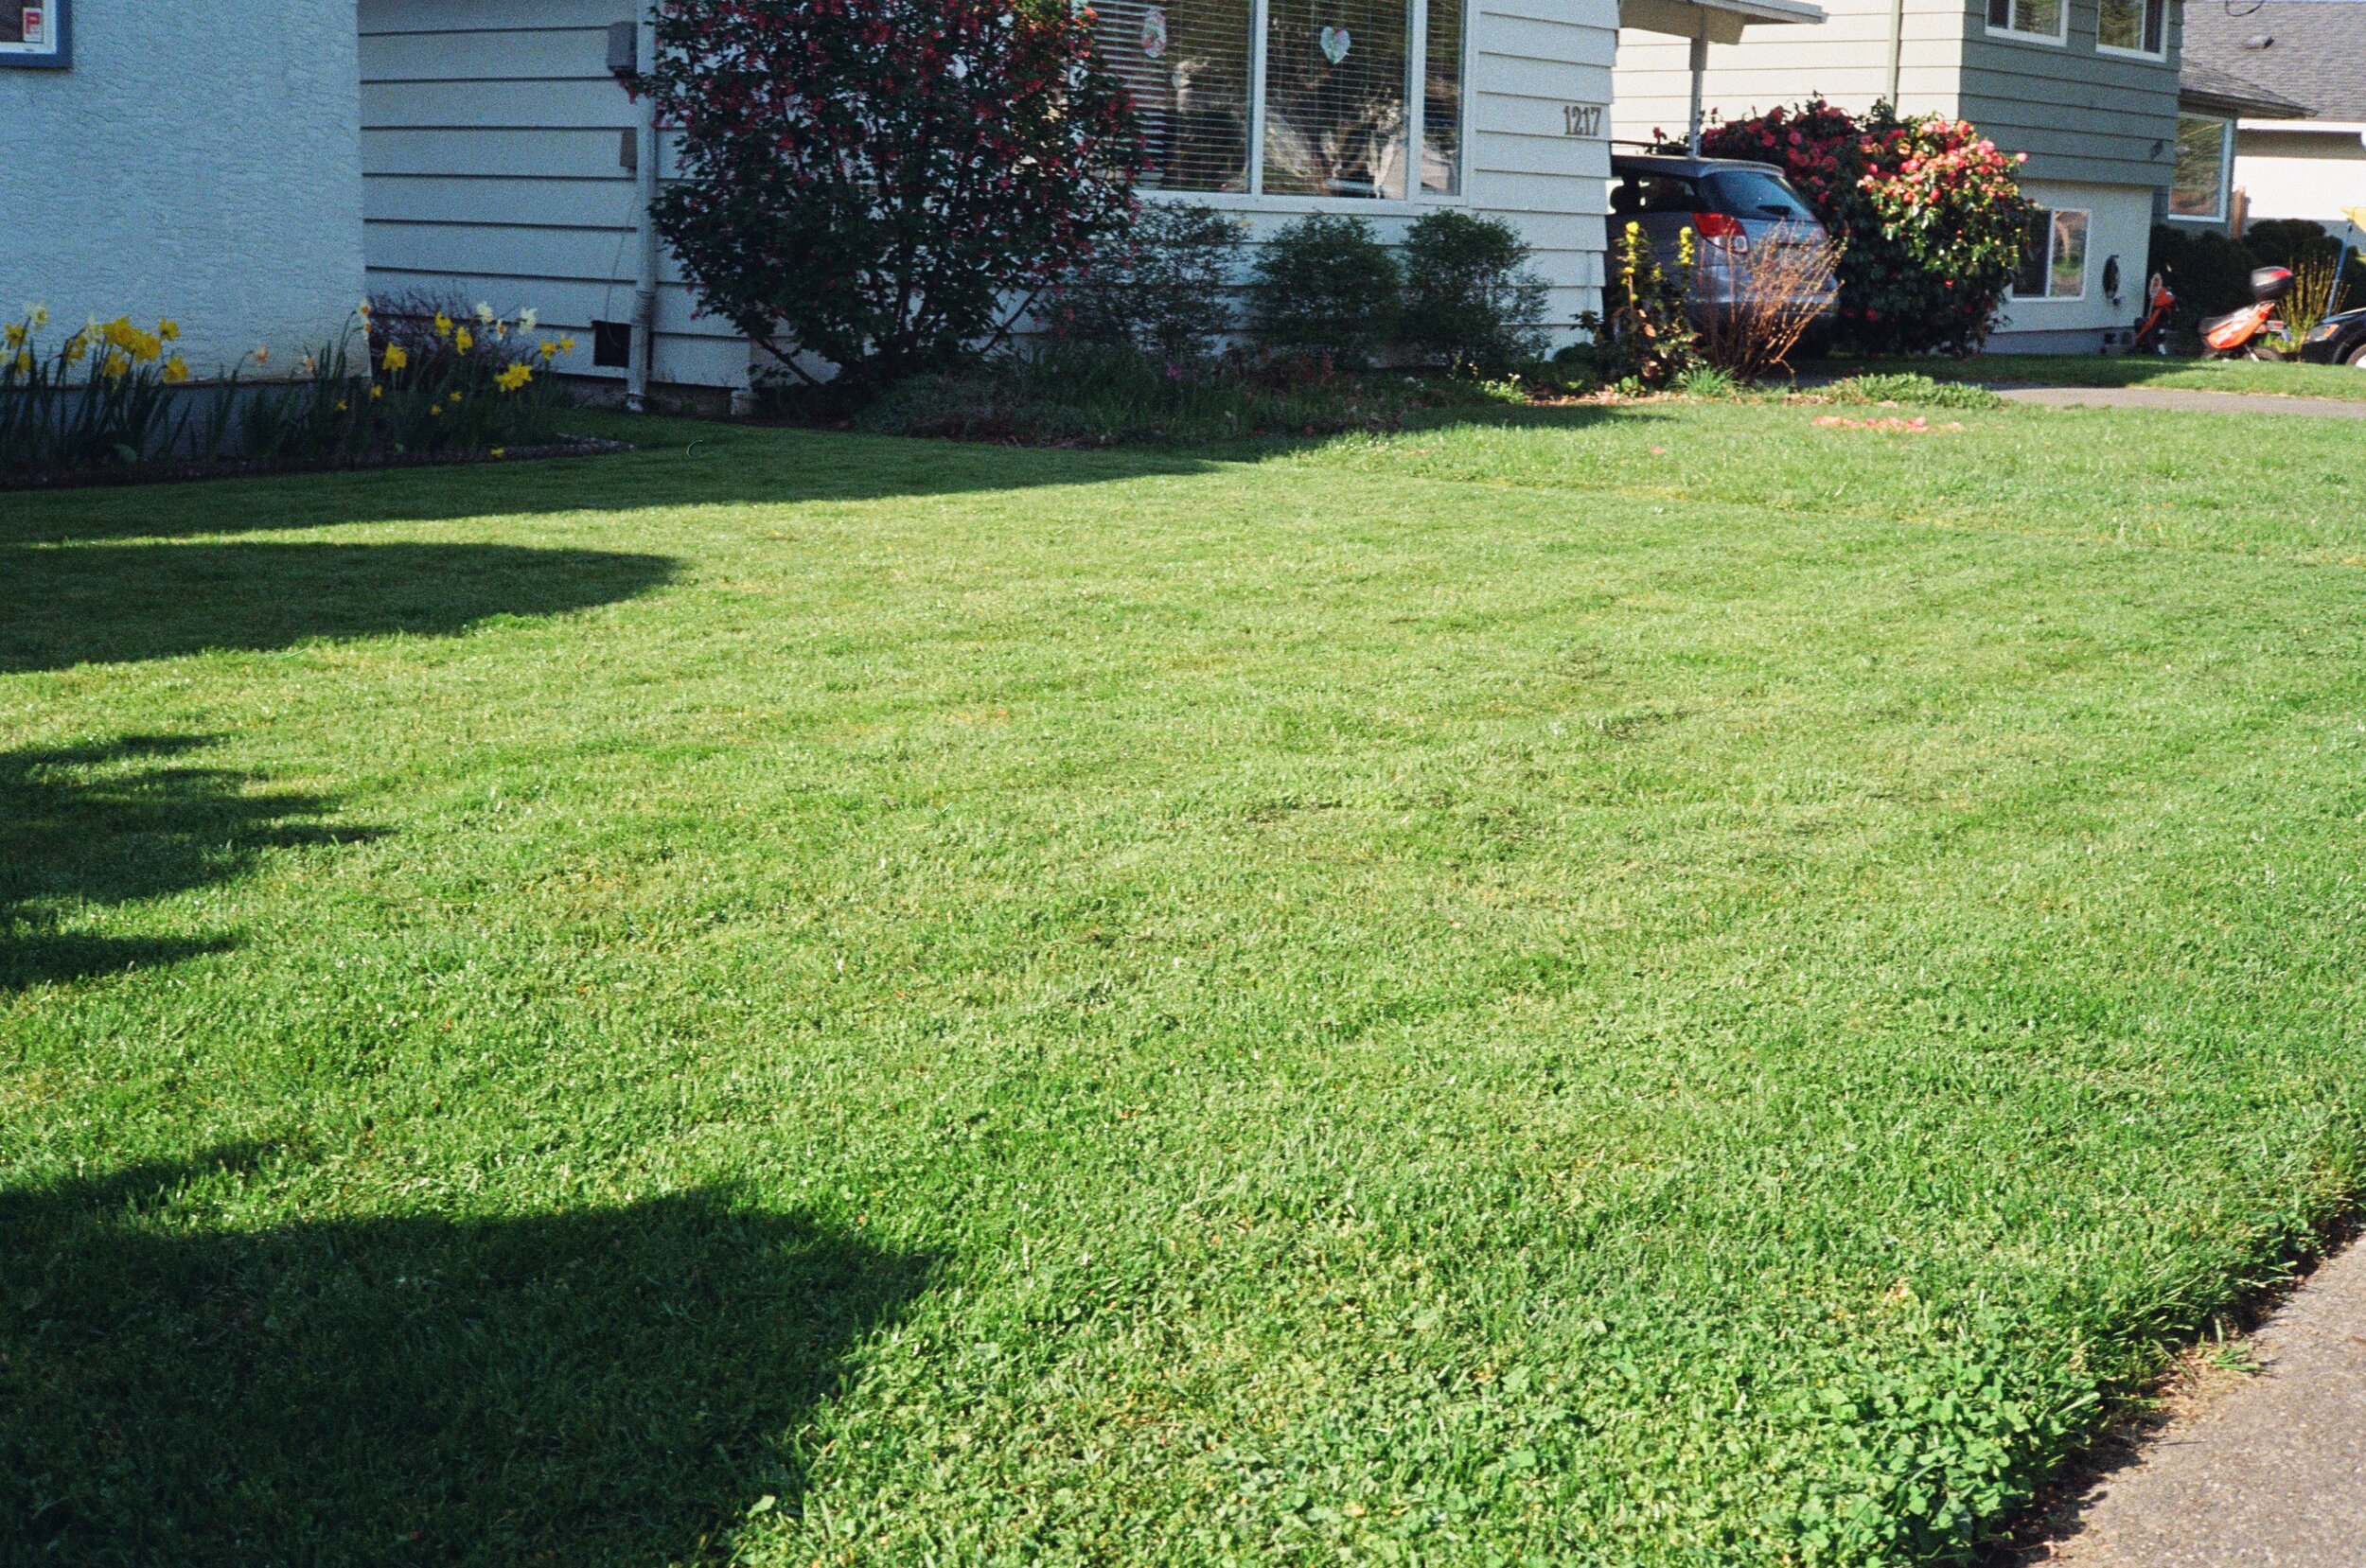
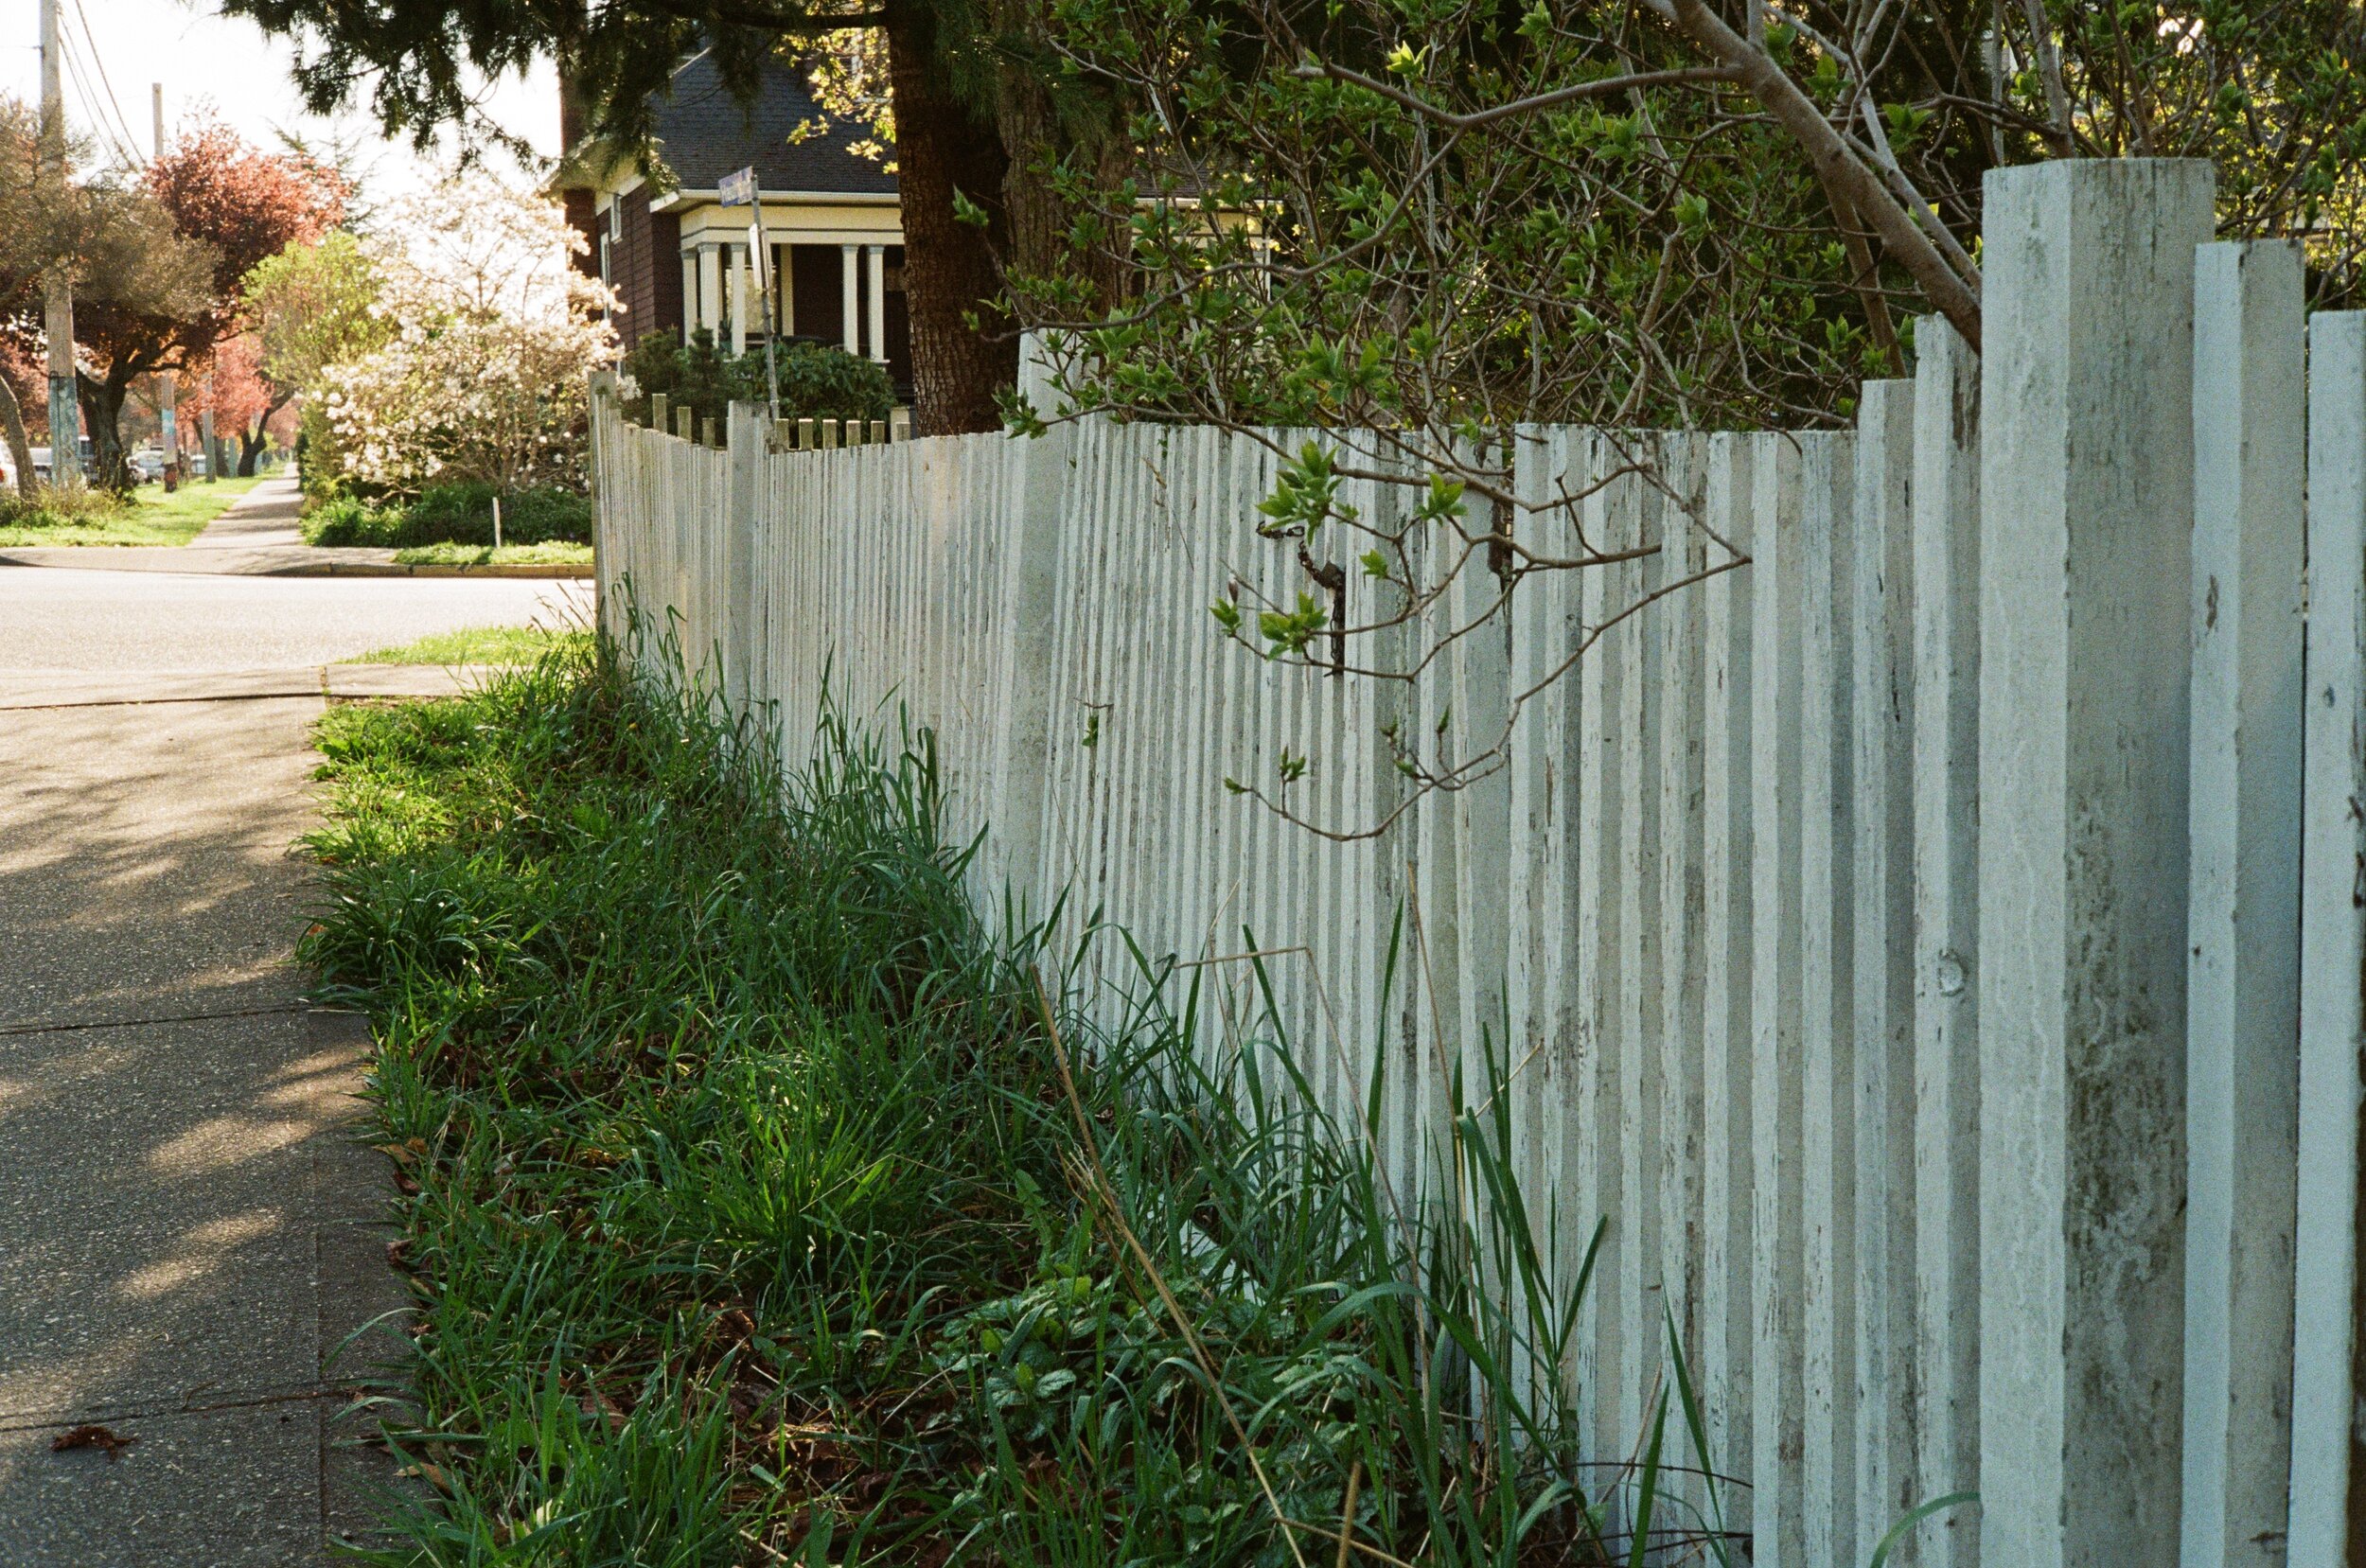
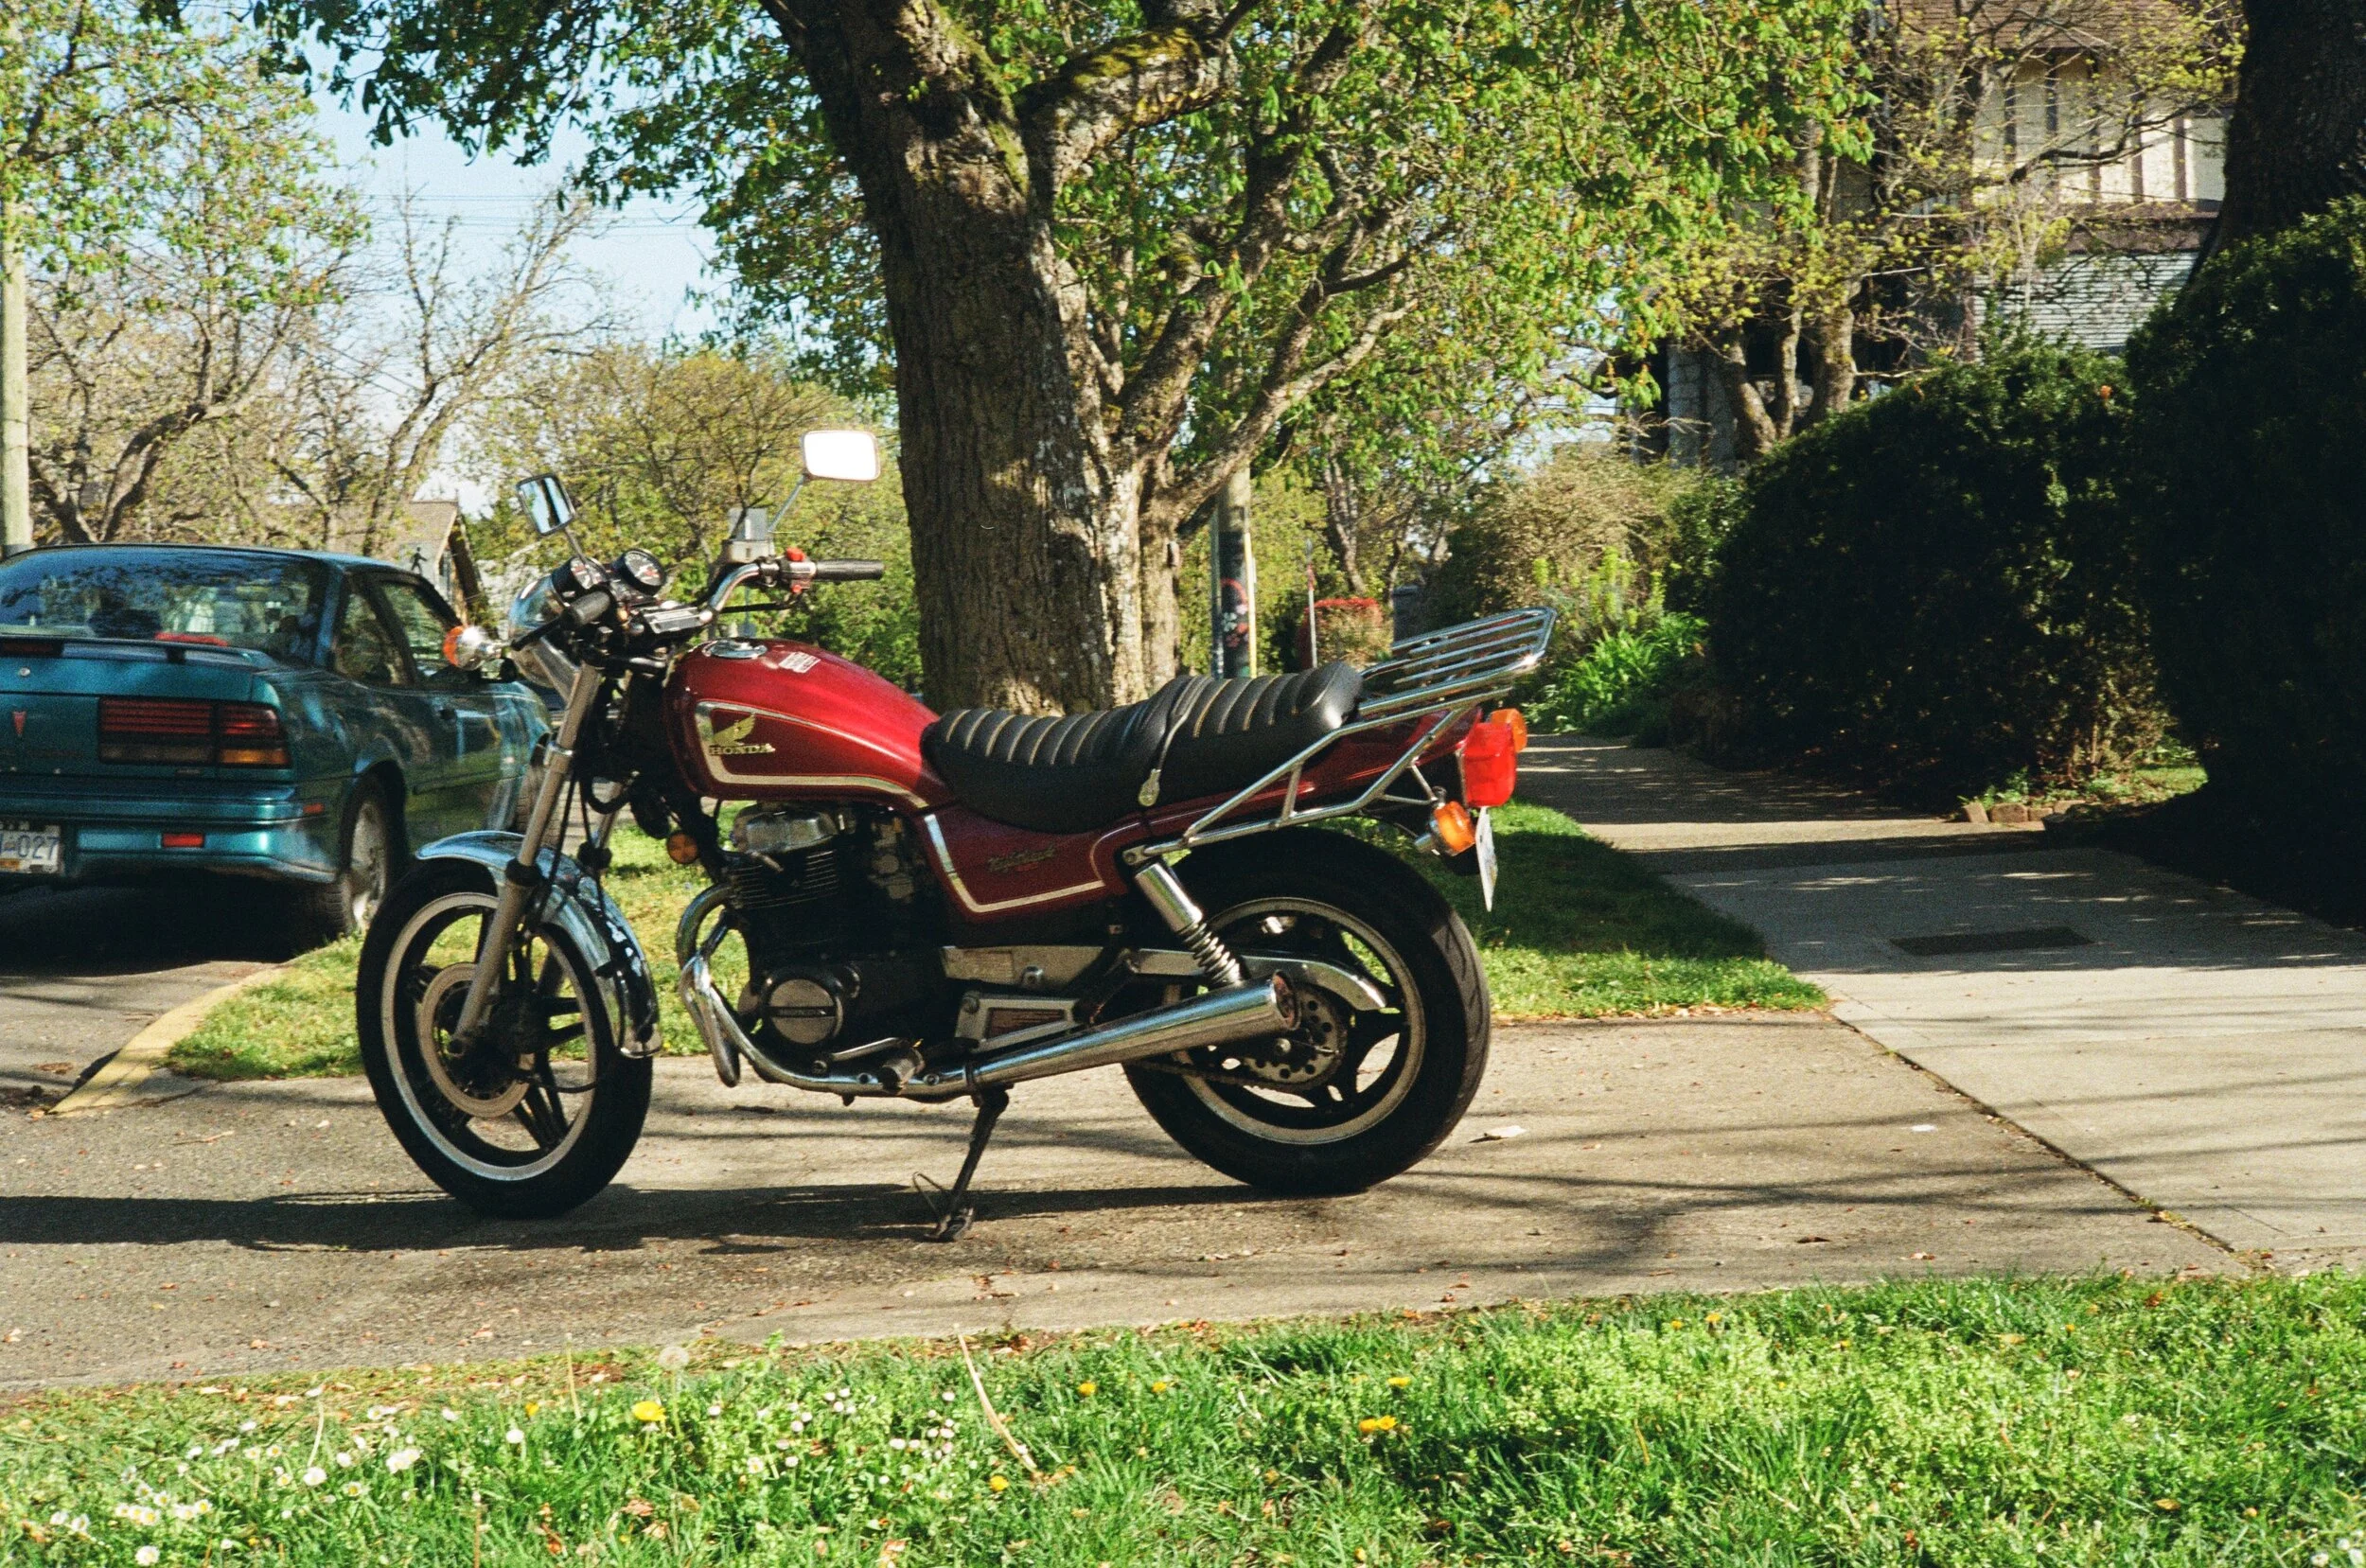
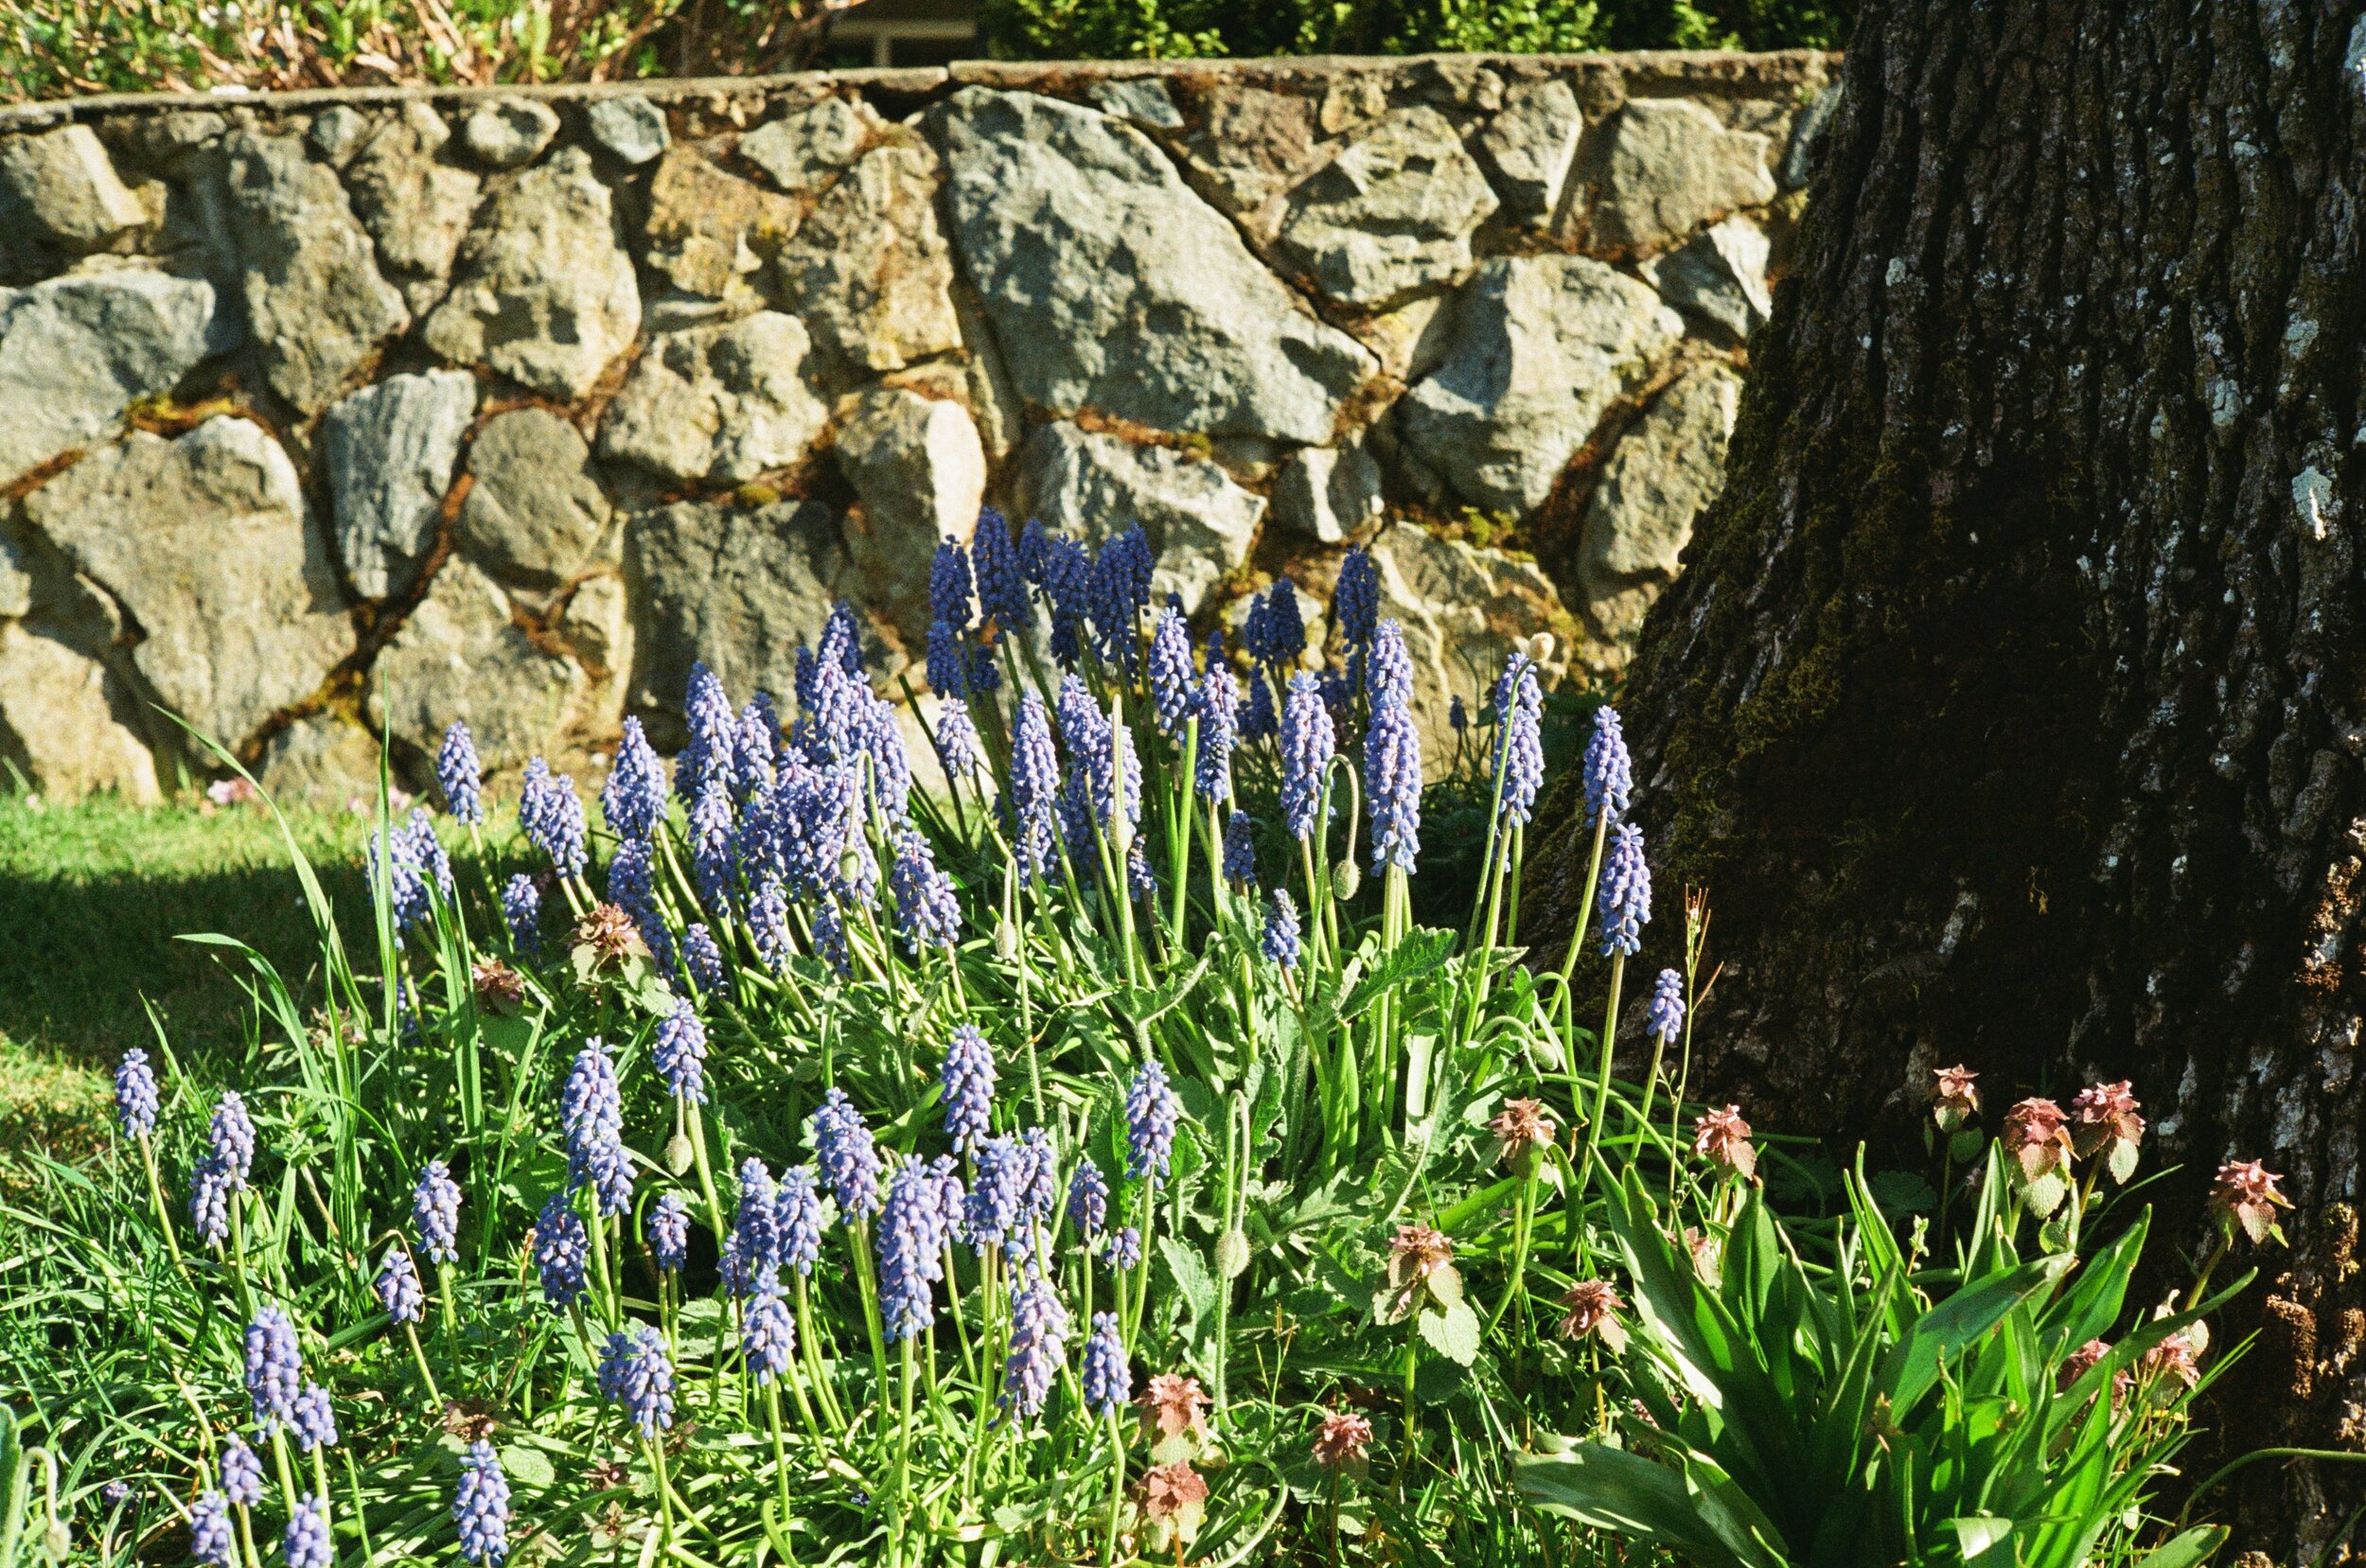
The next few days were a bit of drudgery, as I carefully scraped away the old lights seals and then removed the remnants with nail polish remover. With the craft foam I bought, I cut out three new strips to go into the now empty channels along the edges and glued them in. I let new strips dry and the next day gave the lens a good cleaning. Theoretically, it was ready for pictures (After photos are below). I opened my first roll of film in likely fifteen years put it in and advanced it till the counter stood on 1. Out in the morning sun of my neighbourhood, I took my first photos with it, the whole time realising that I might be using it wrong or that something wasn’t going to work. Over the next three days I actually went through the whole 36 pictures in the roll.
There was something nice about thinking about the limitation on the roll of film, it made you pause and think about the picture before you pressed the button. This was aided by the need to set the speed and aperture and my note taking so that when the film came back terribly, I would know what I had done wrong.
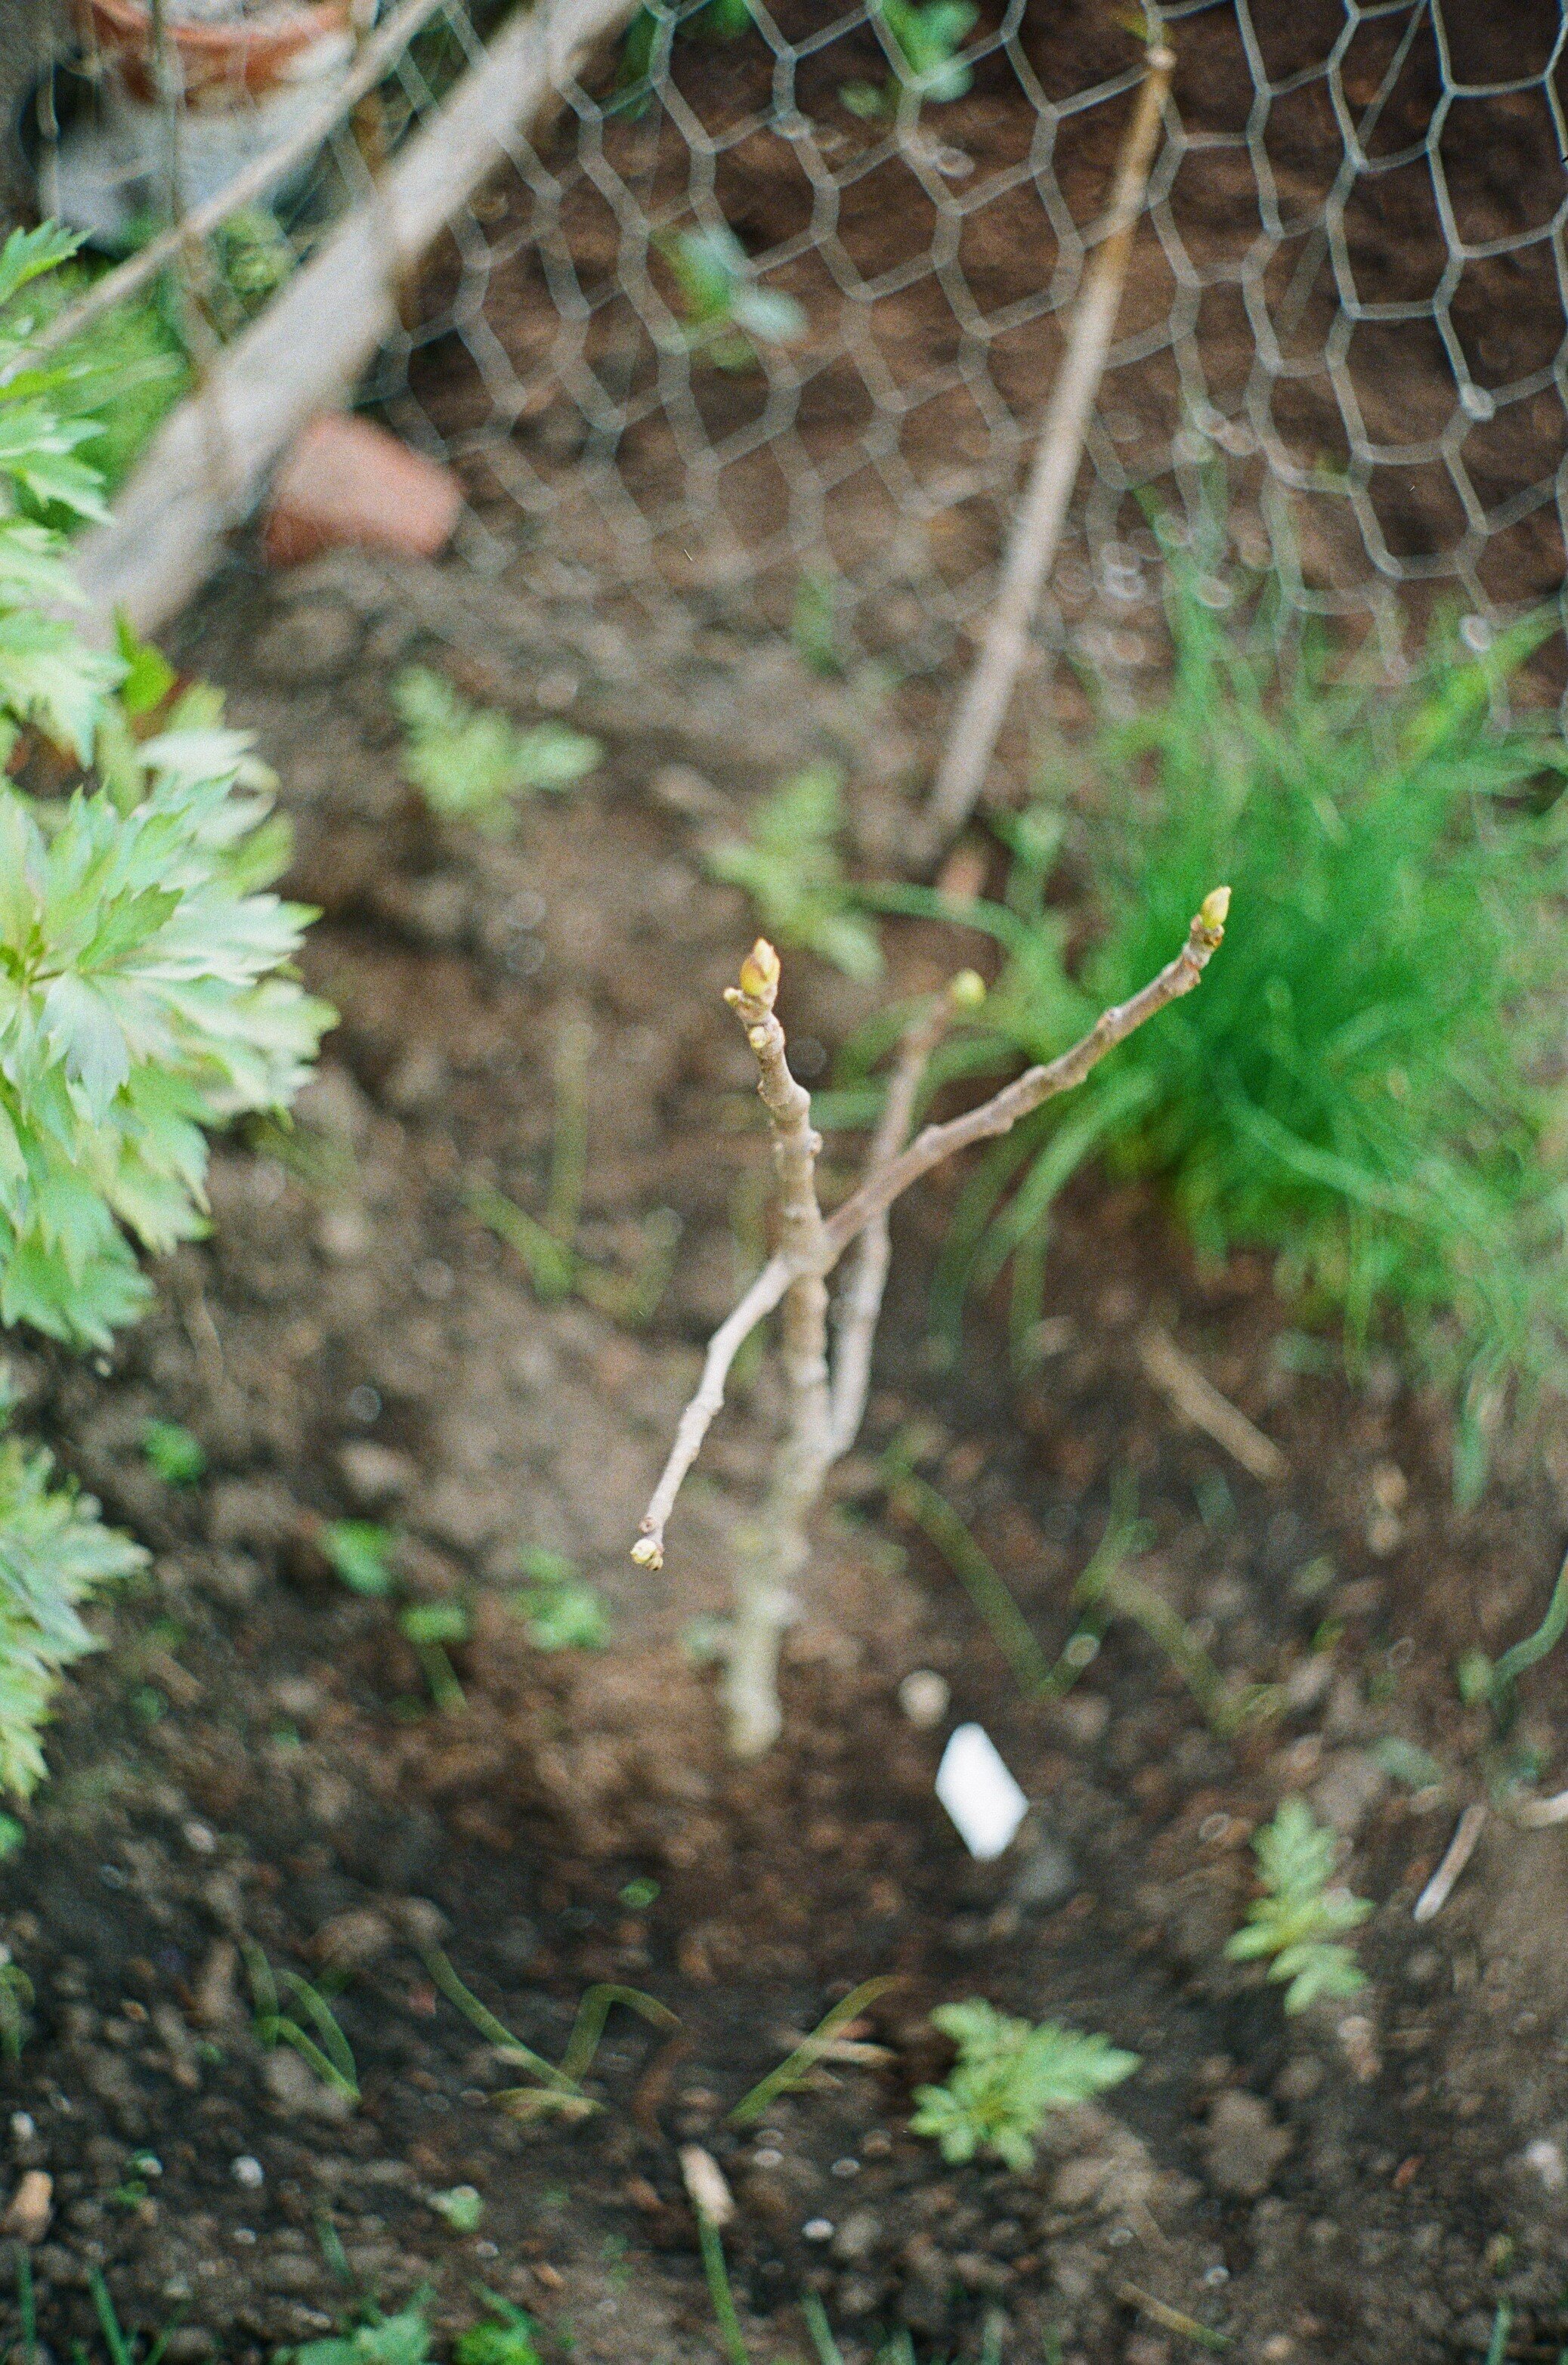
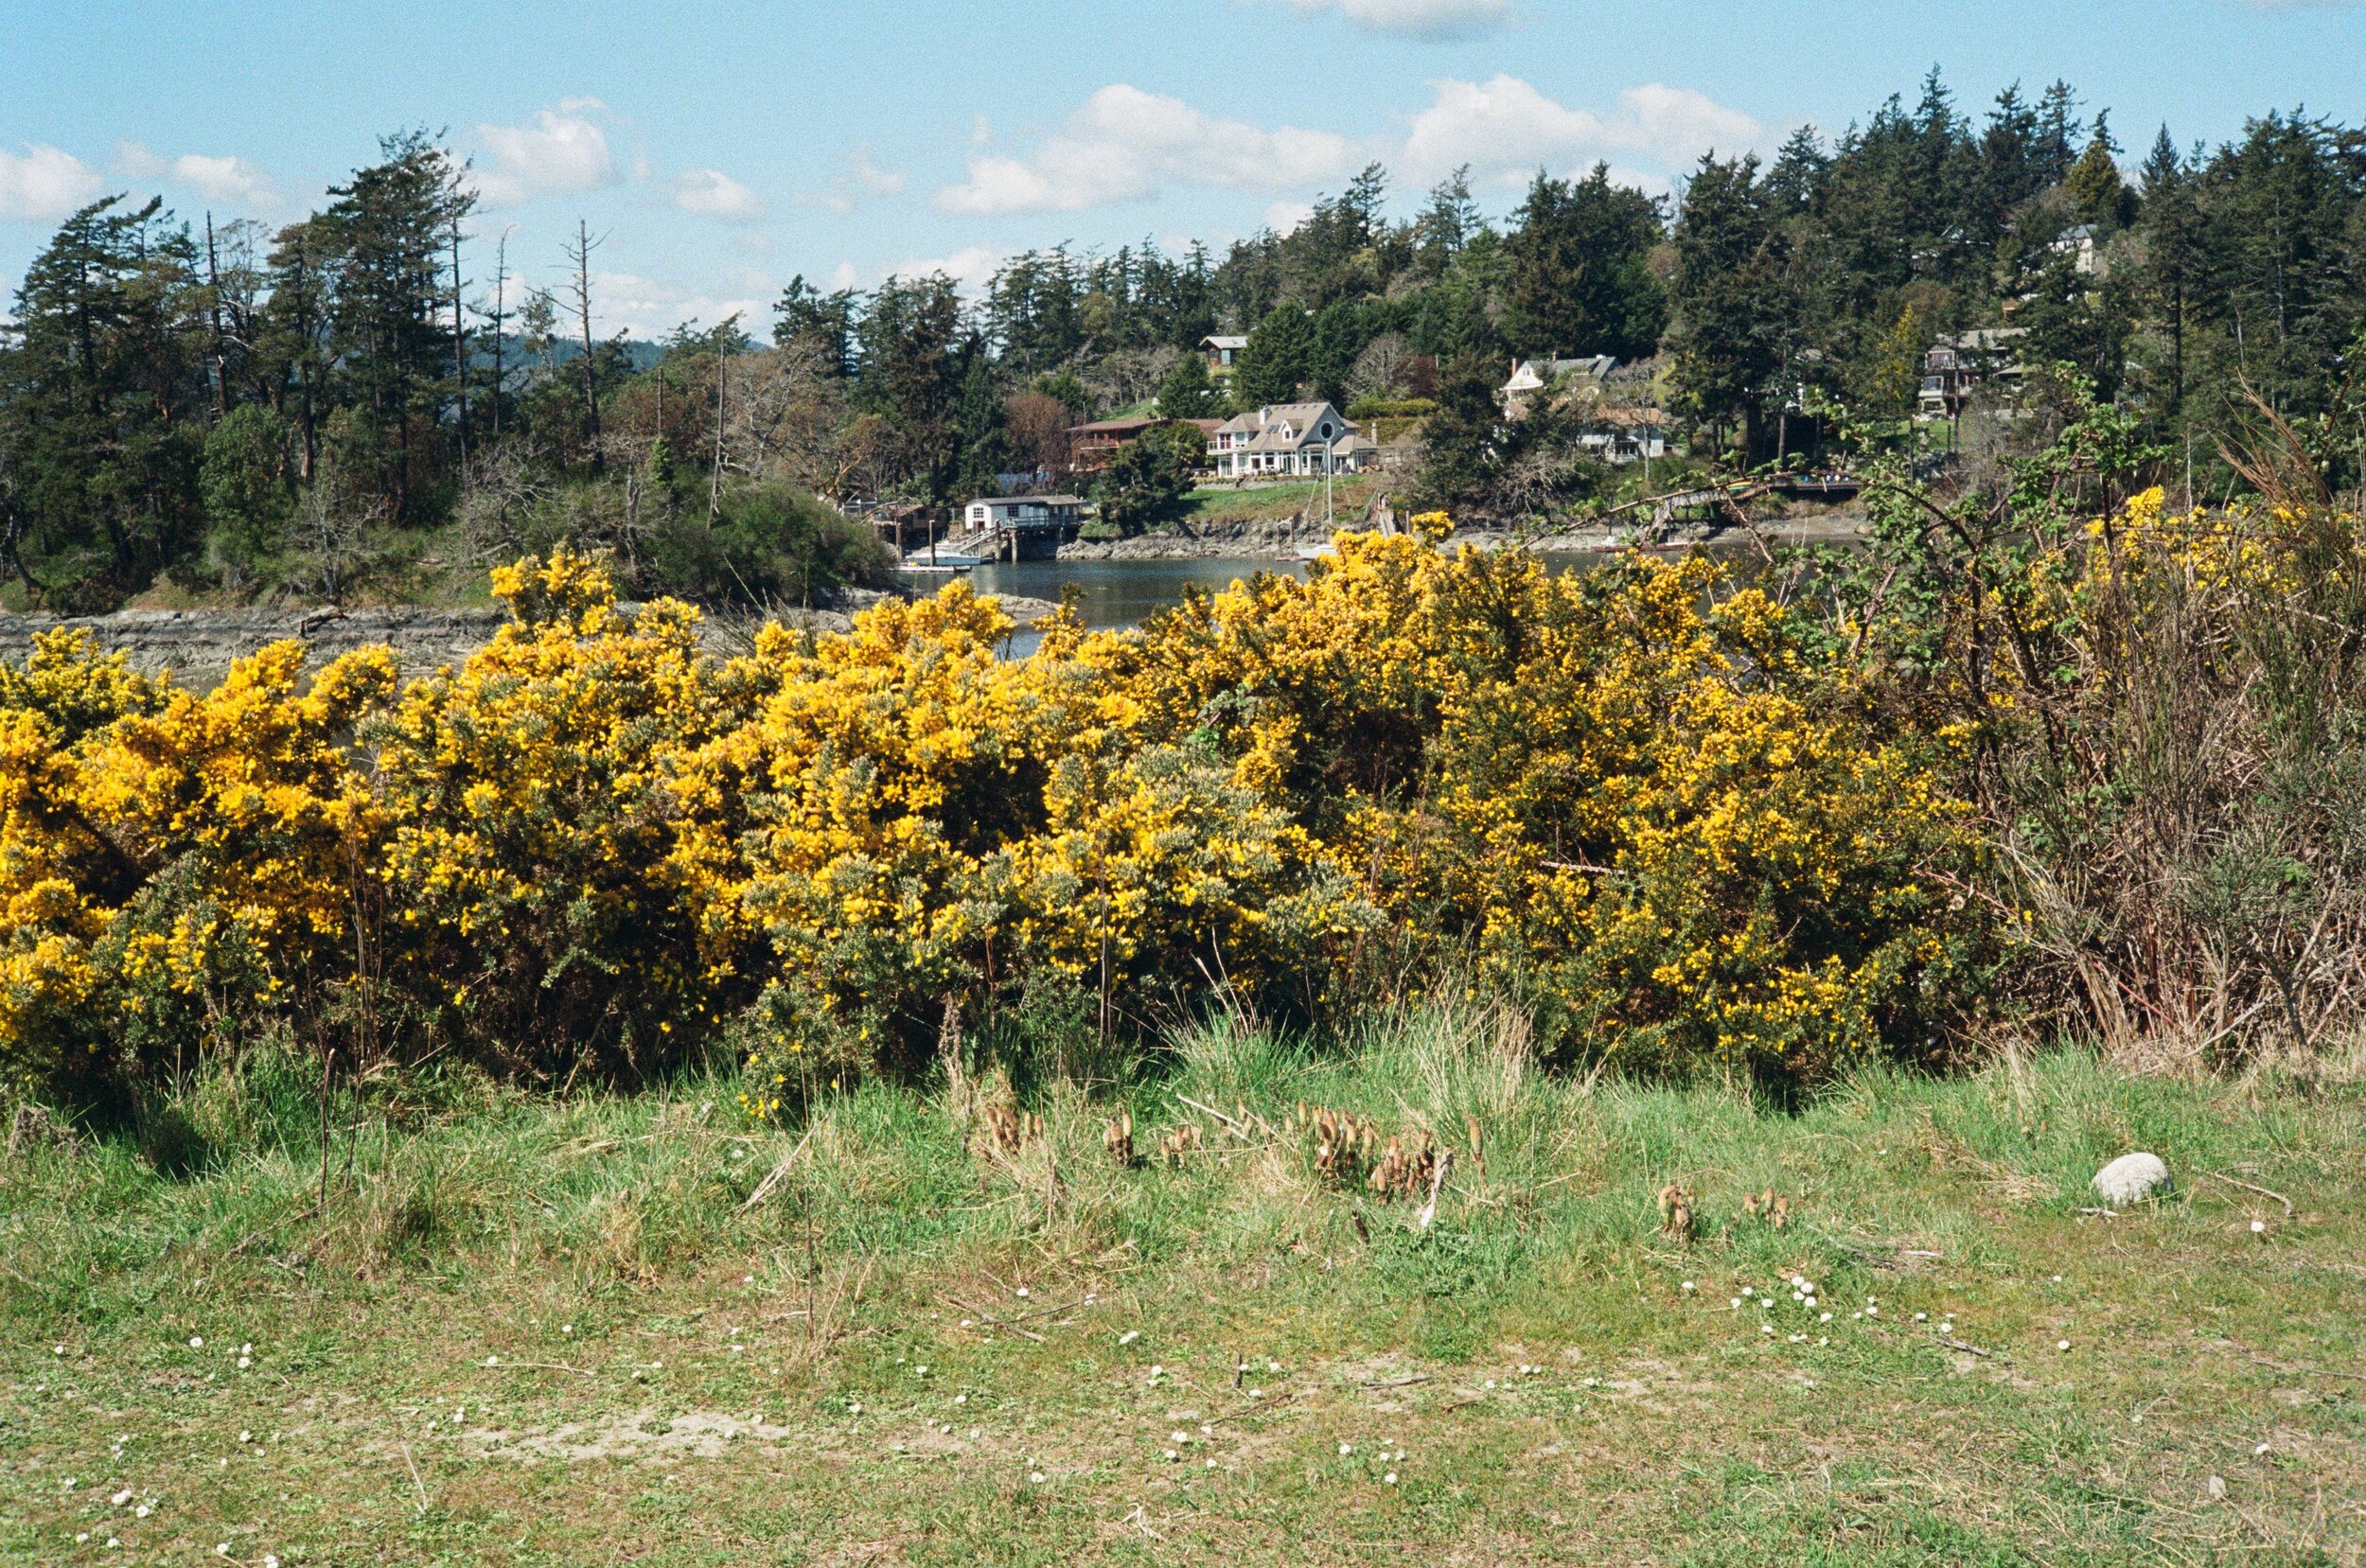
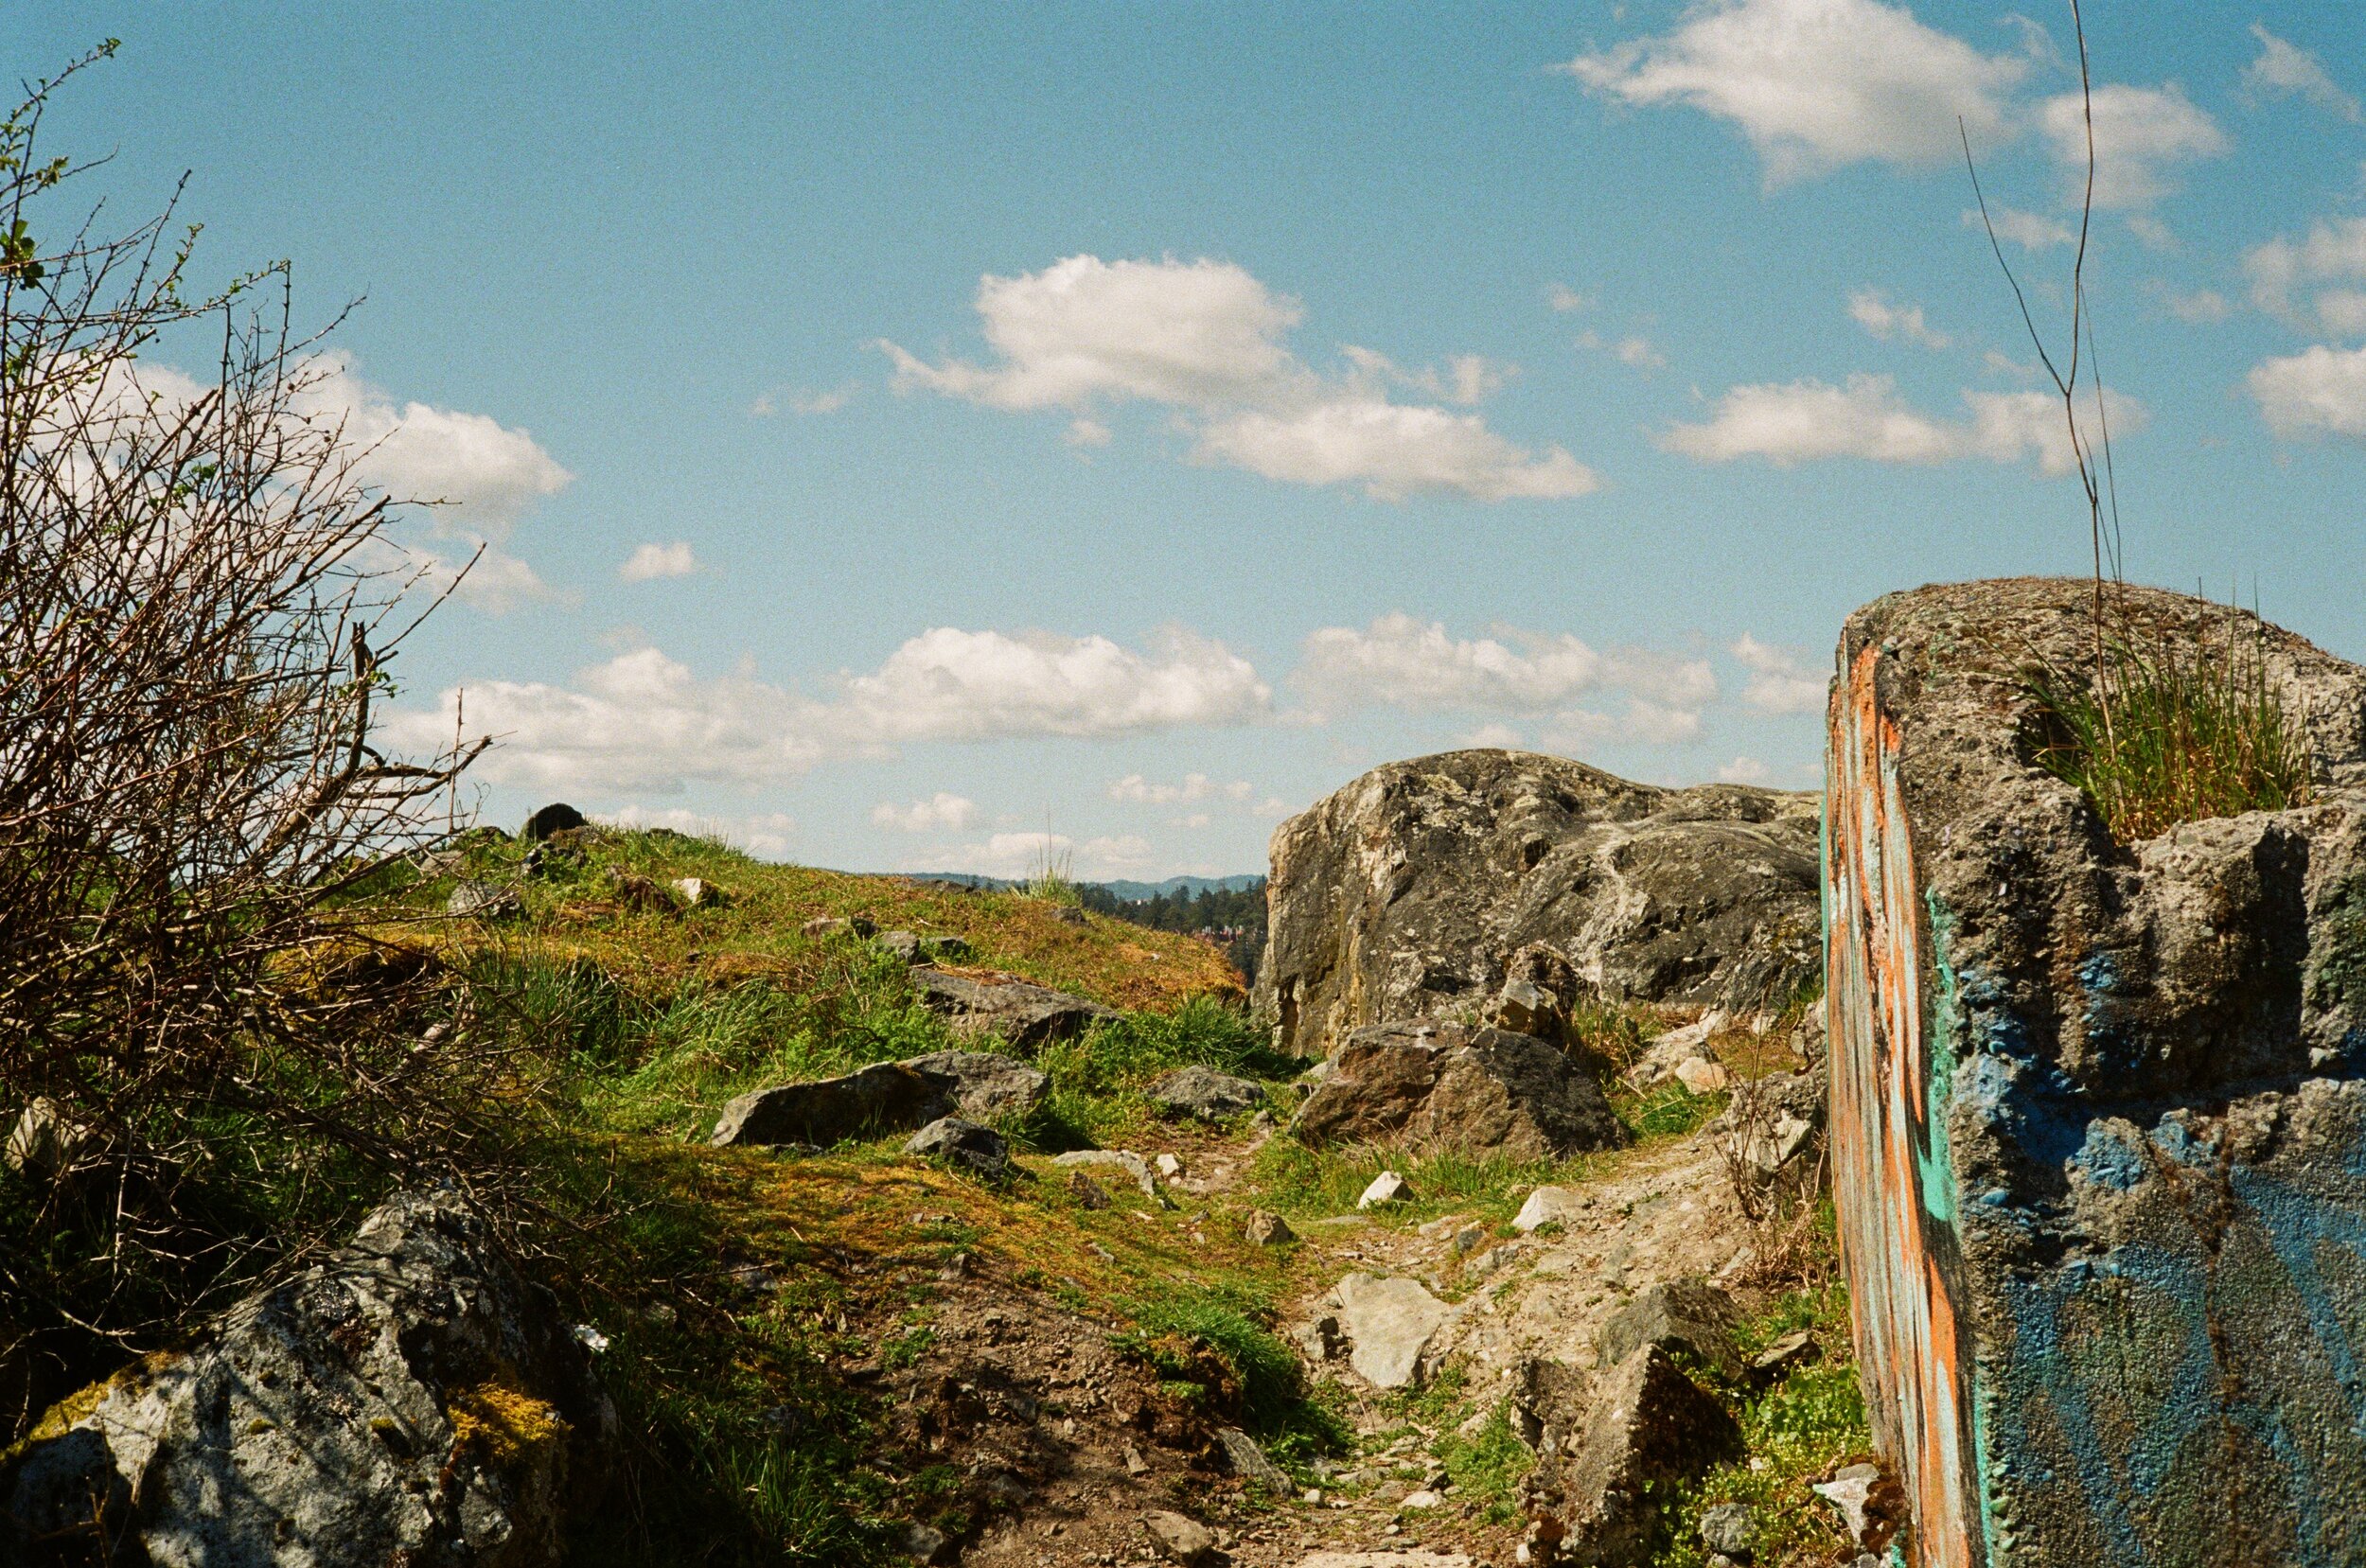
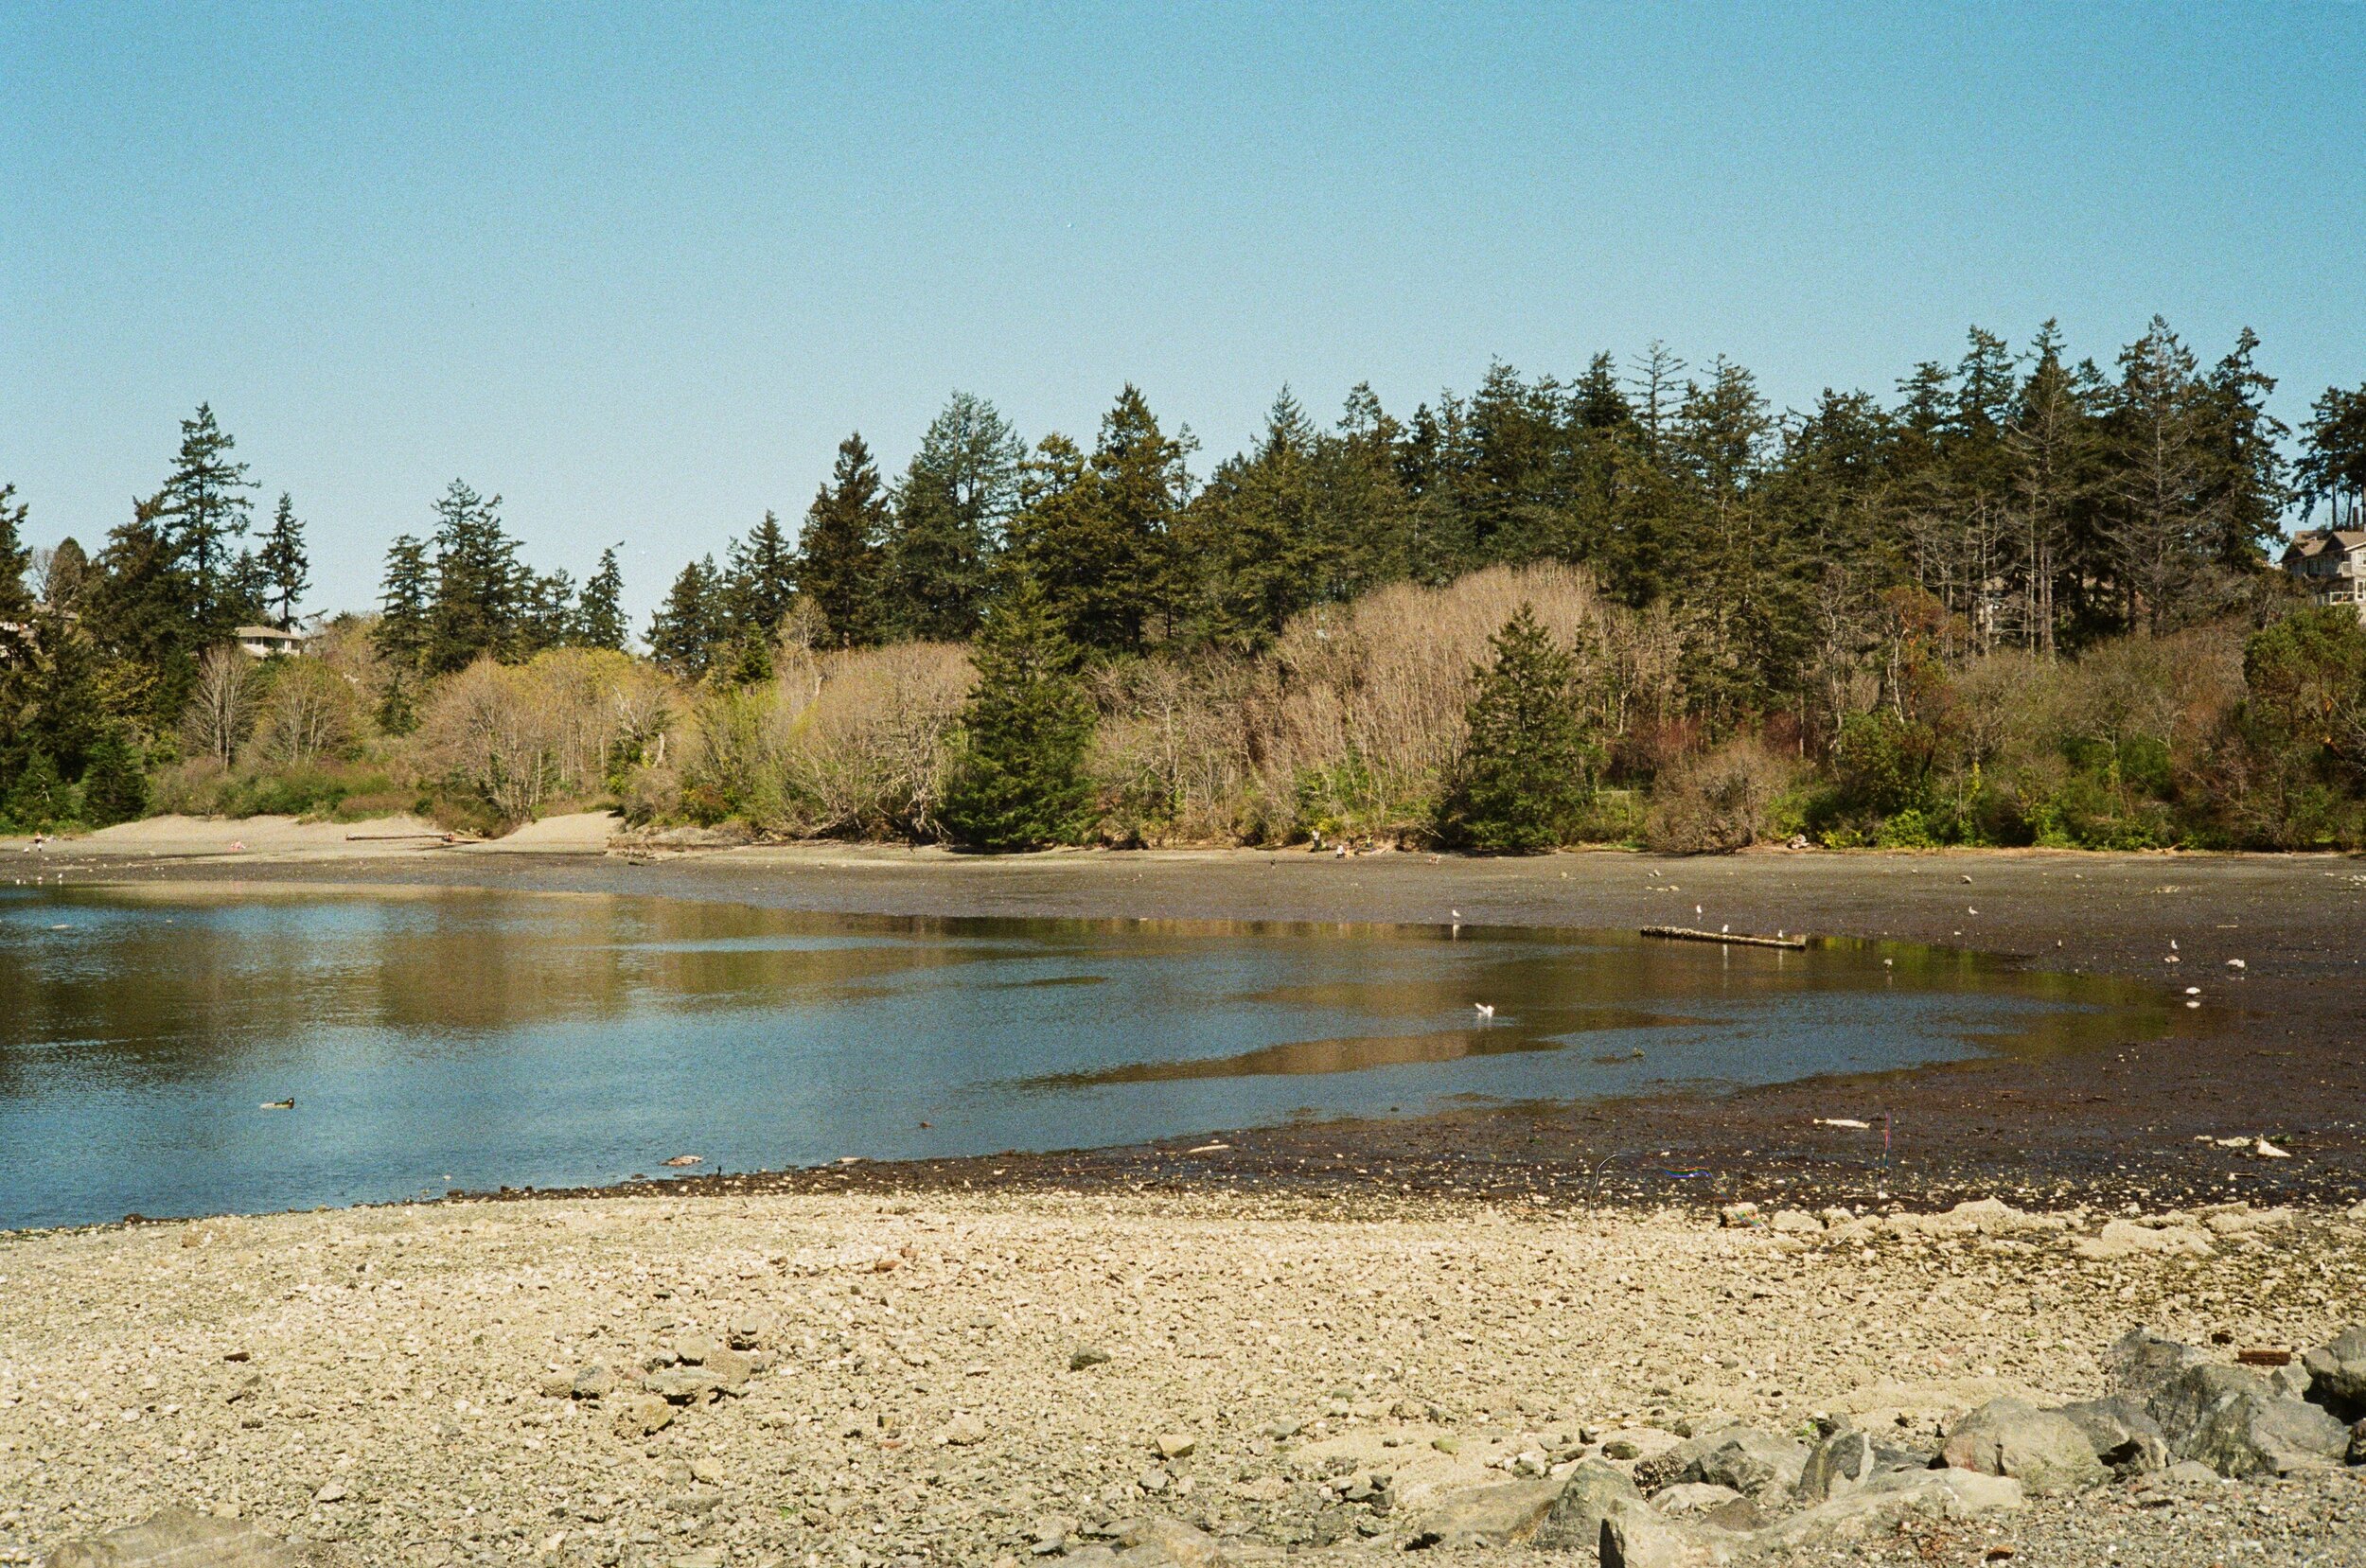
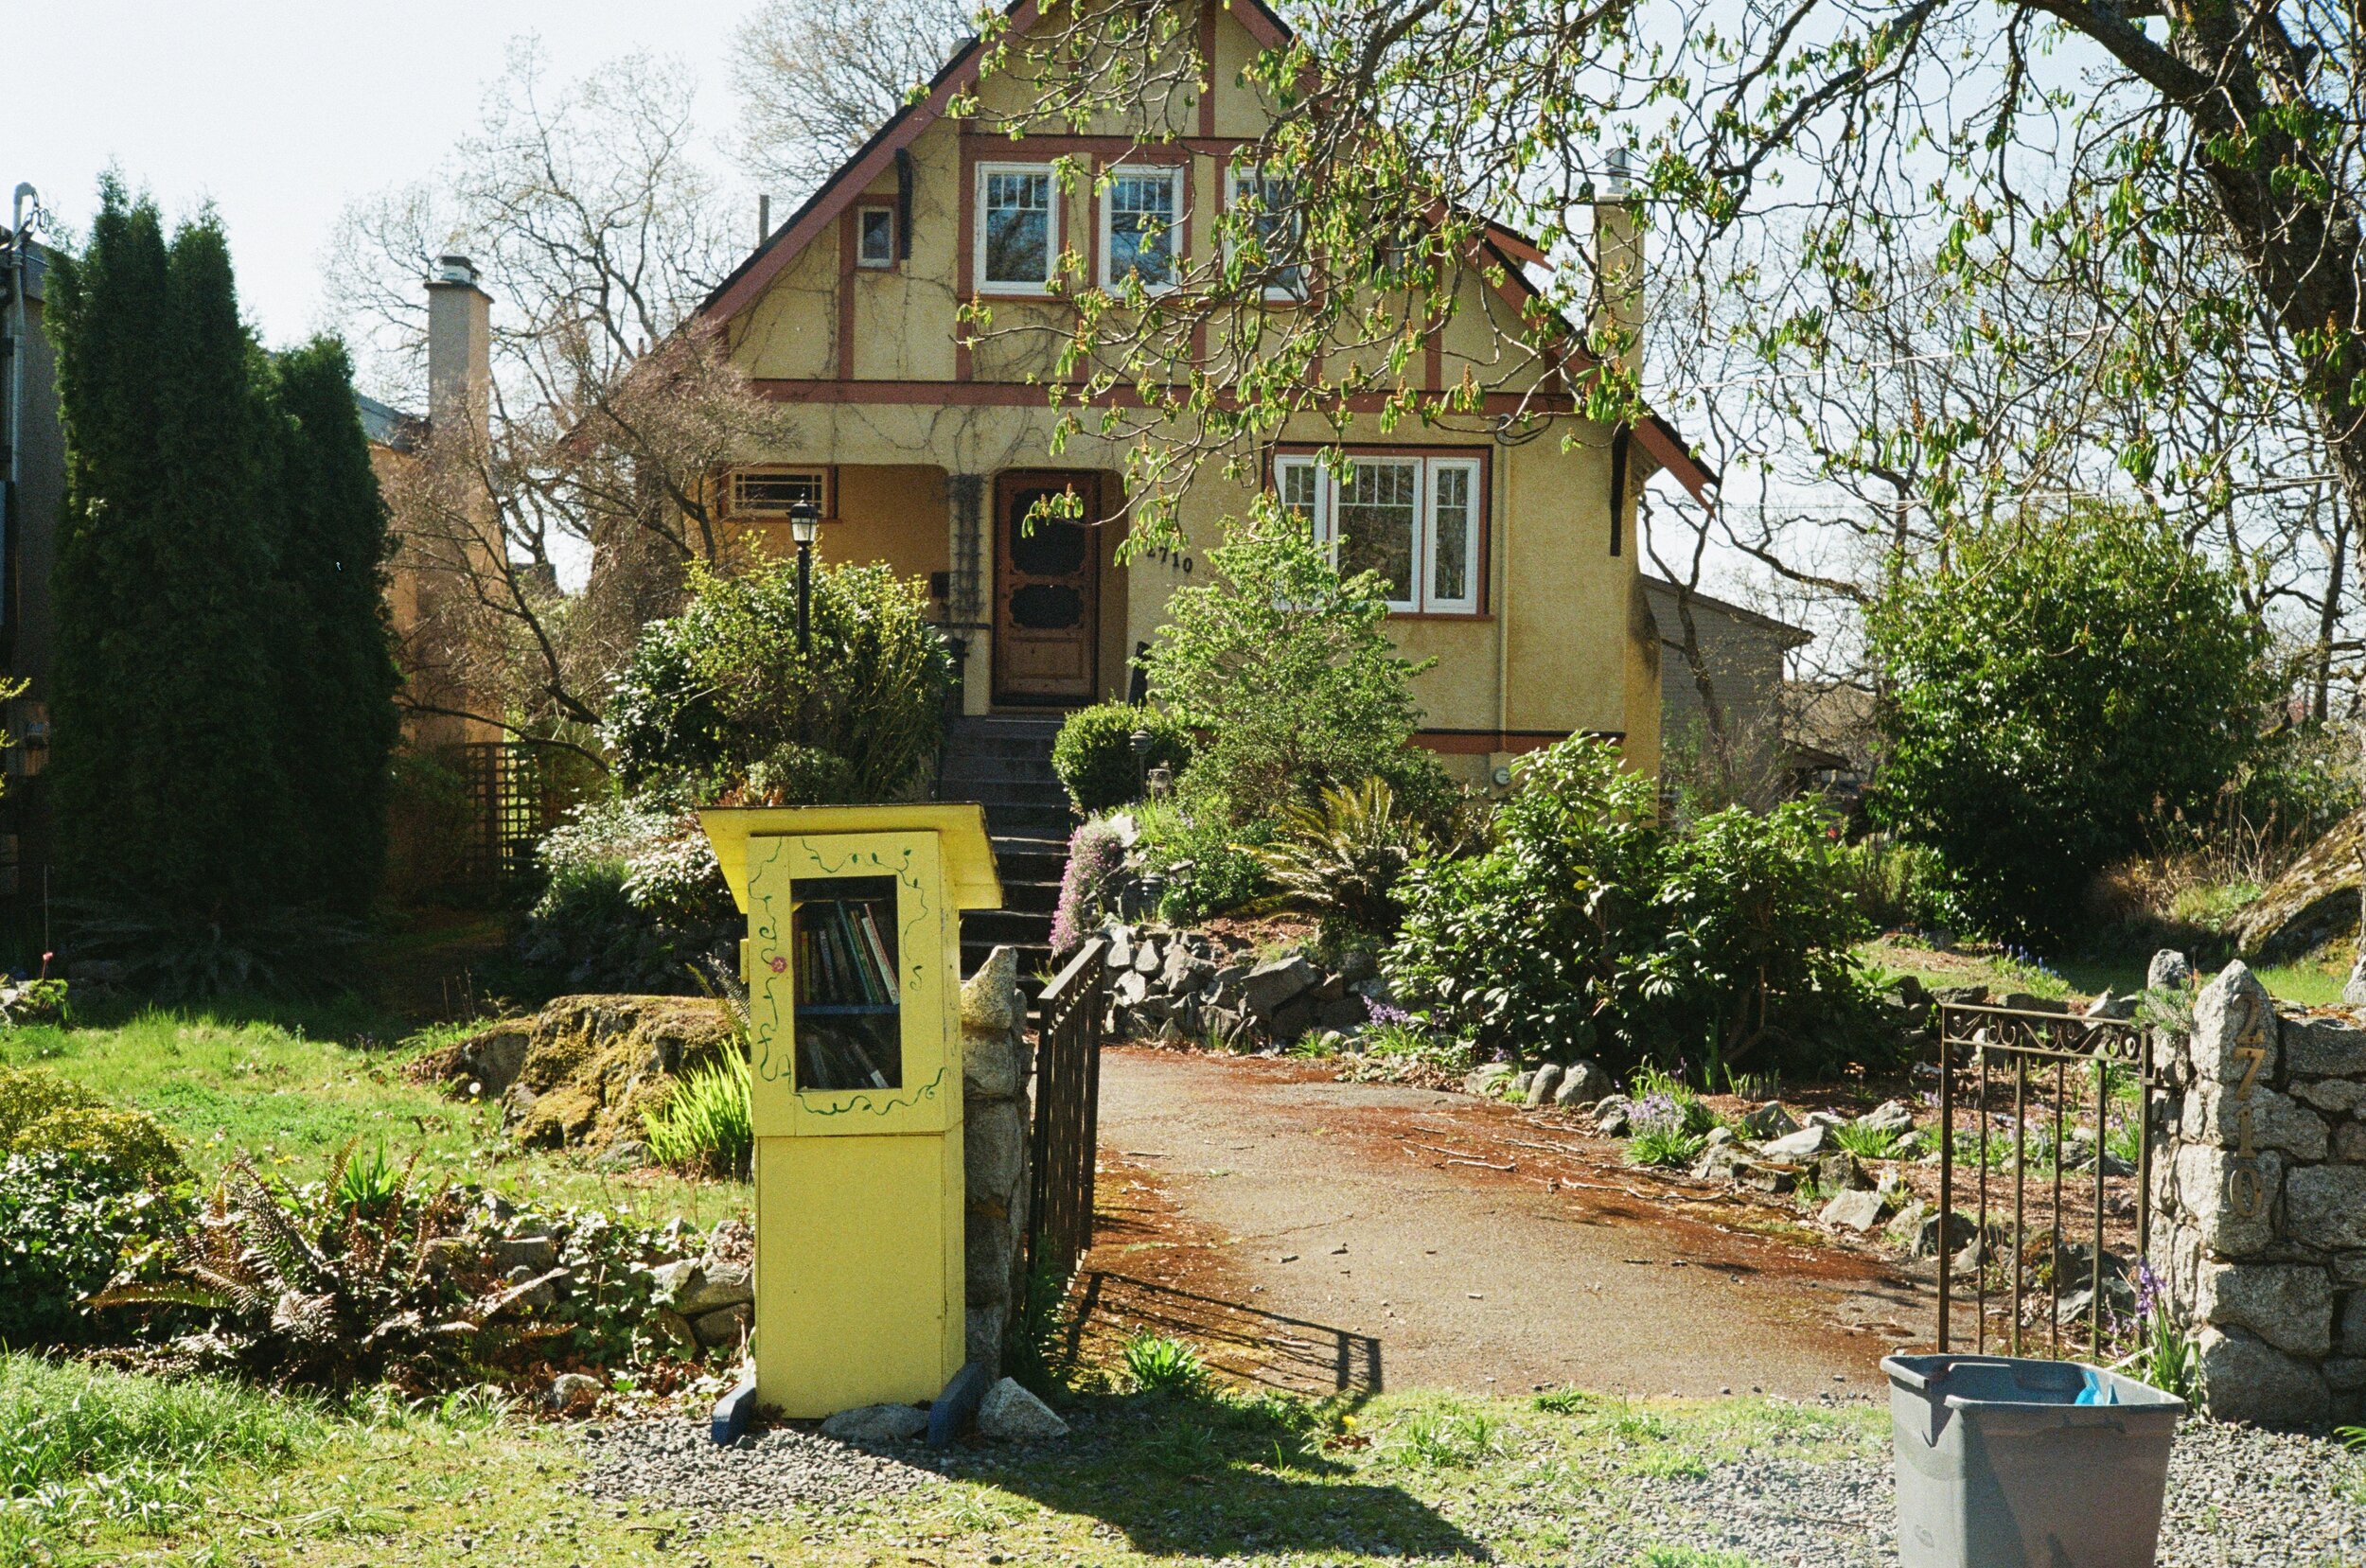
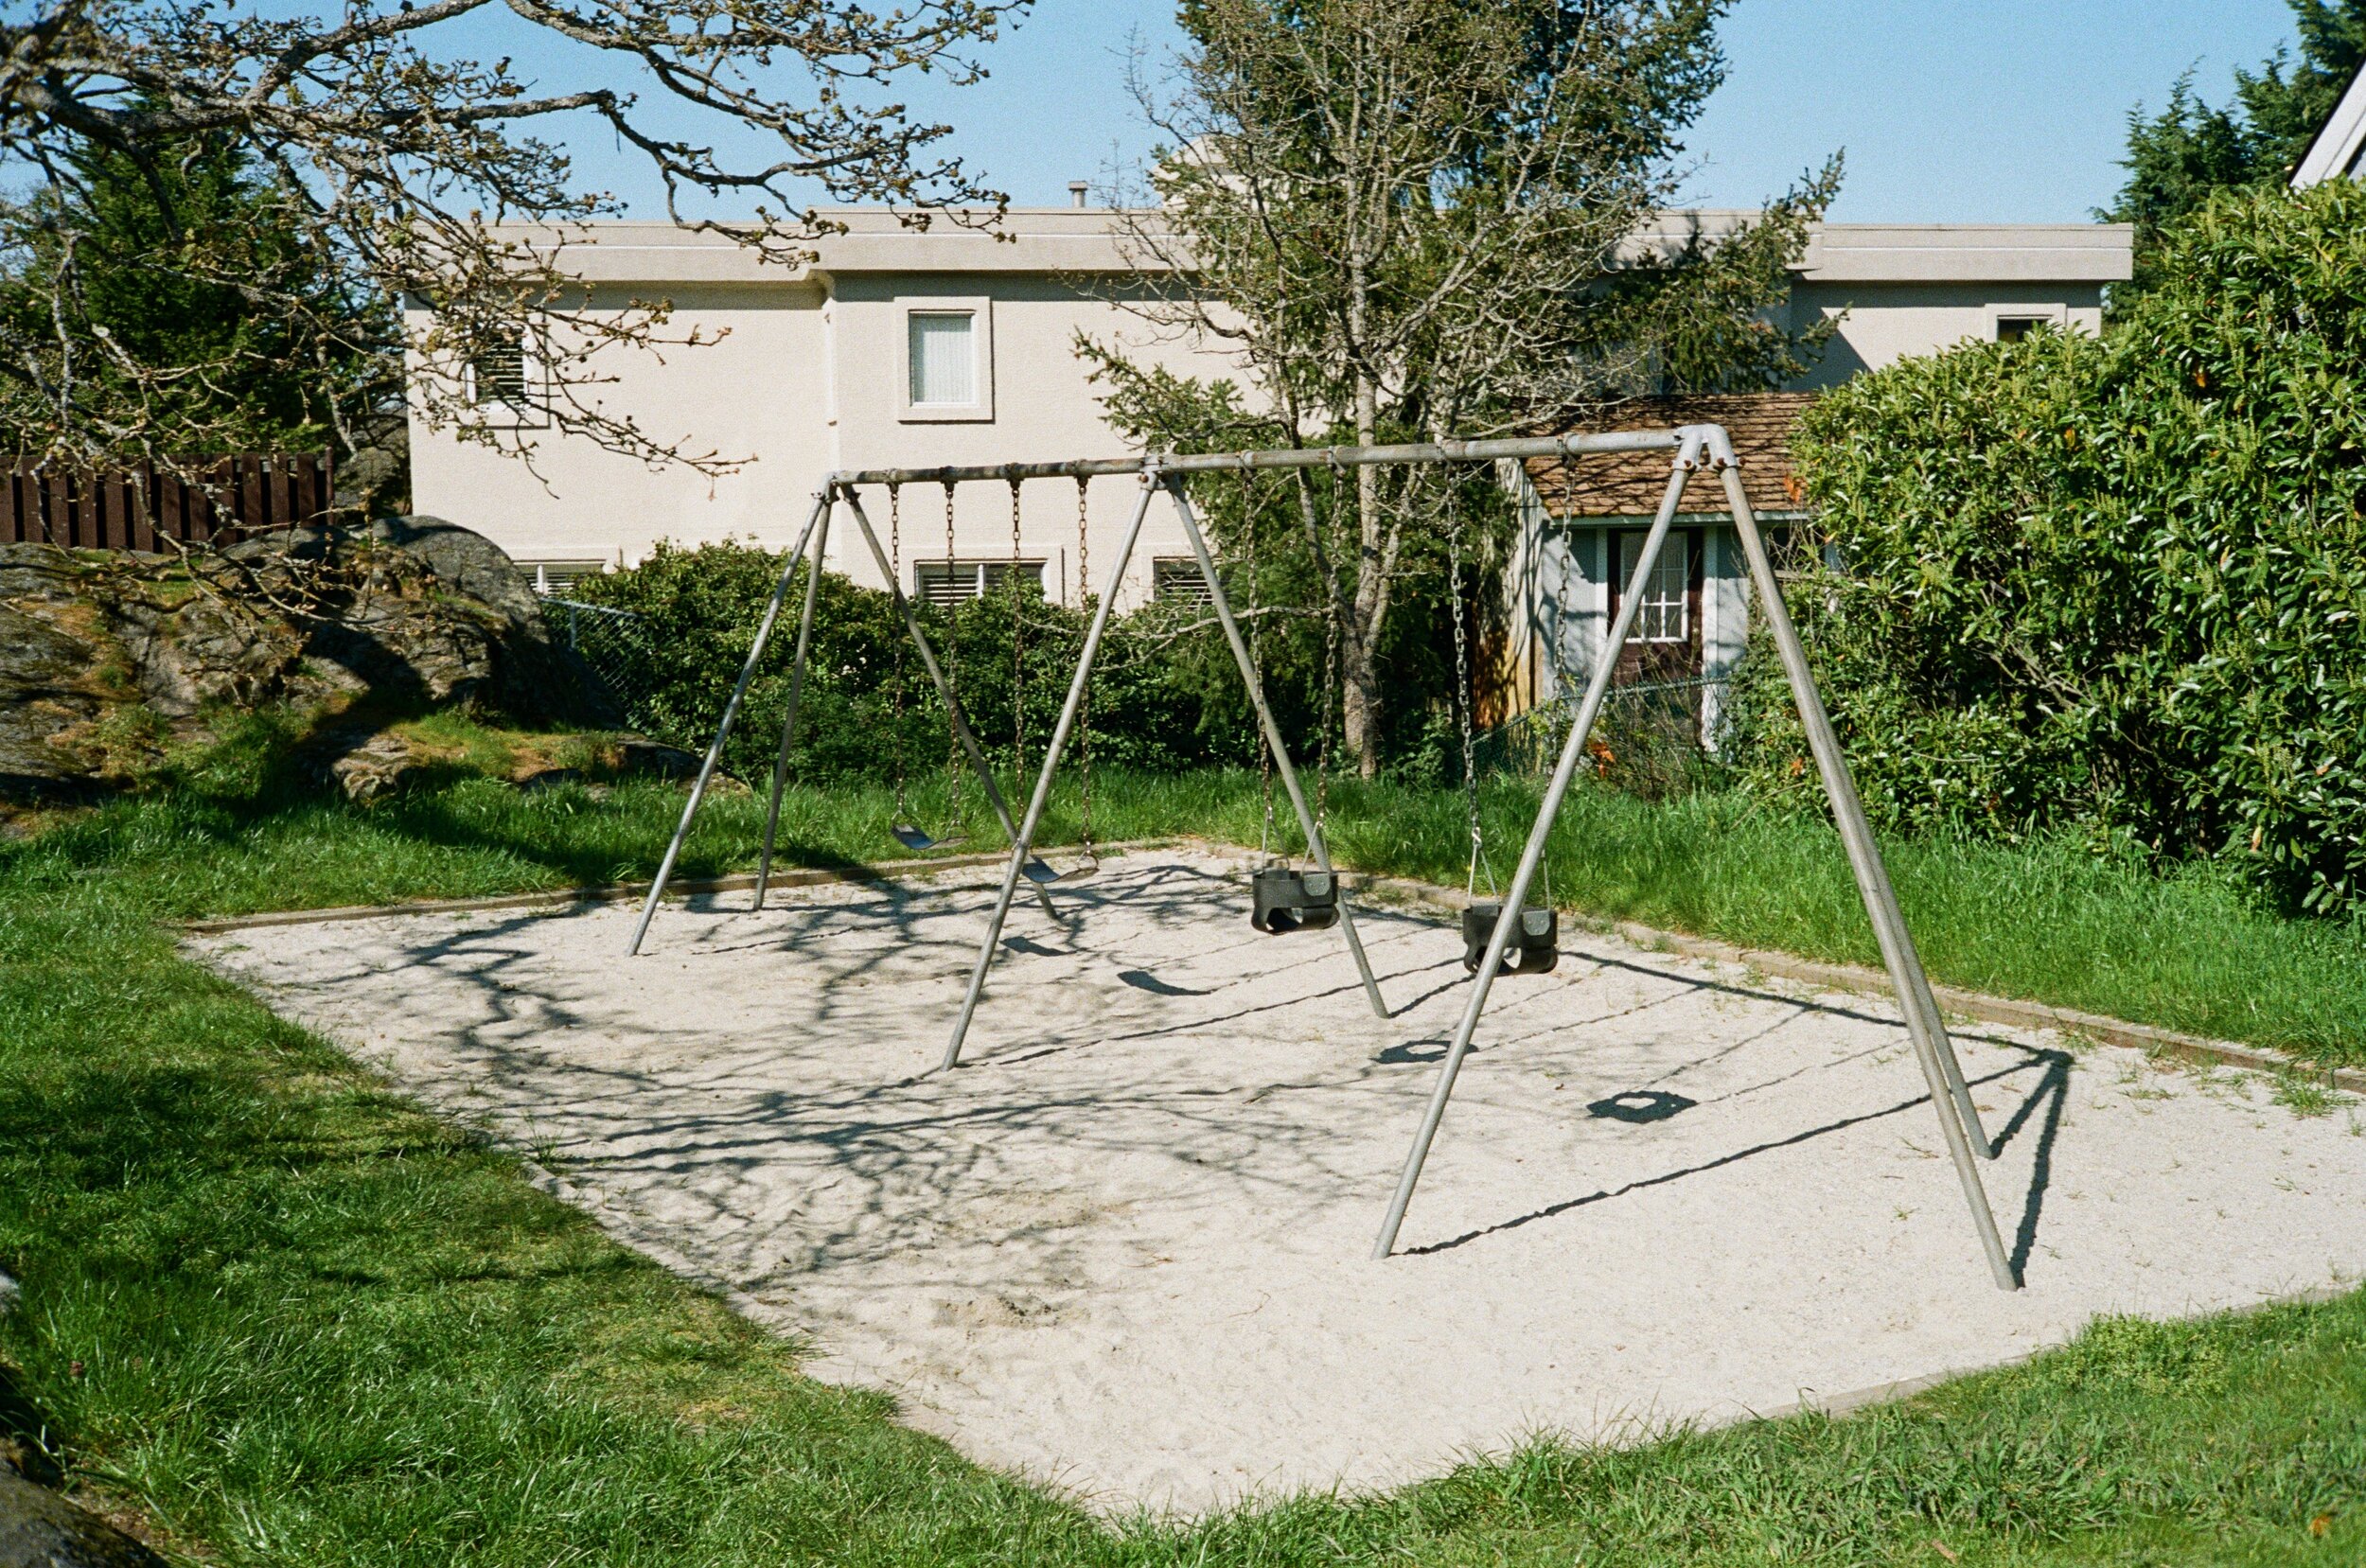
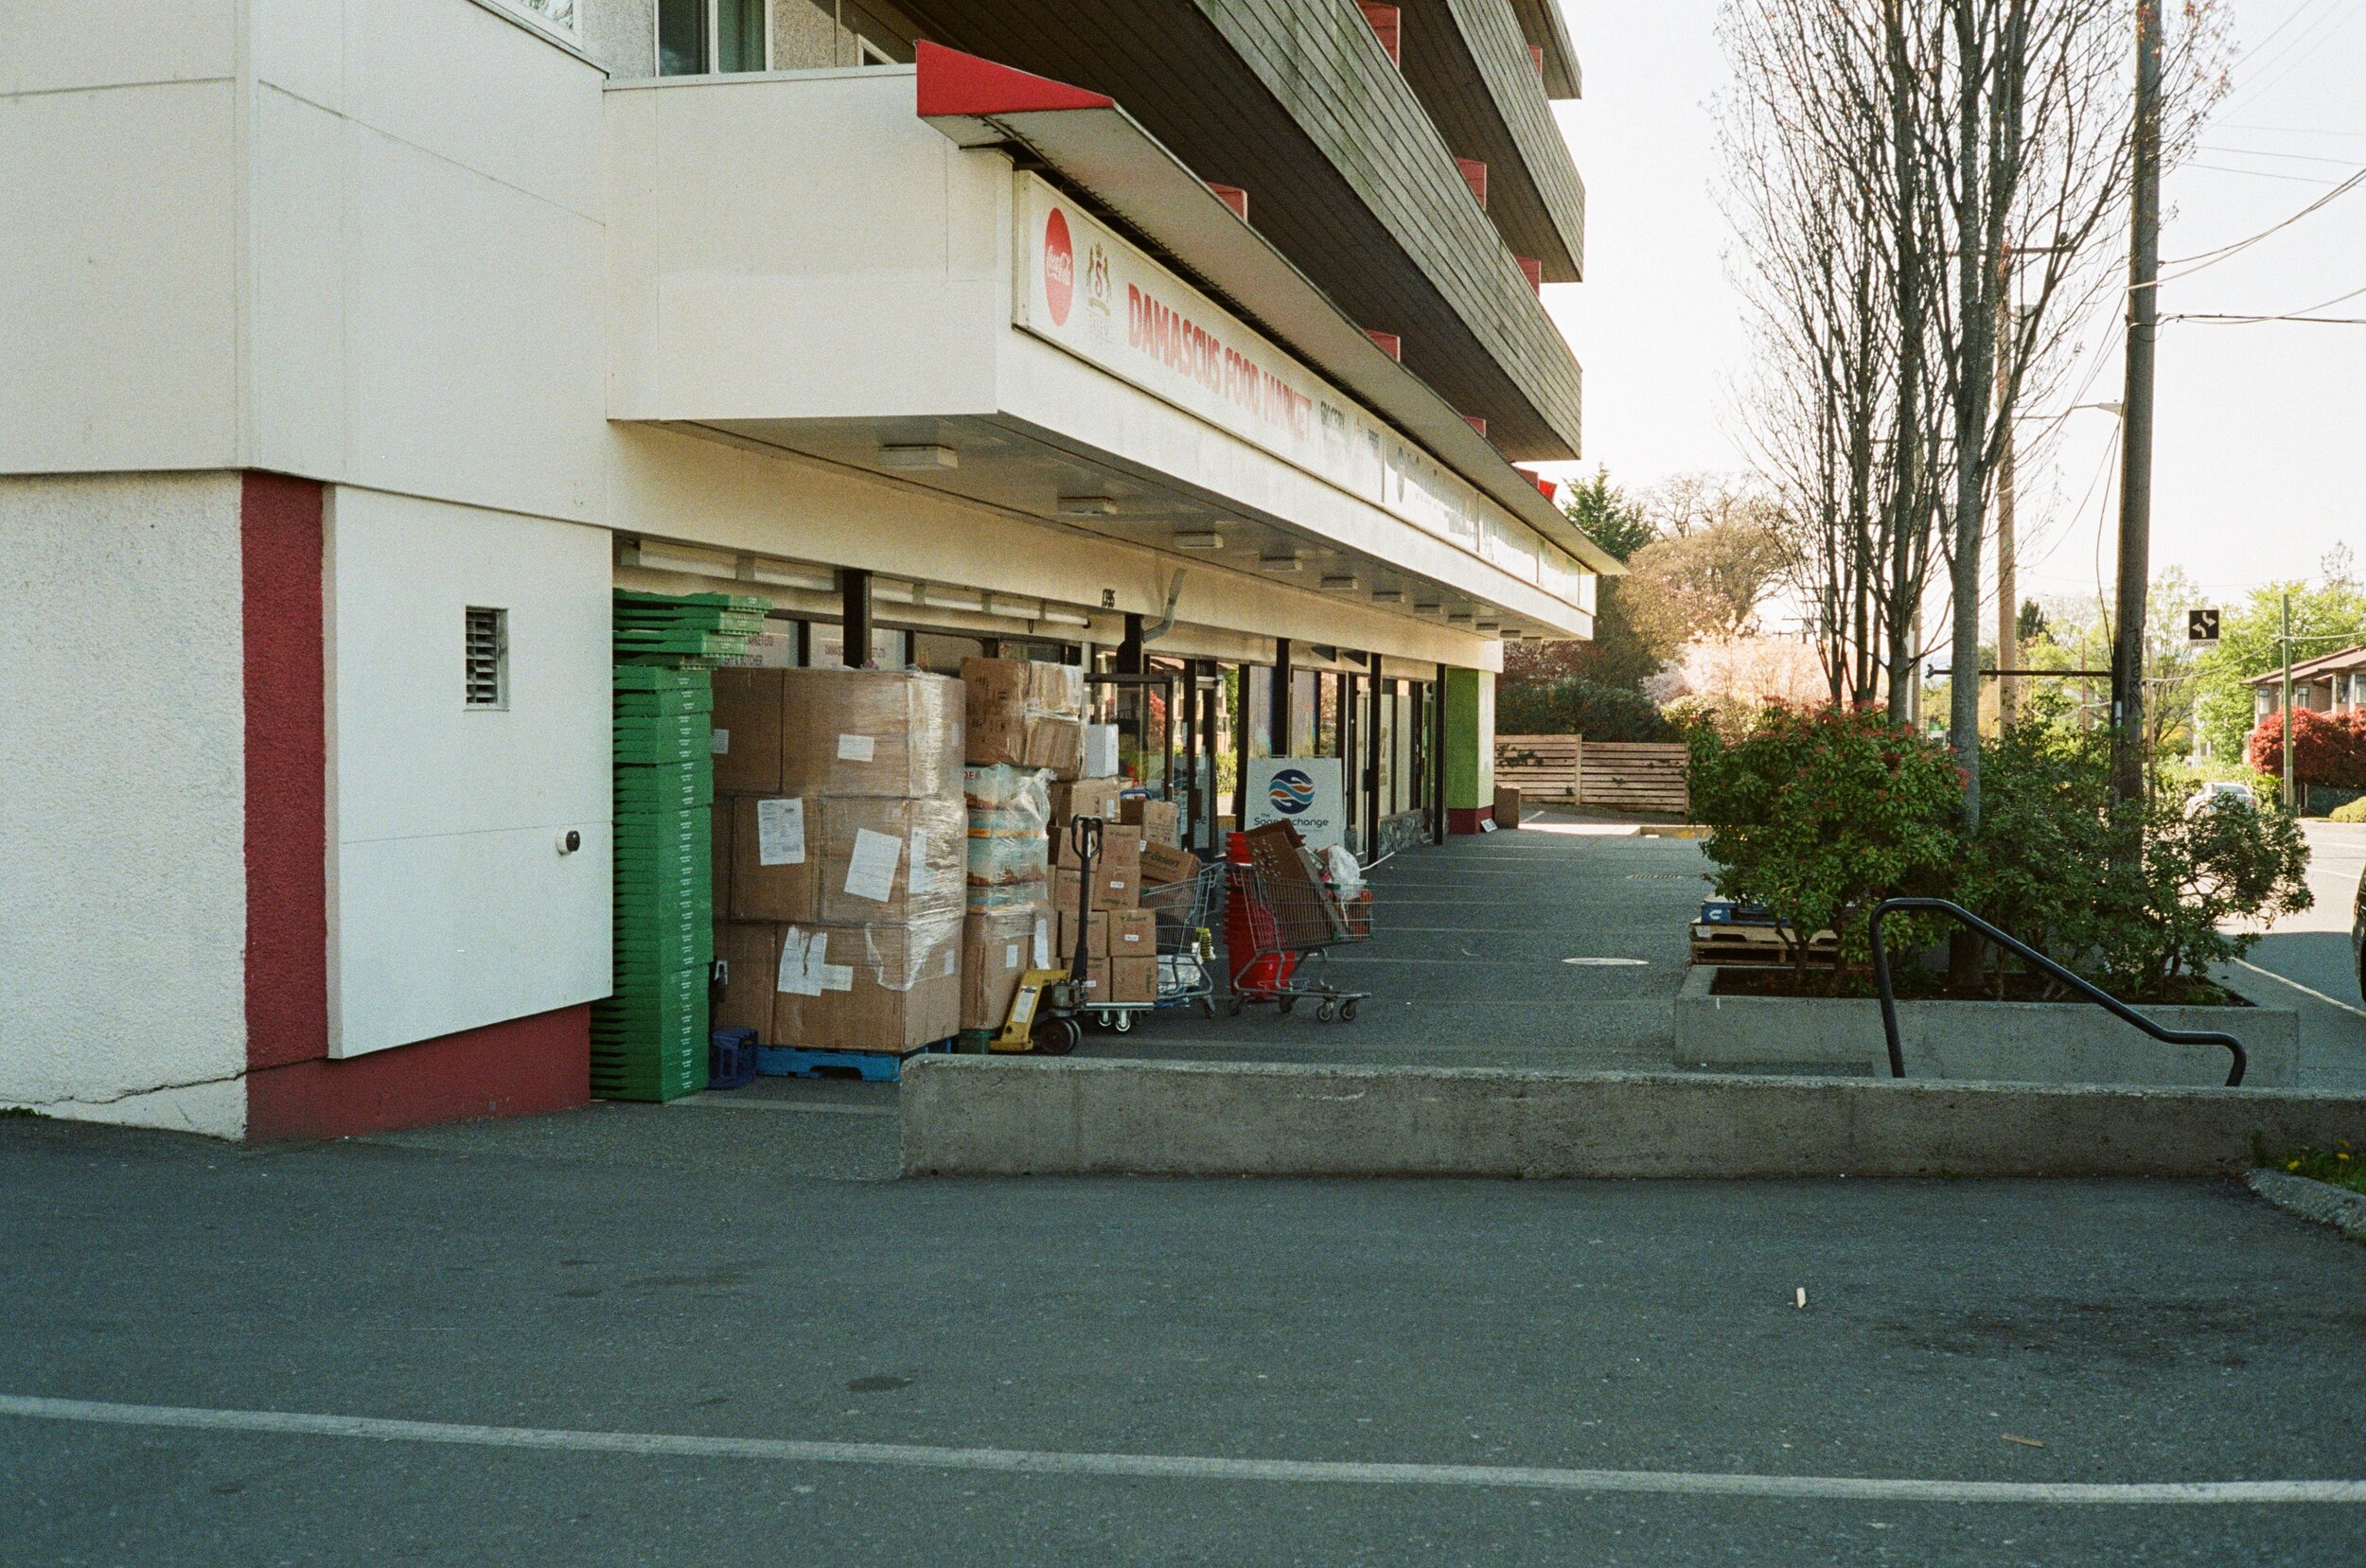
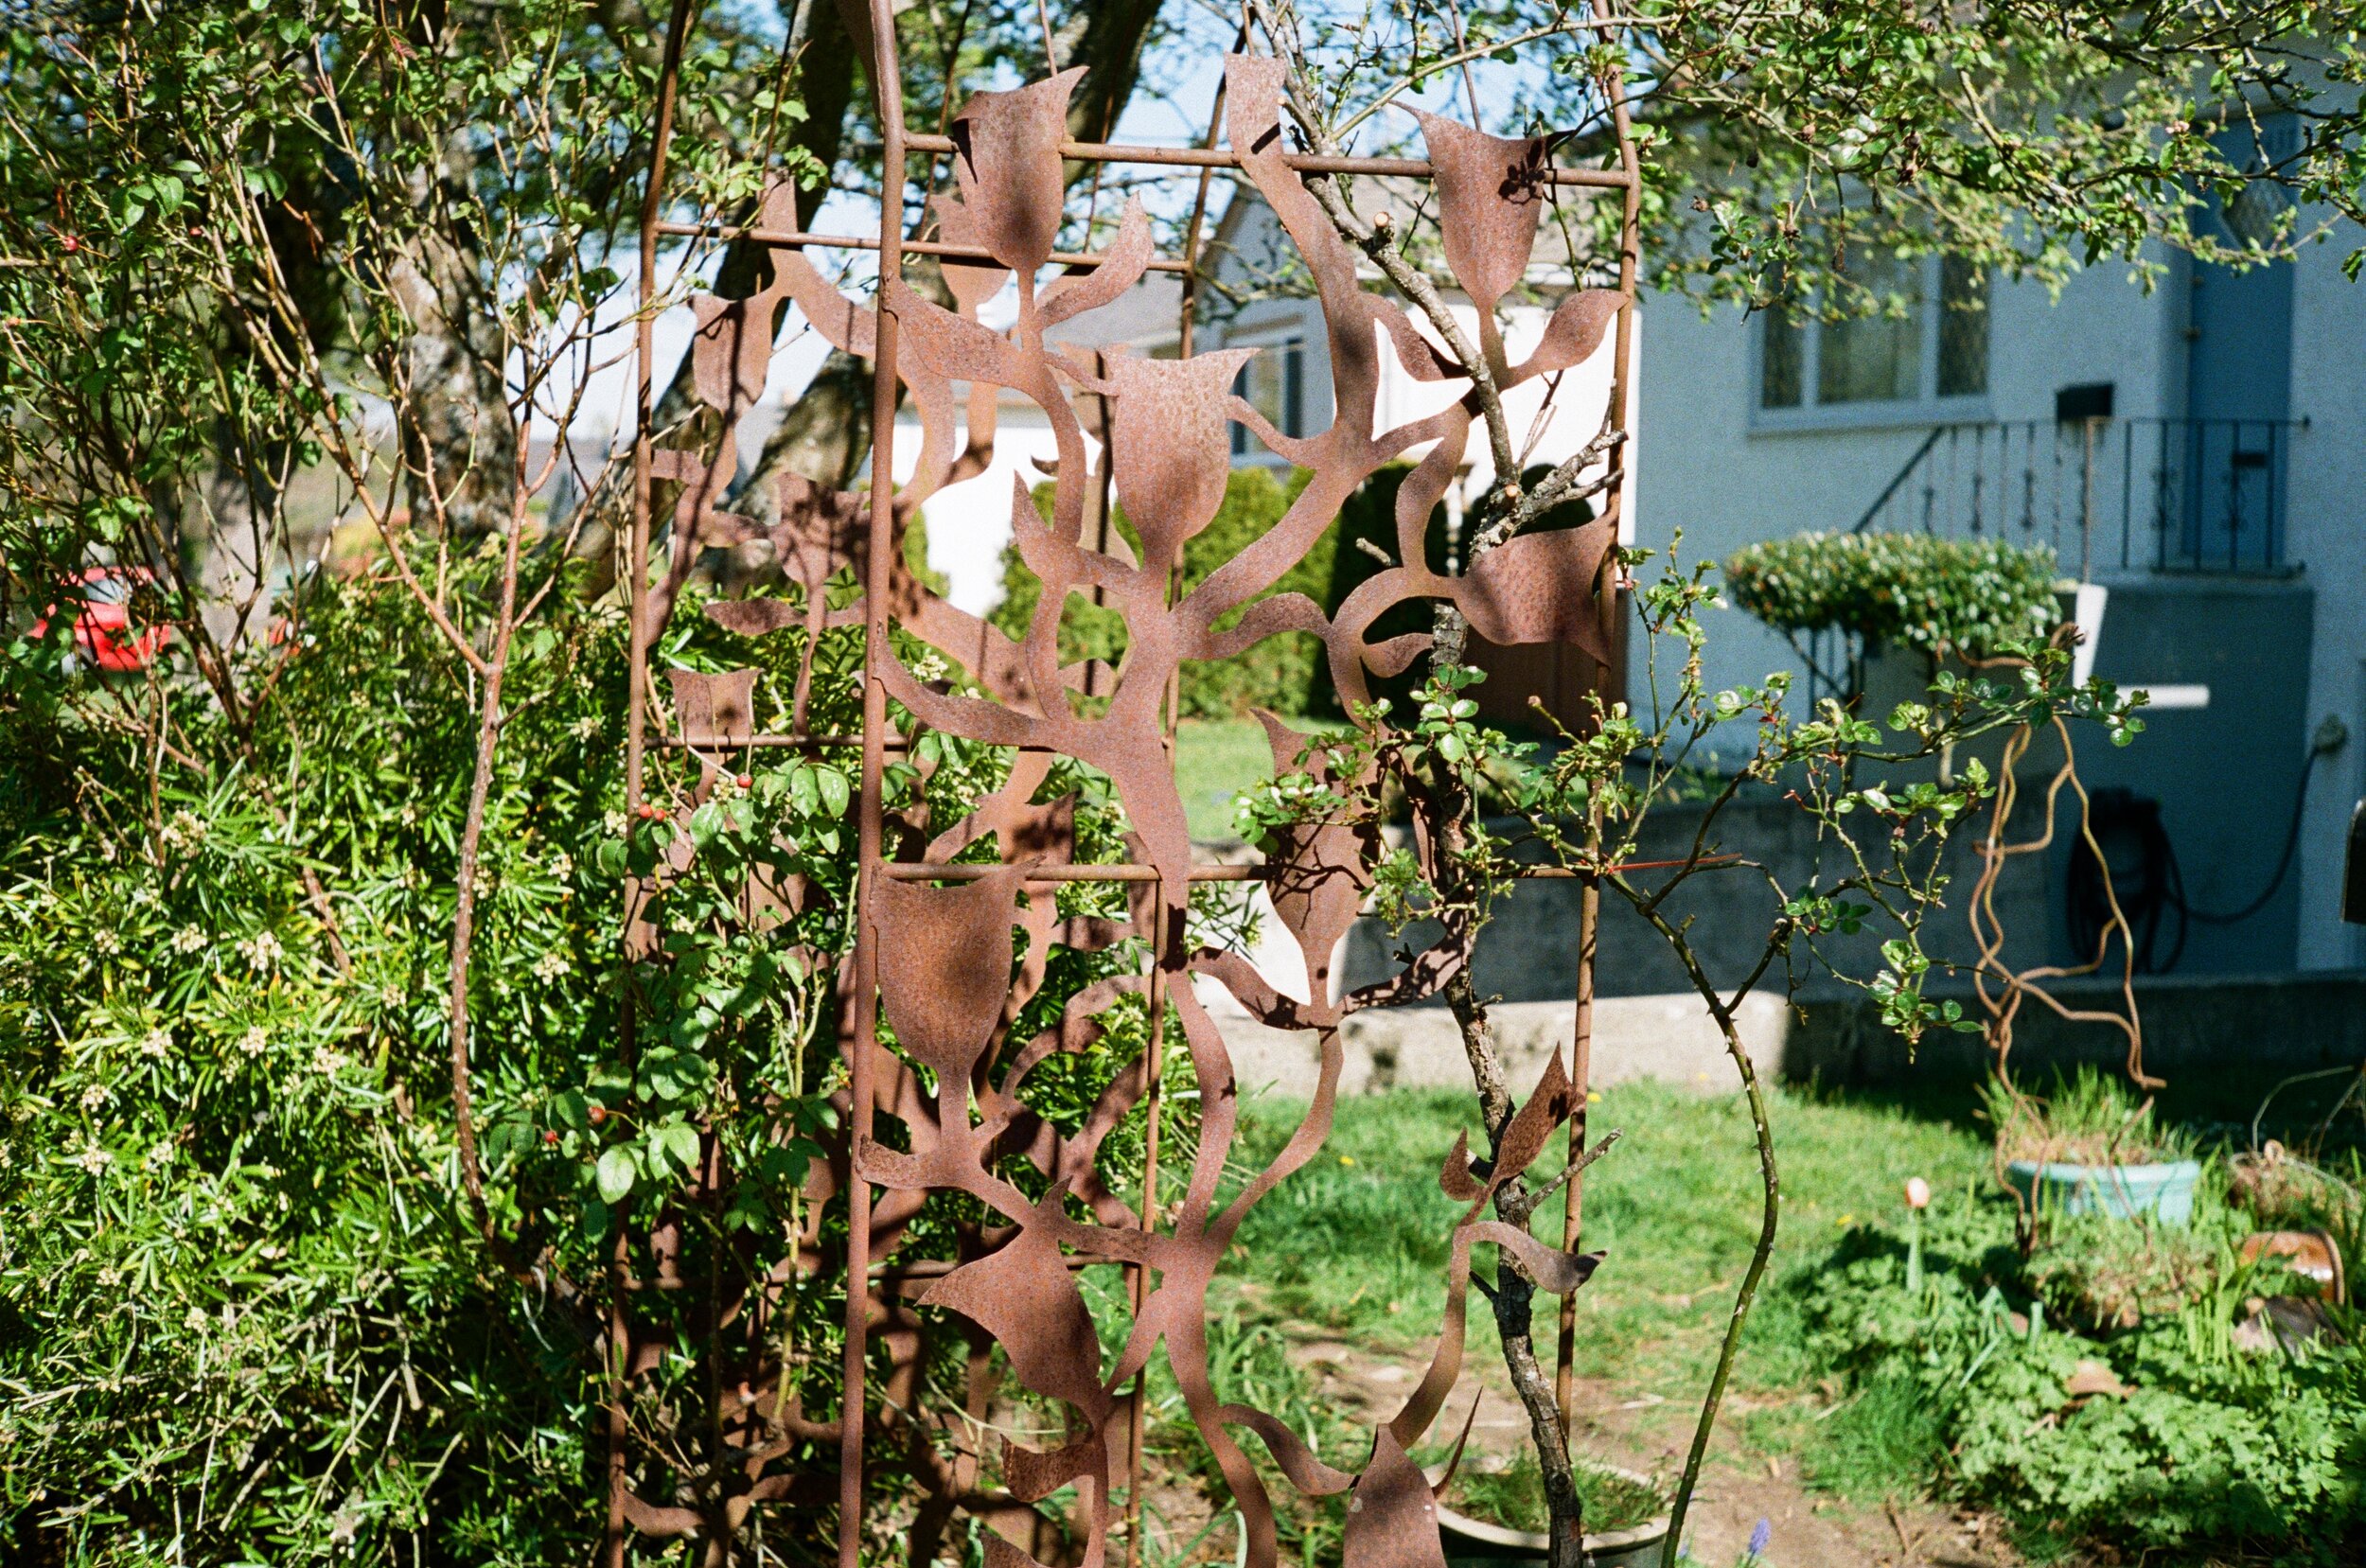
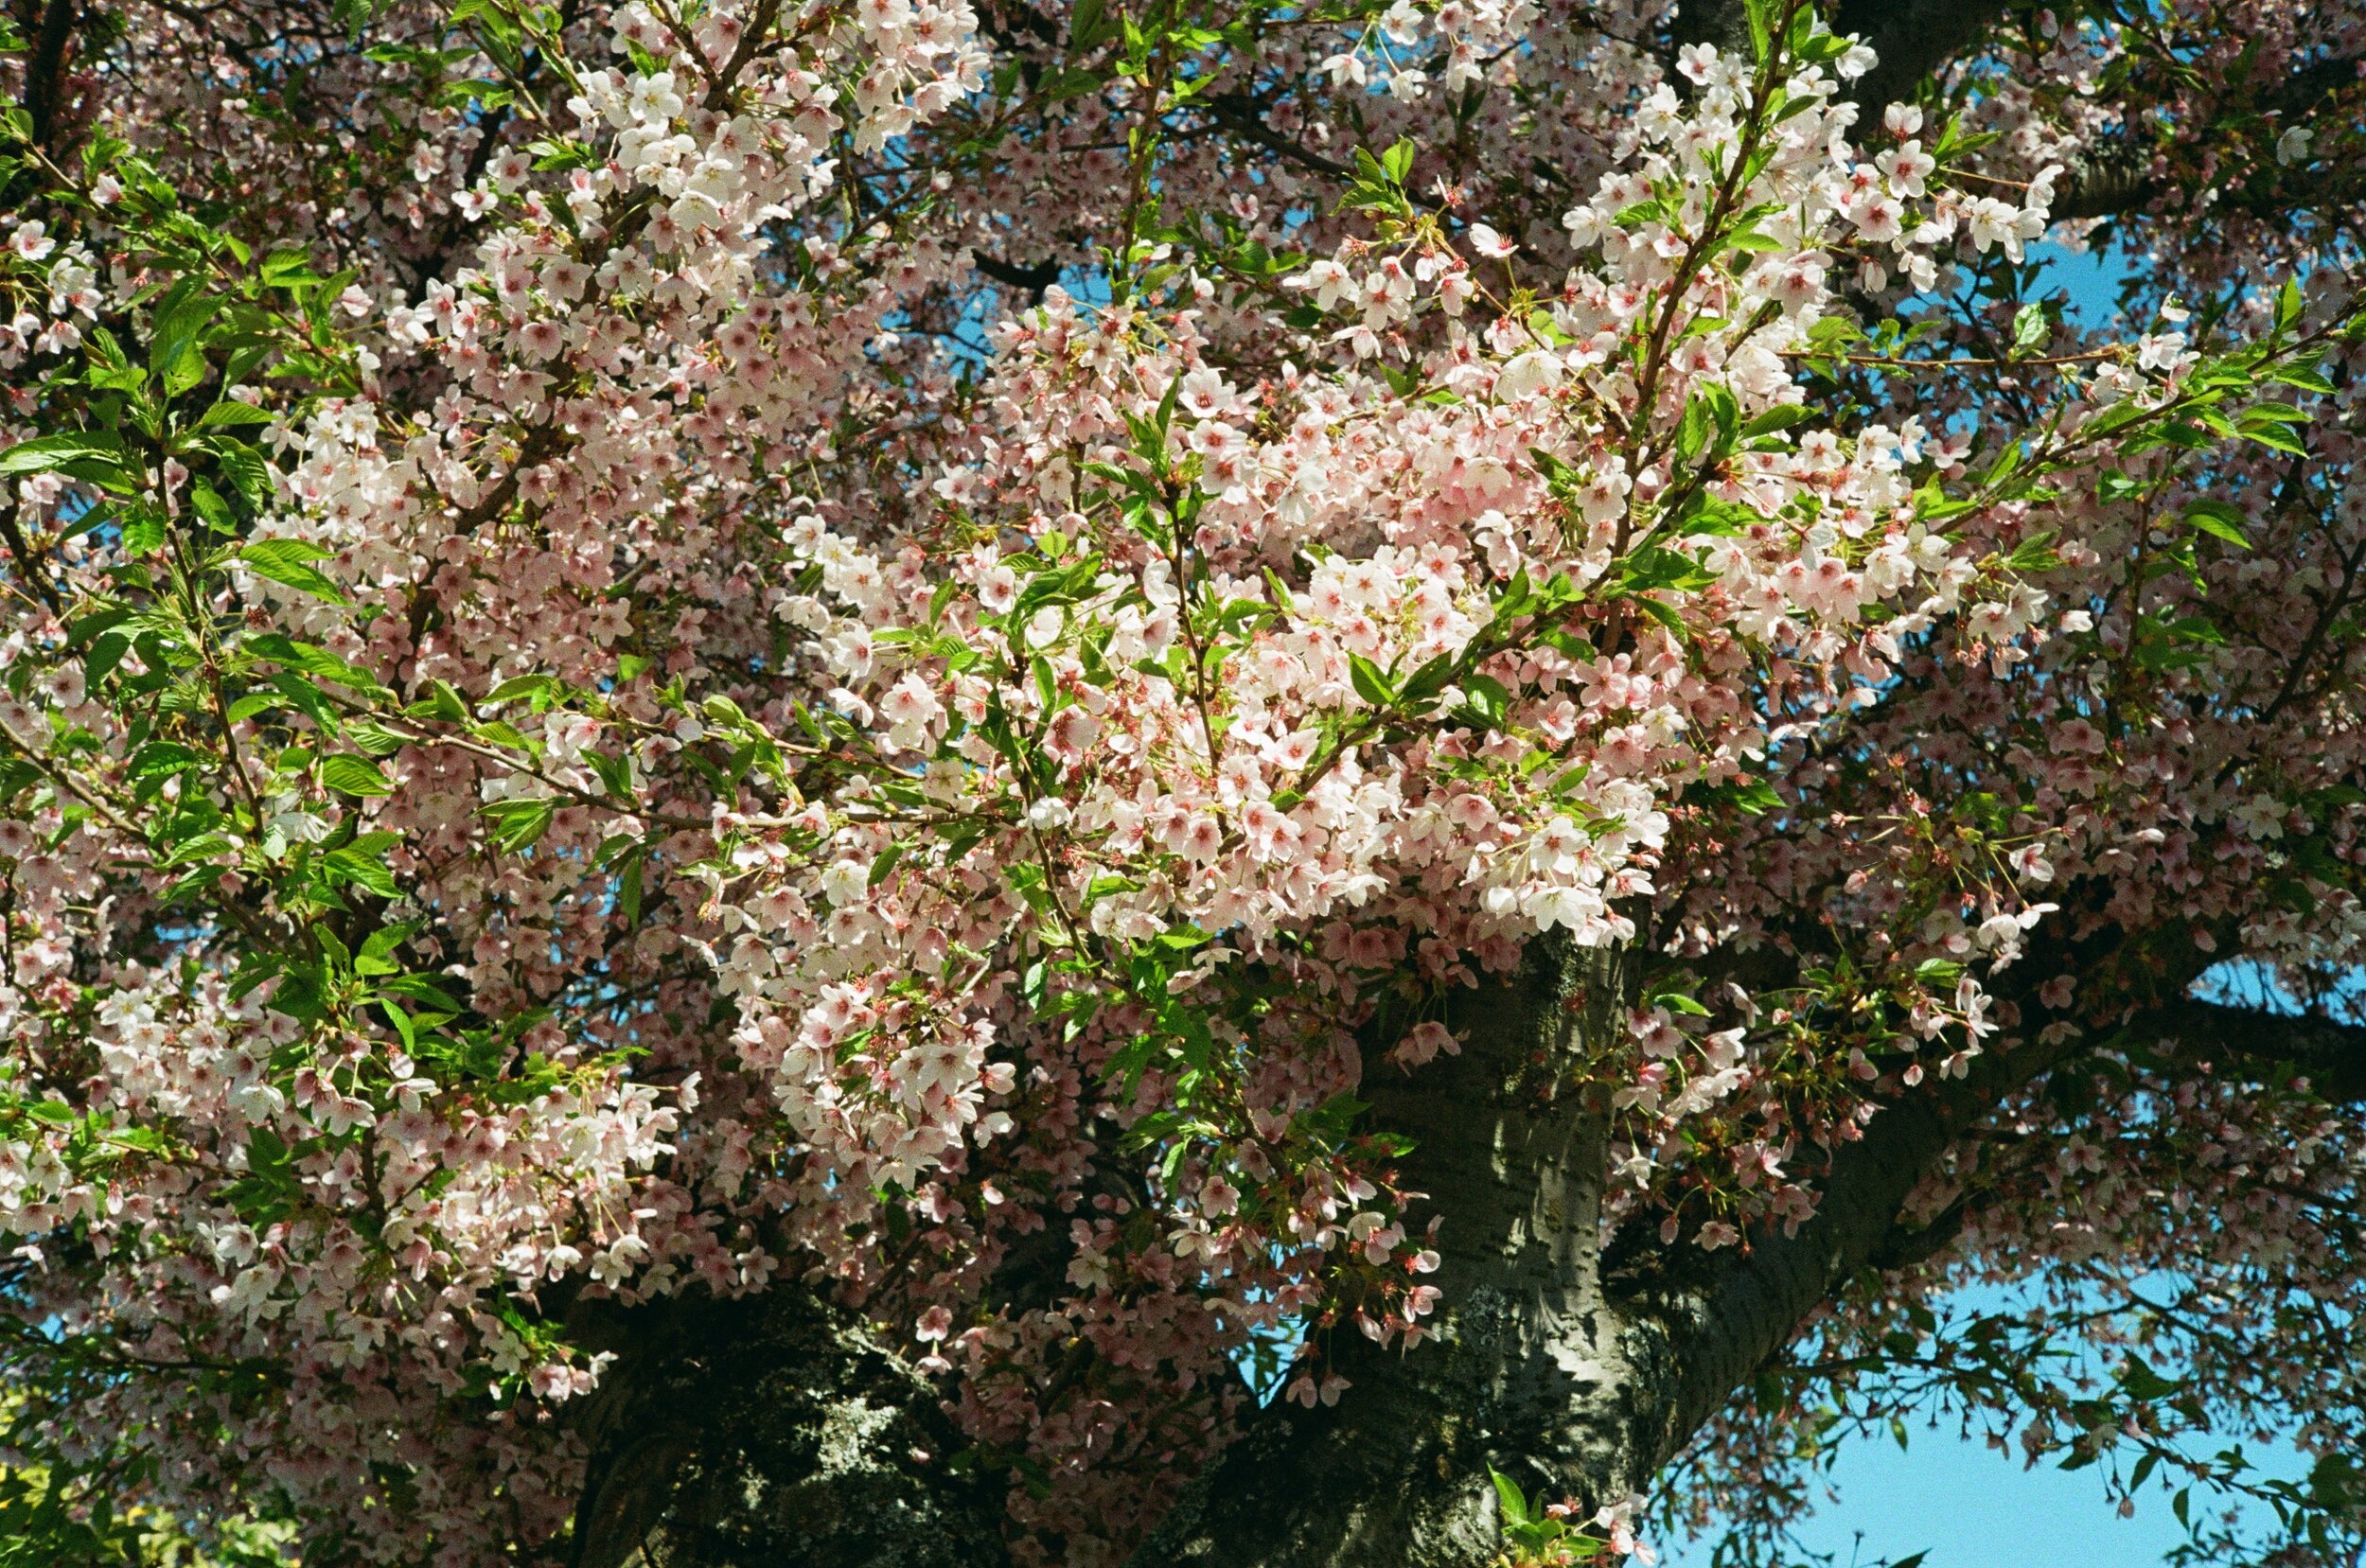
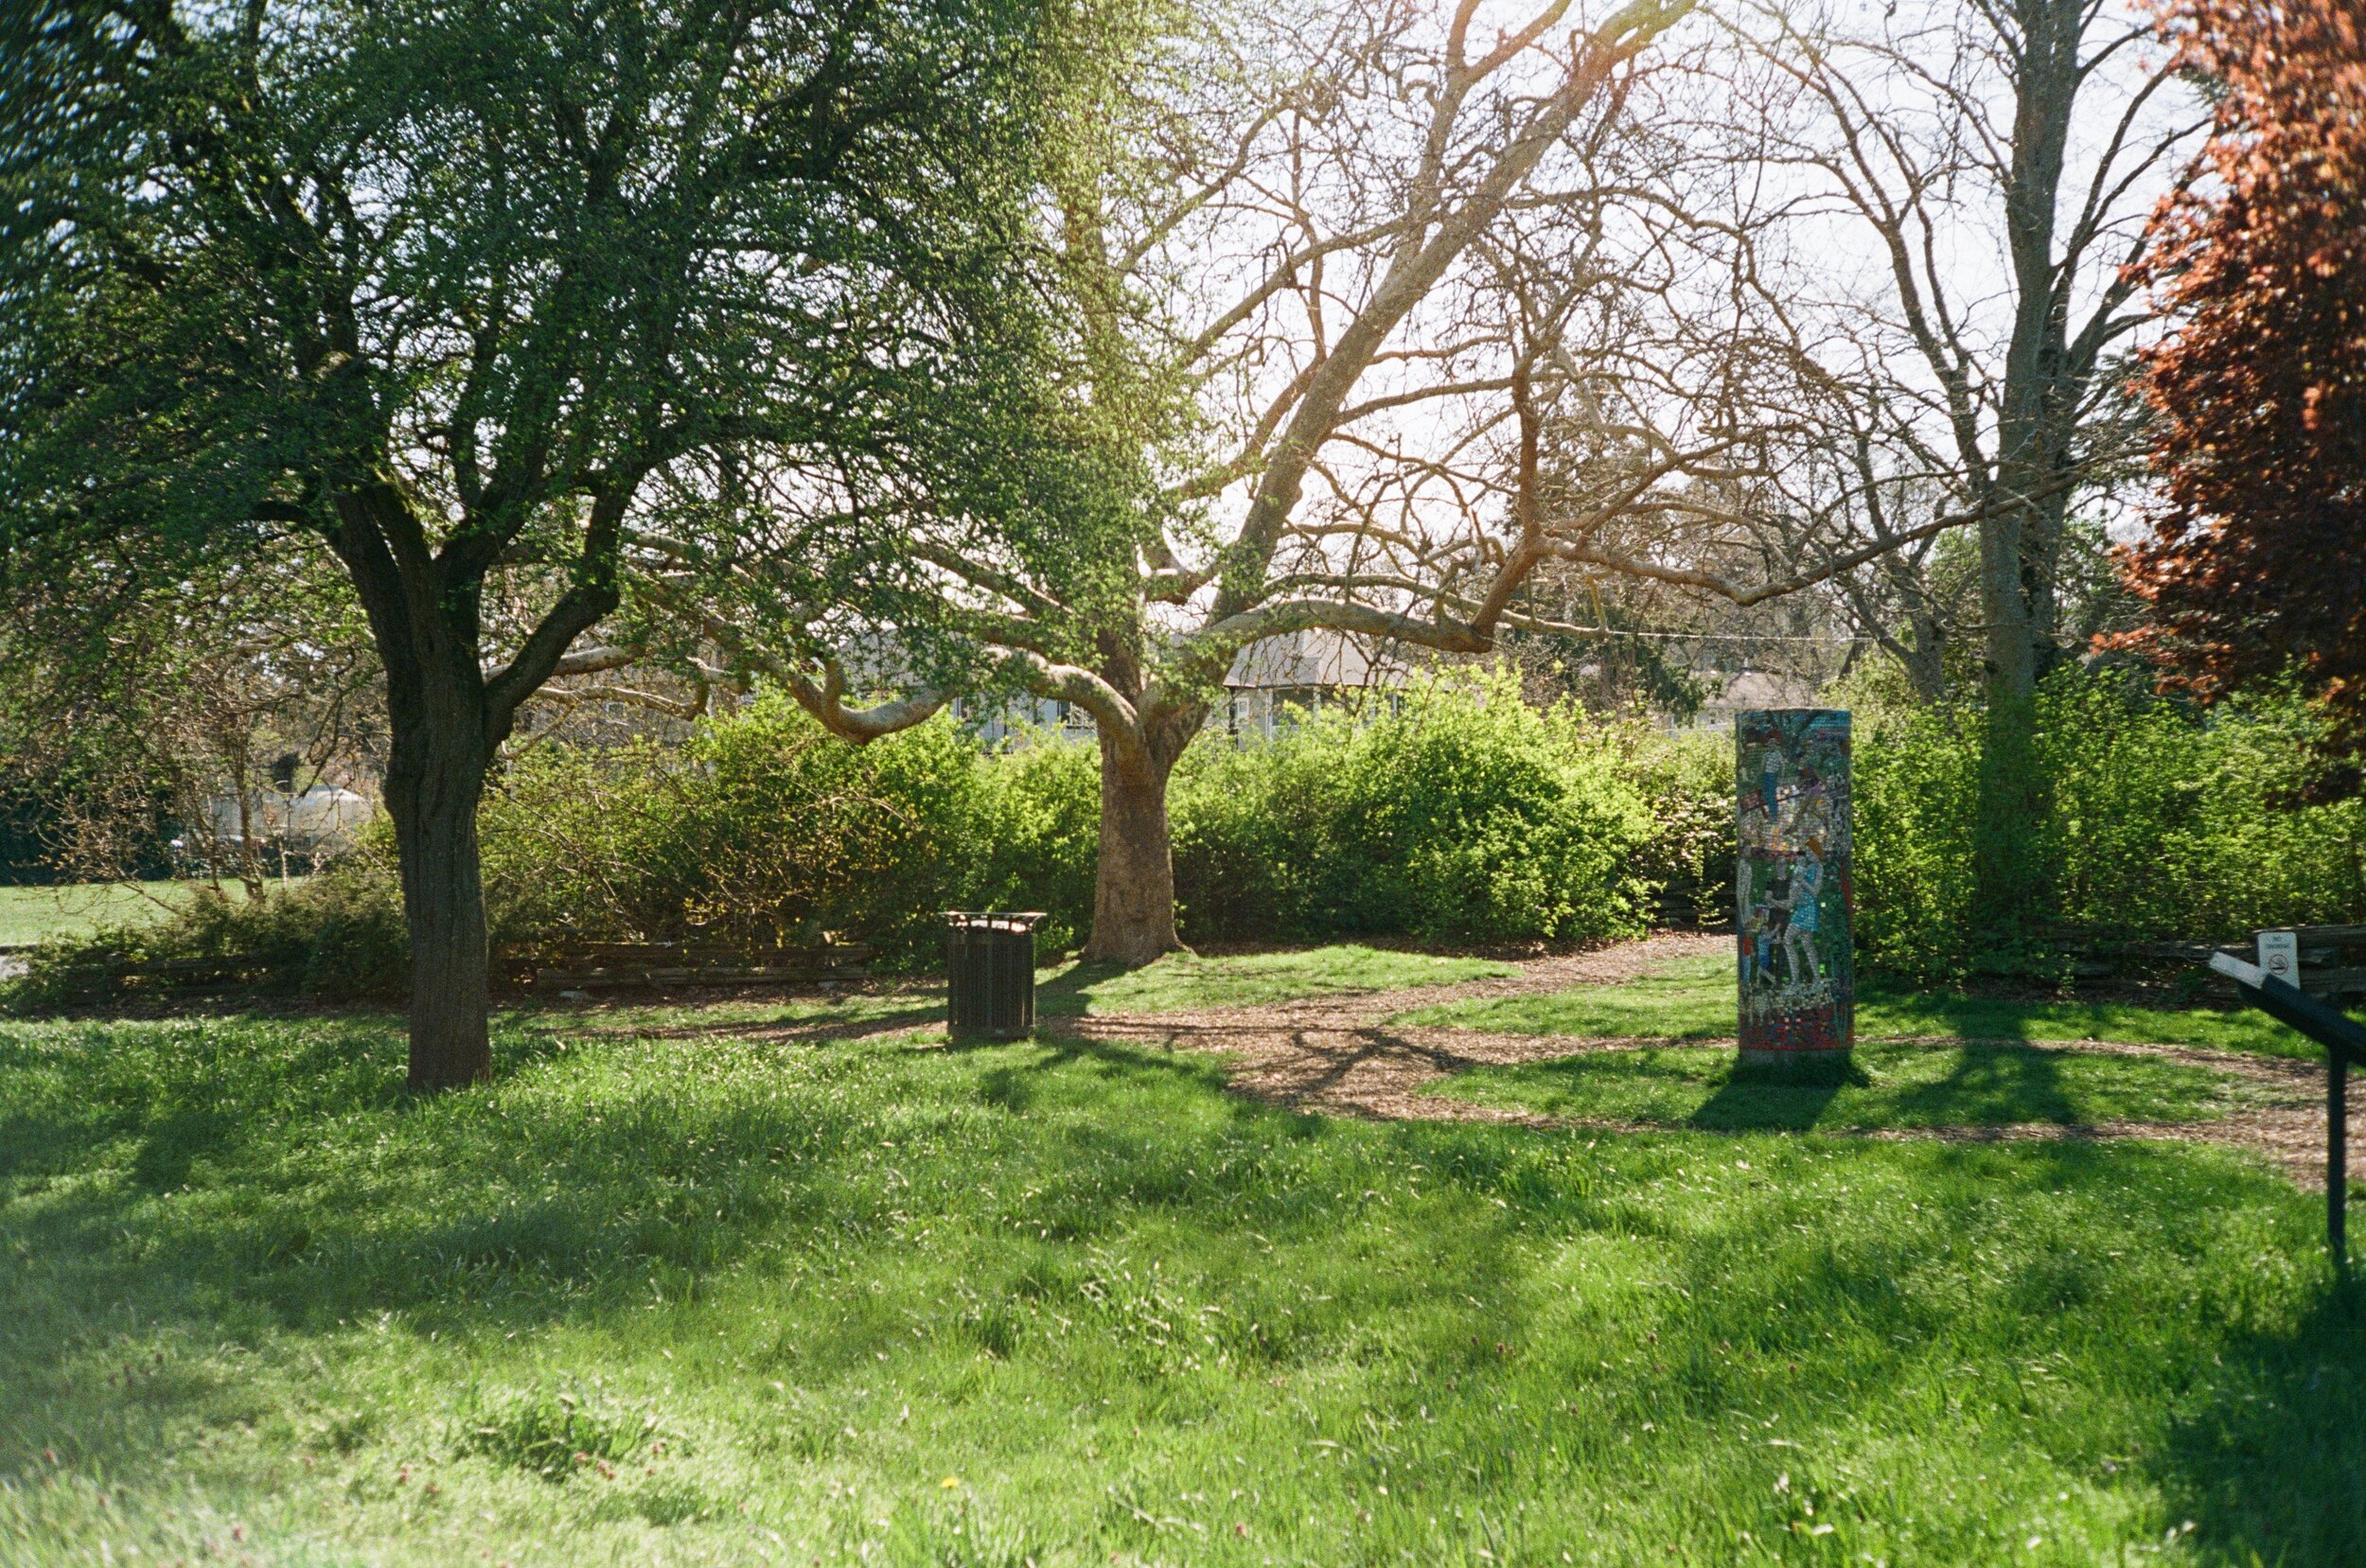
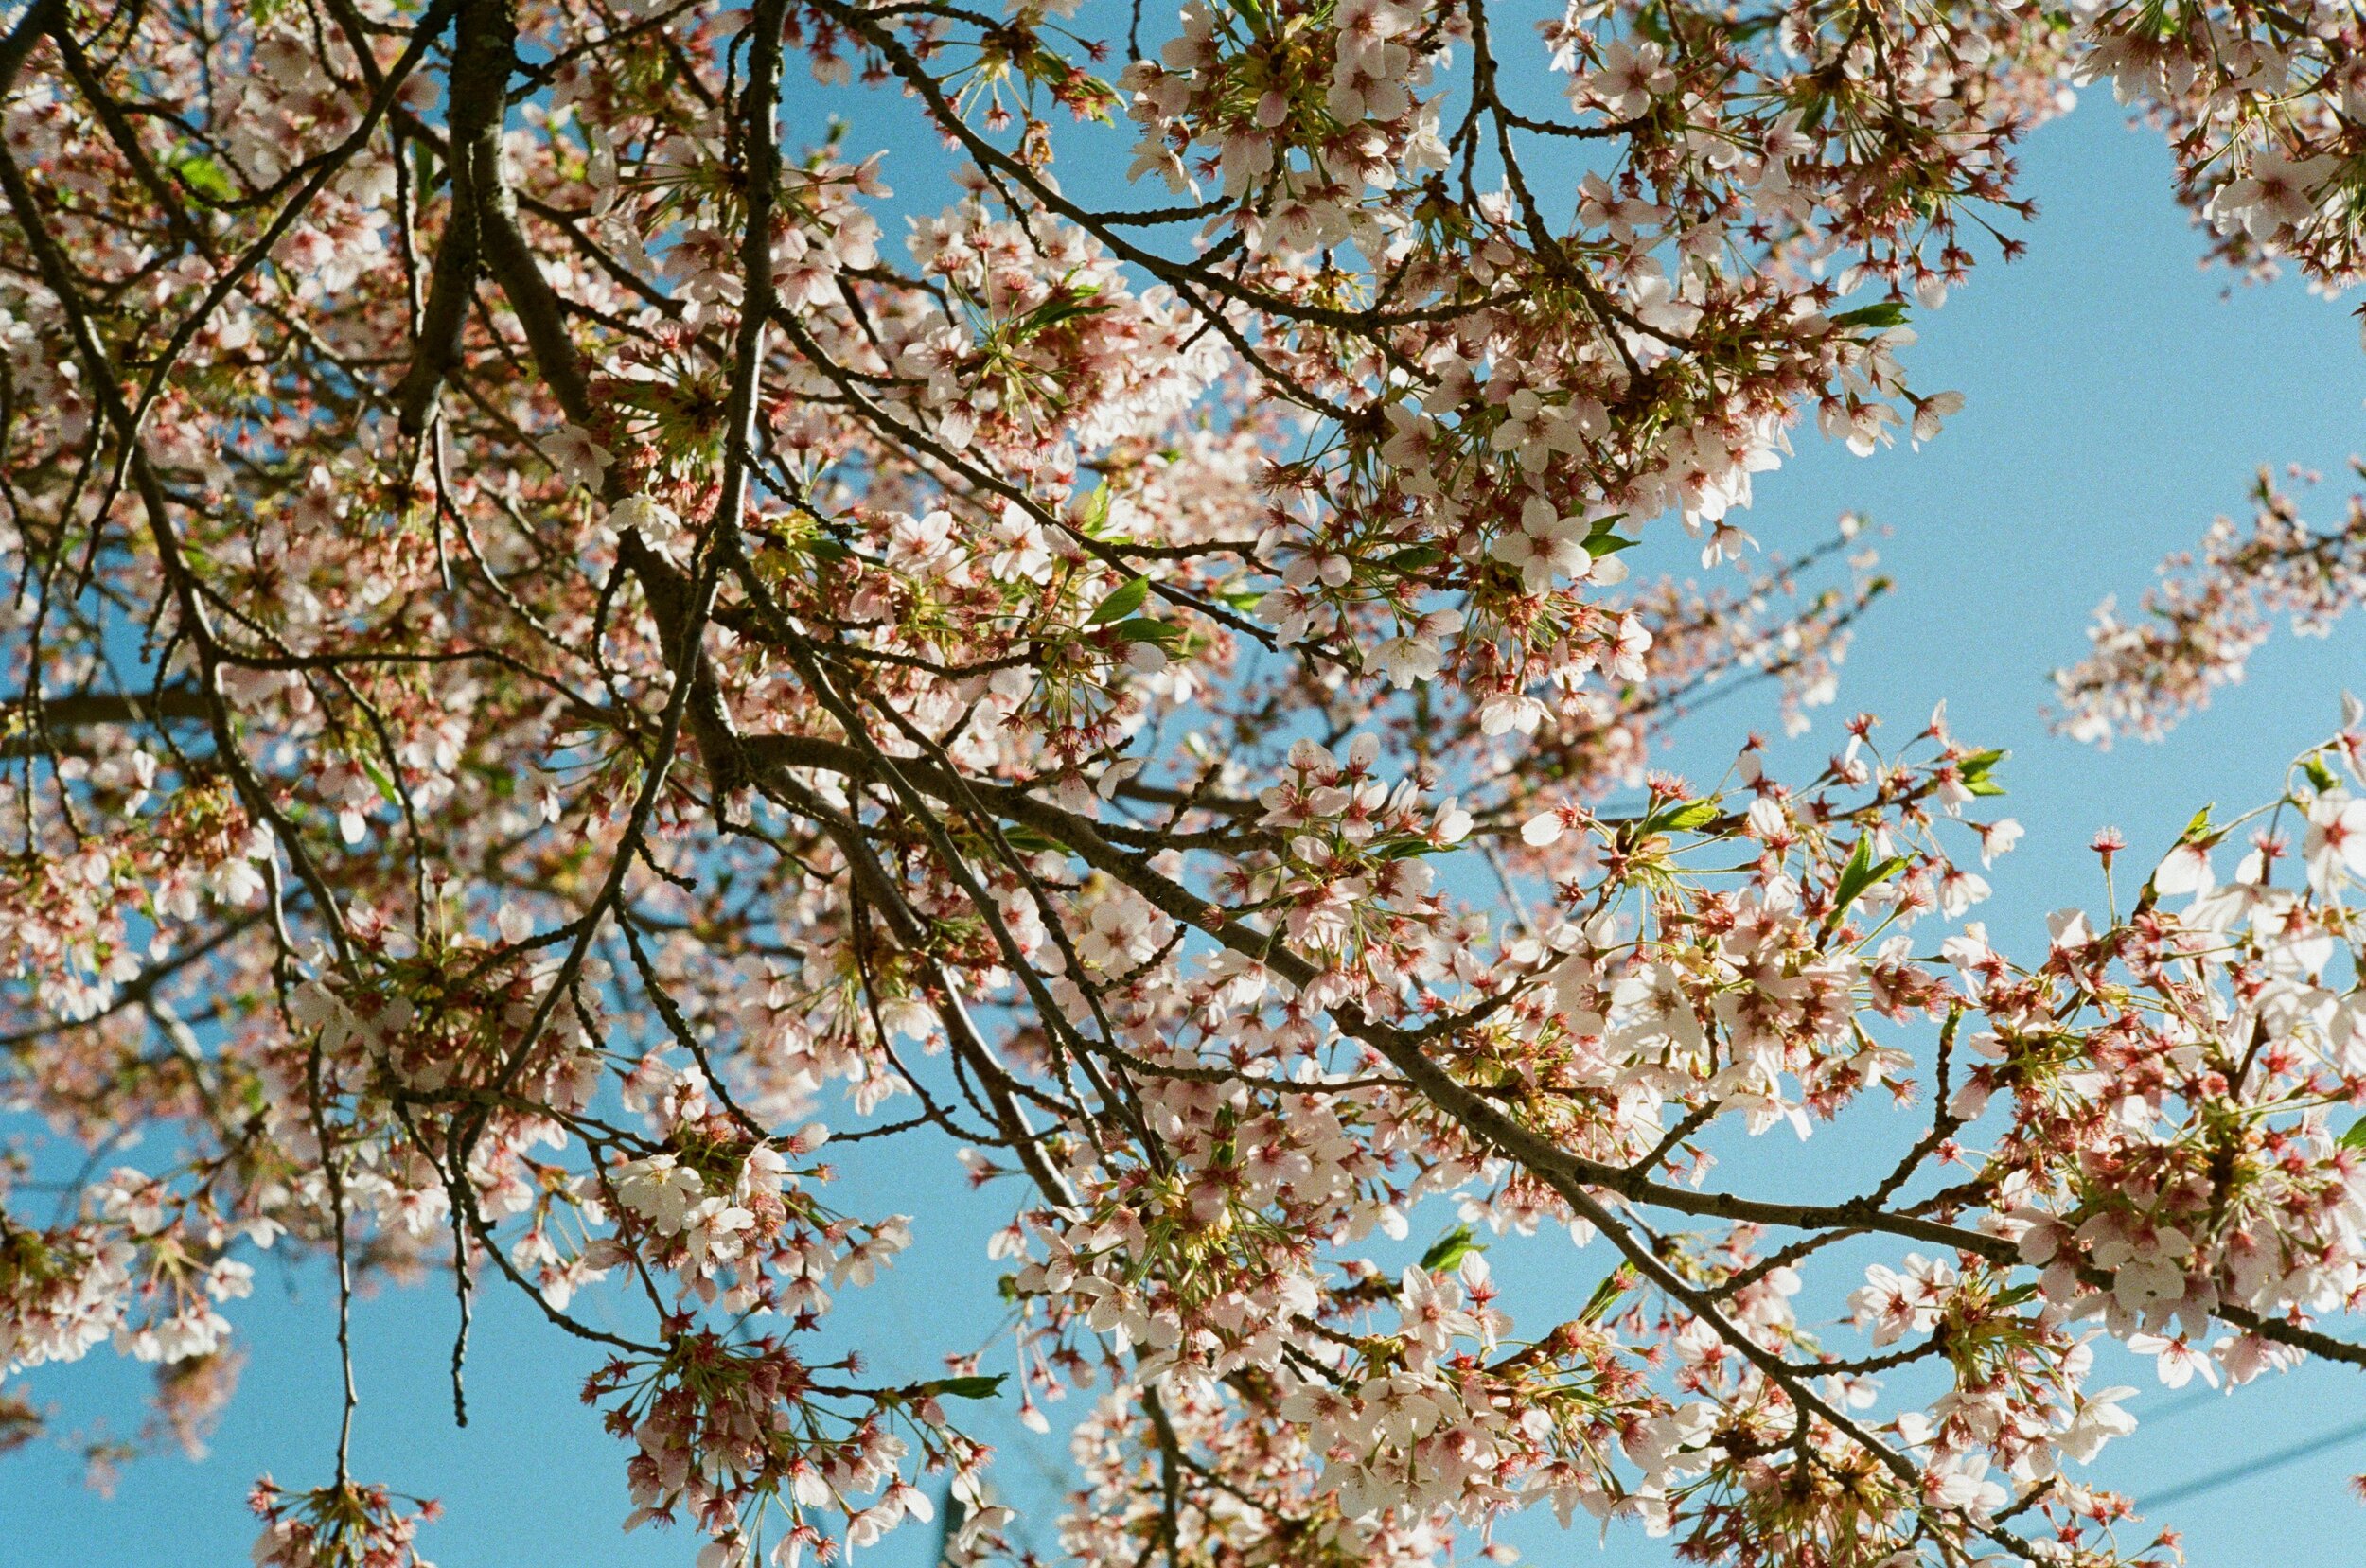
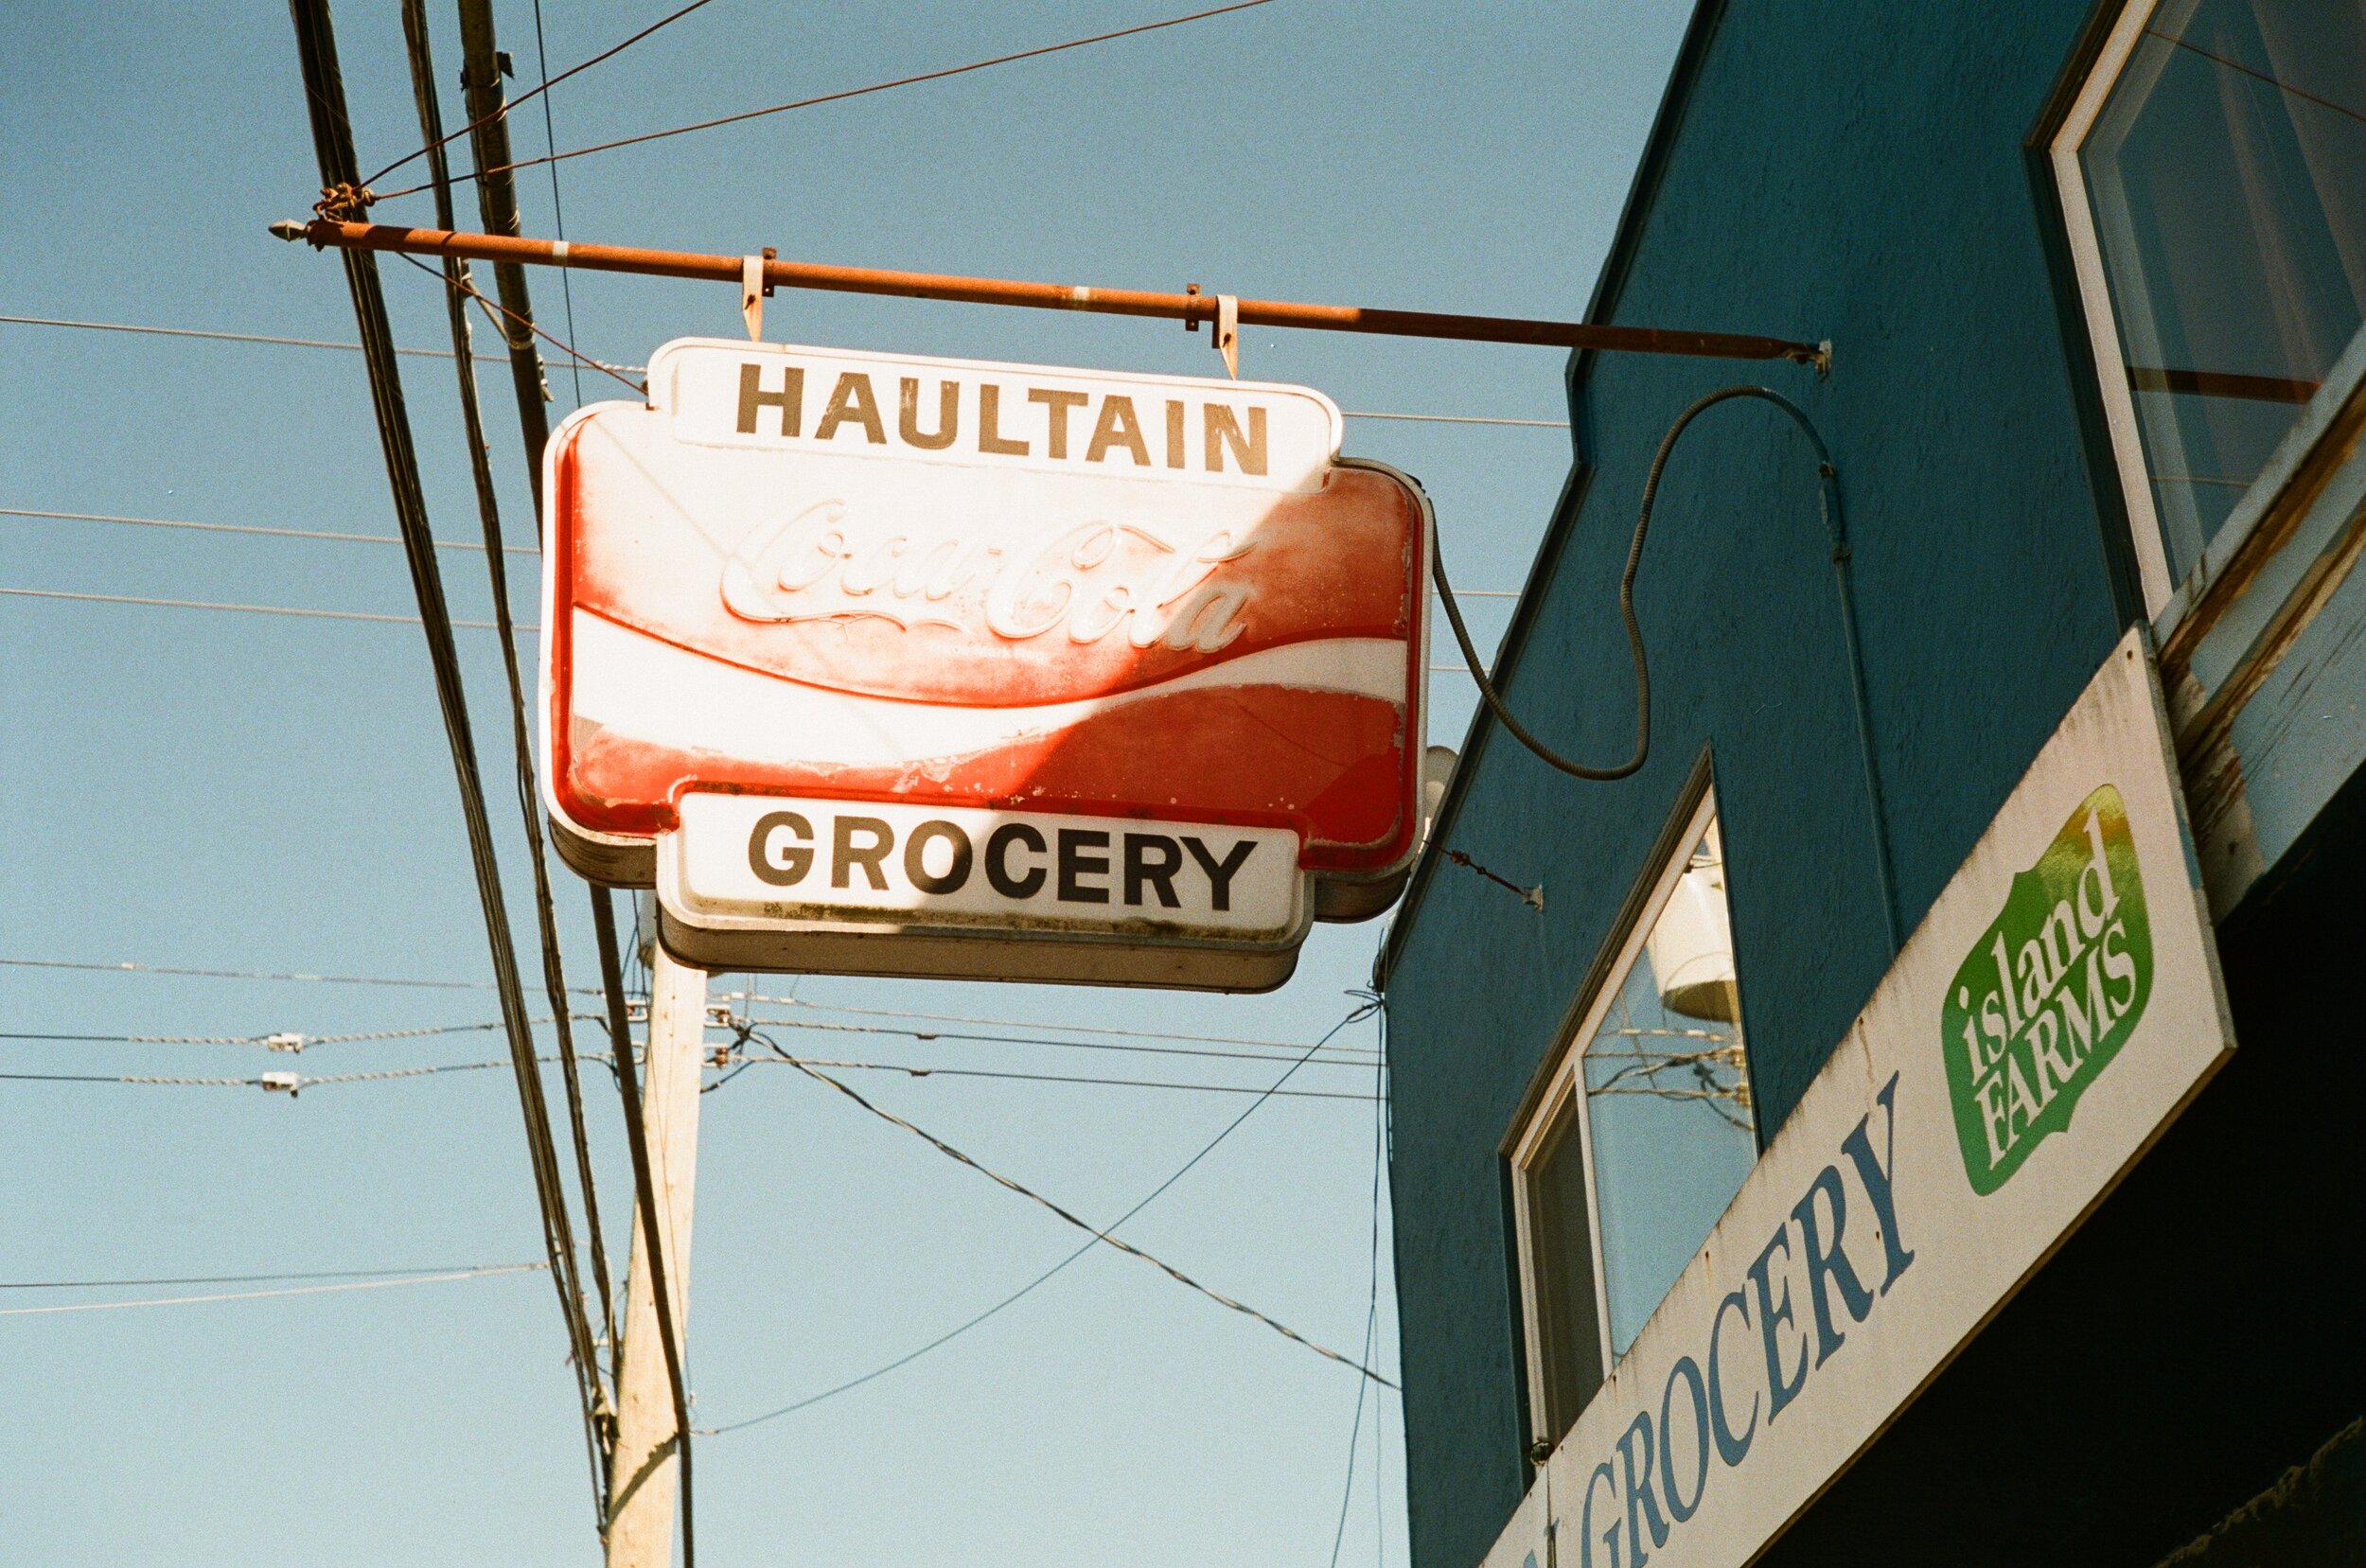
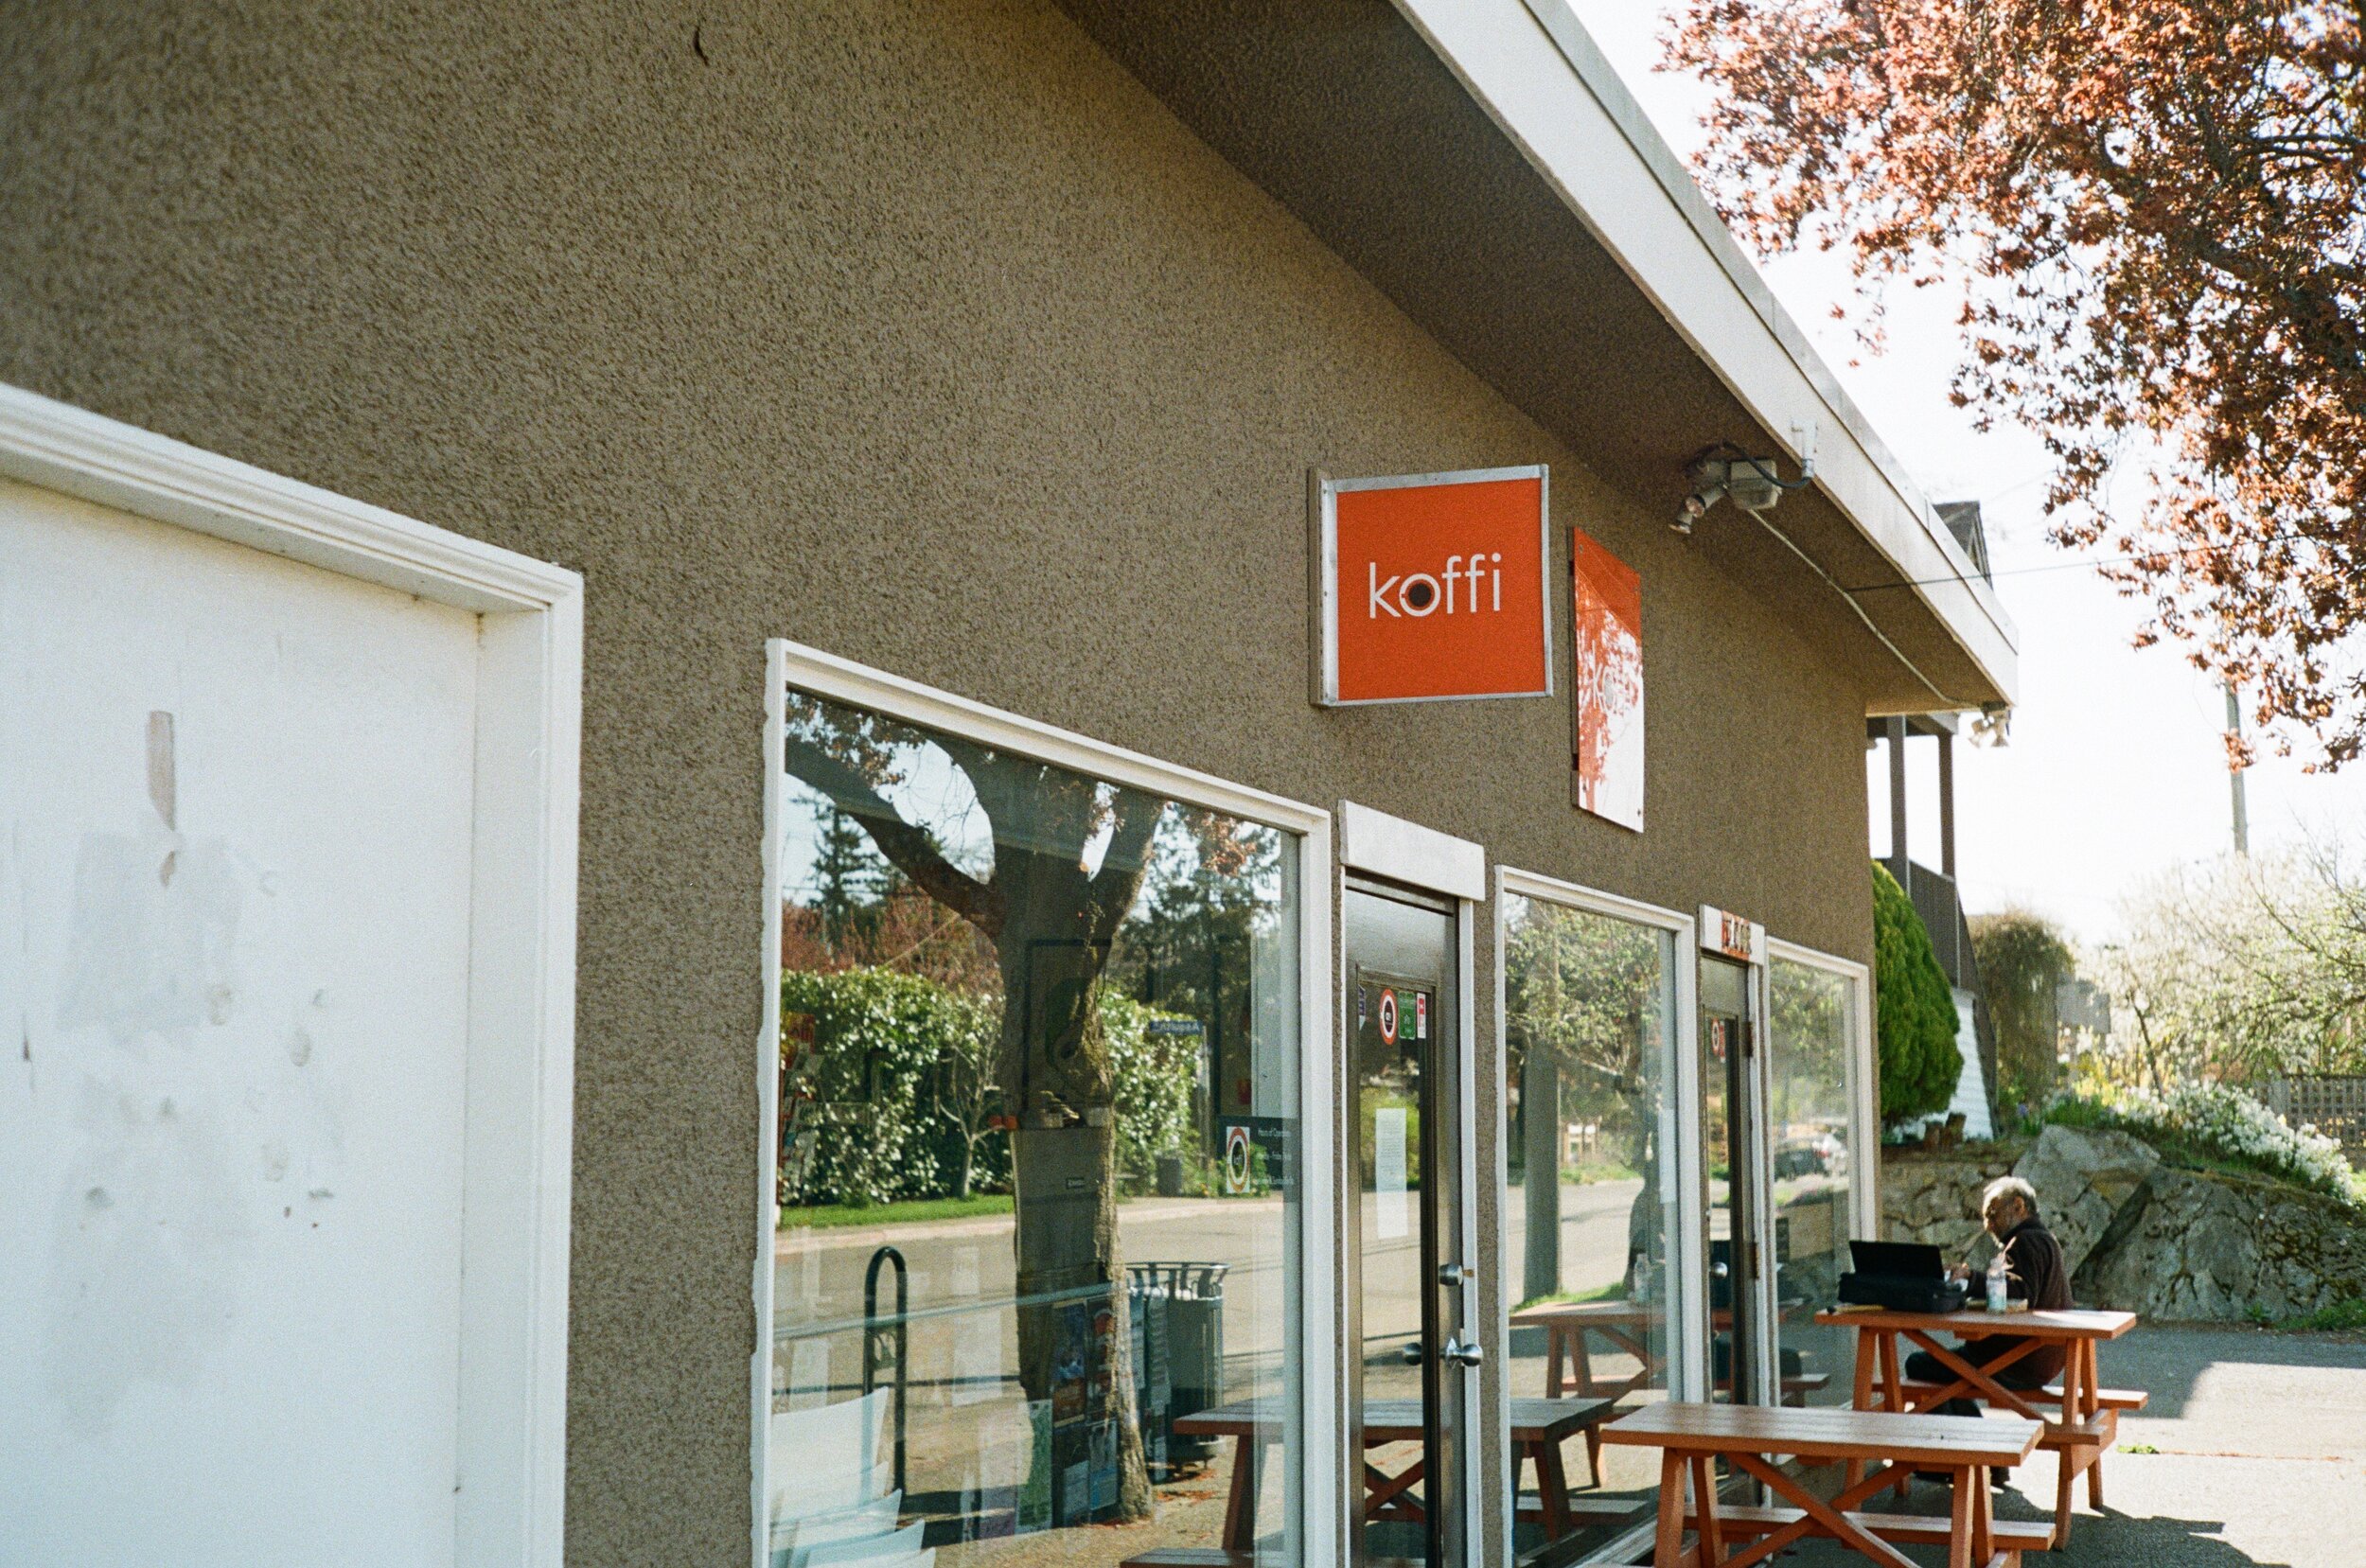
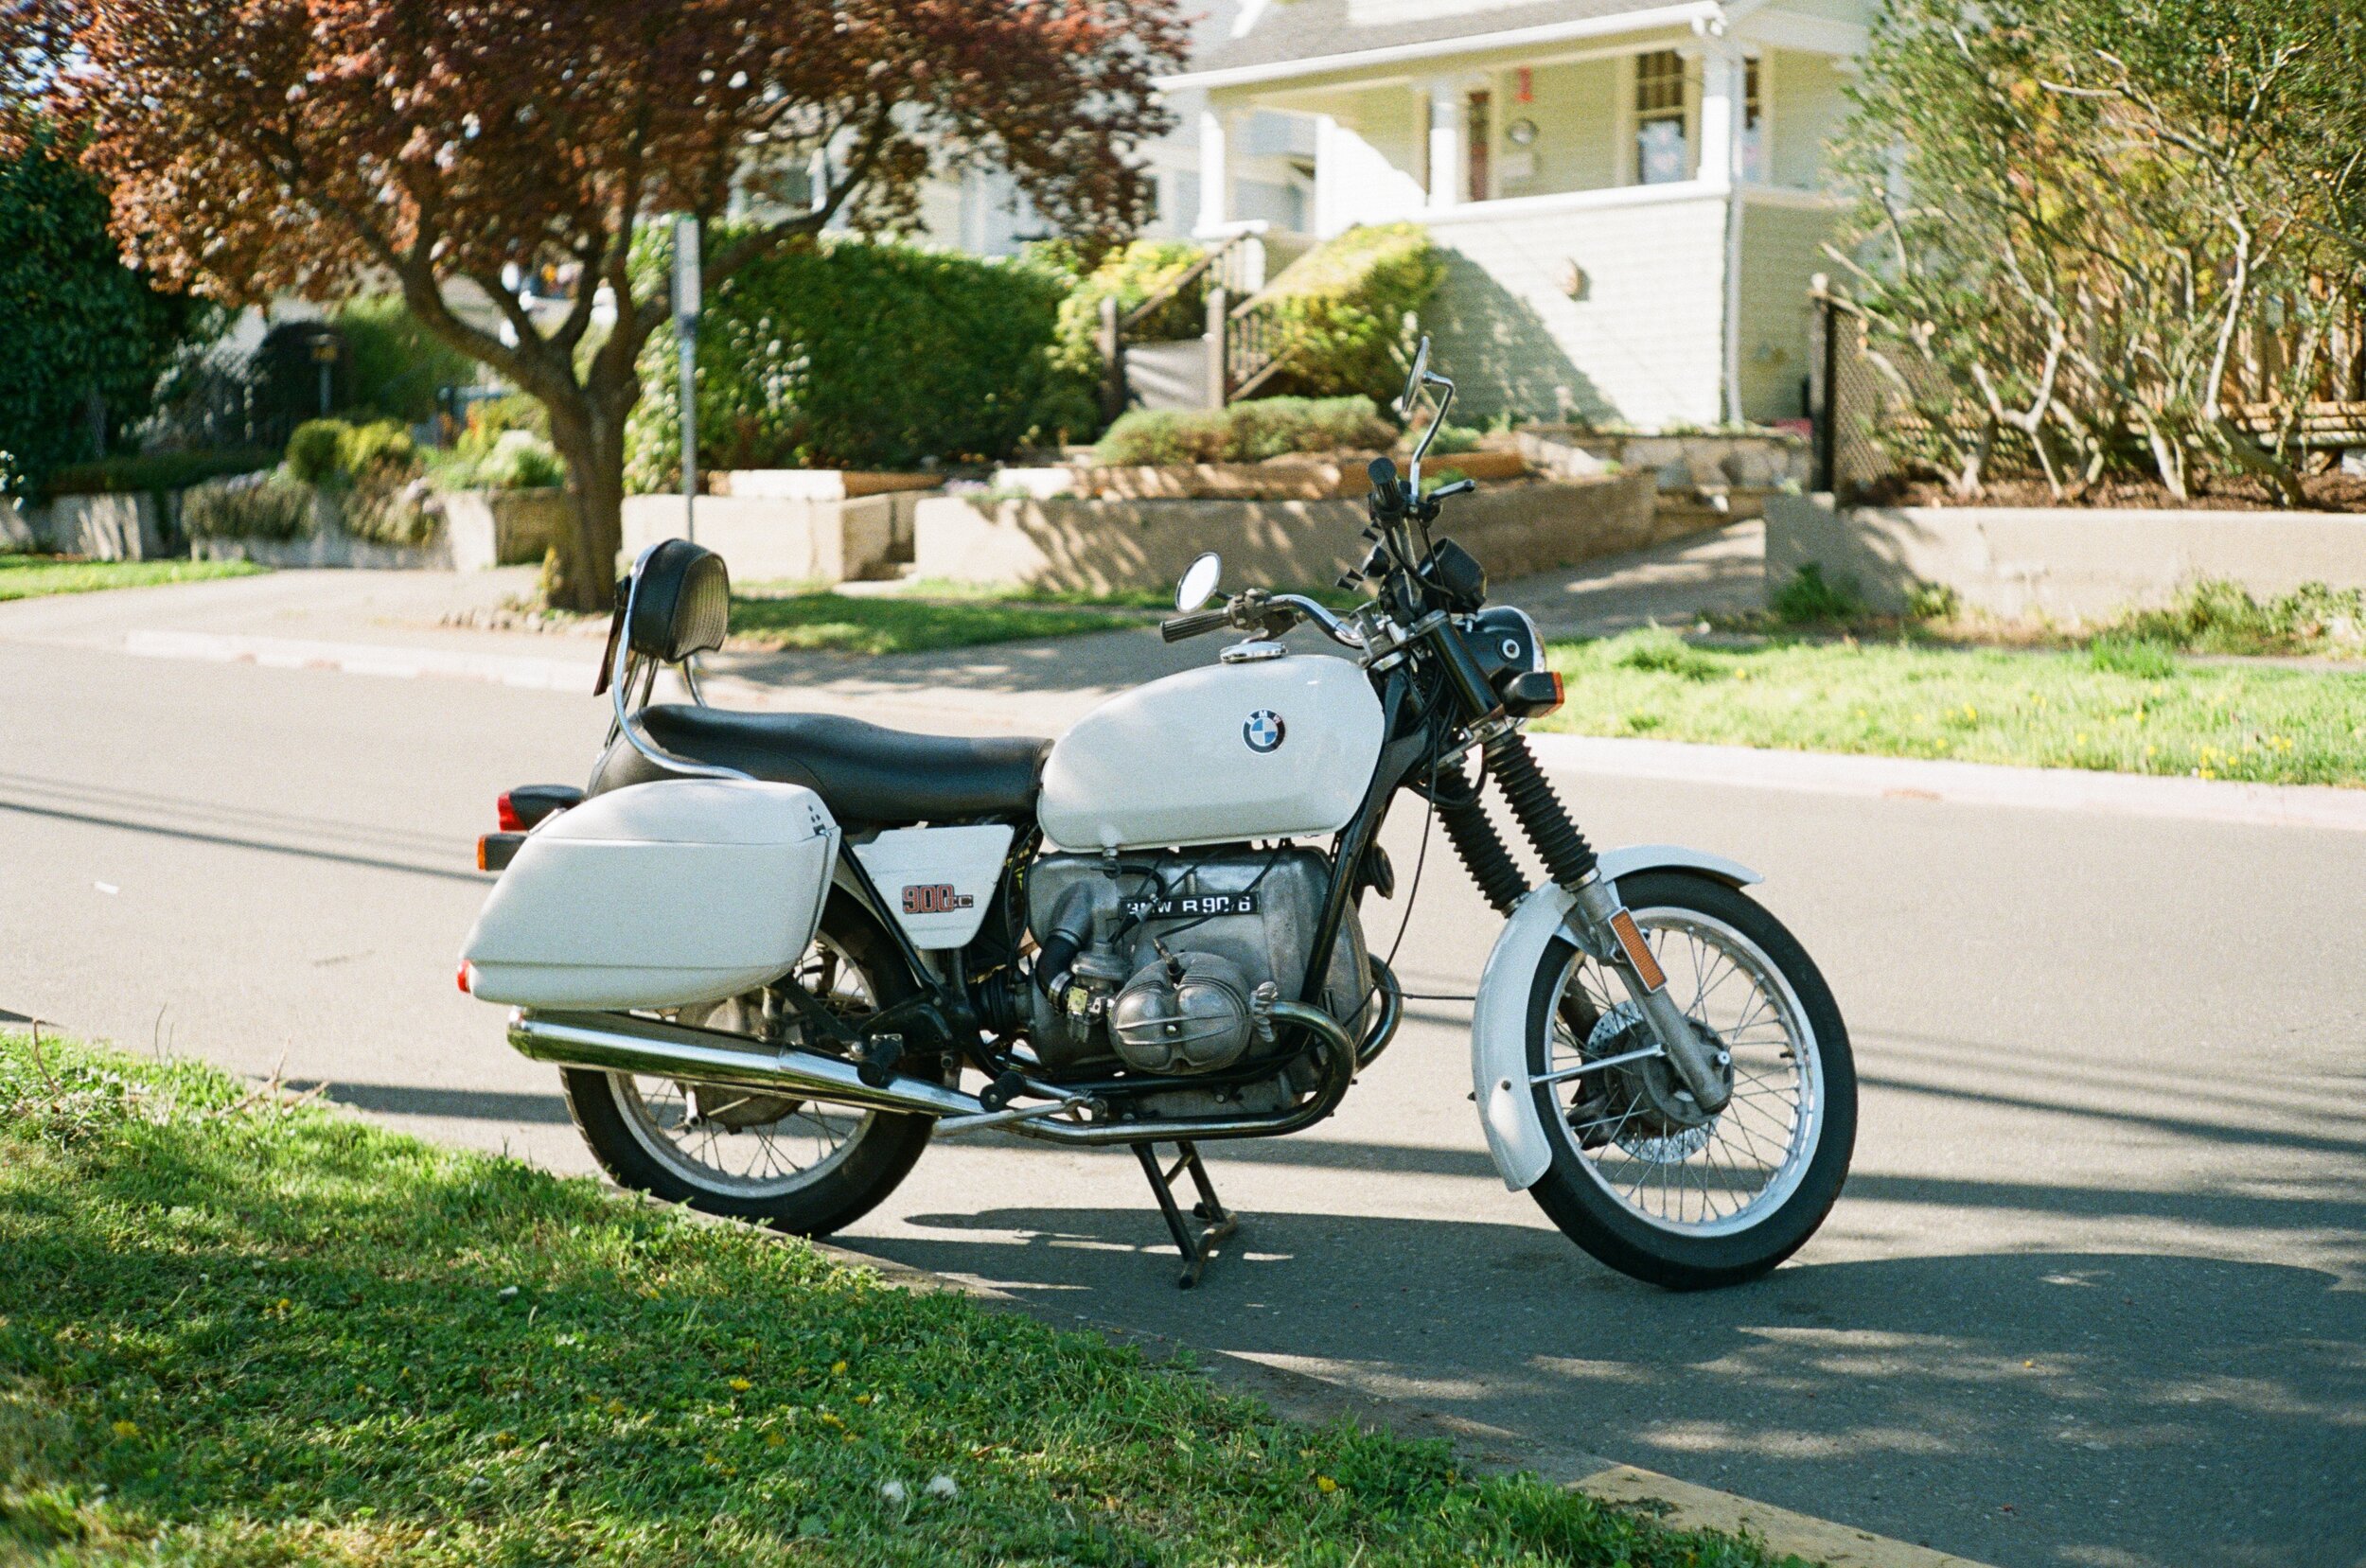
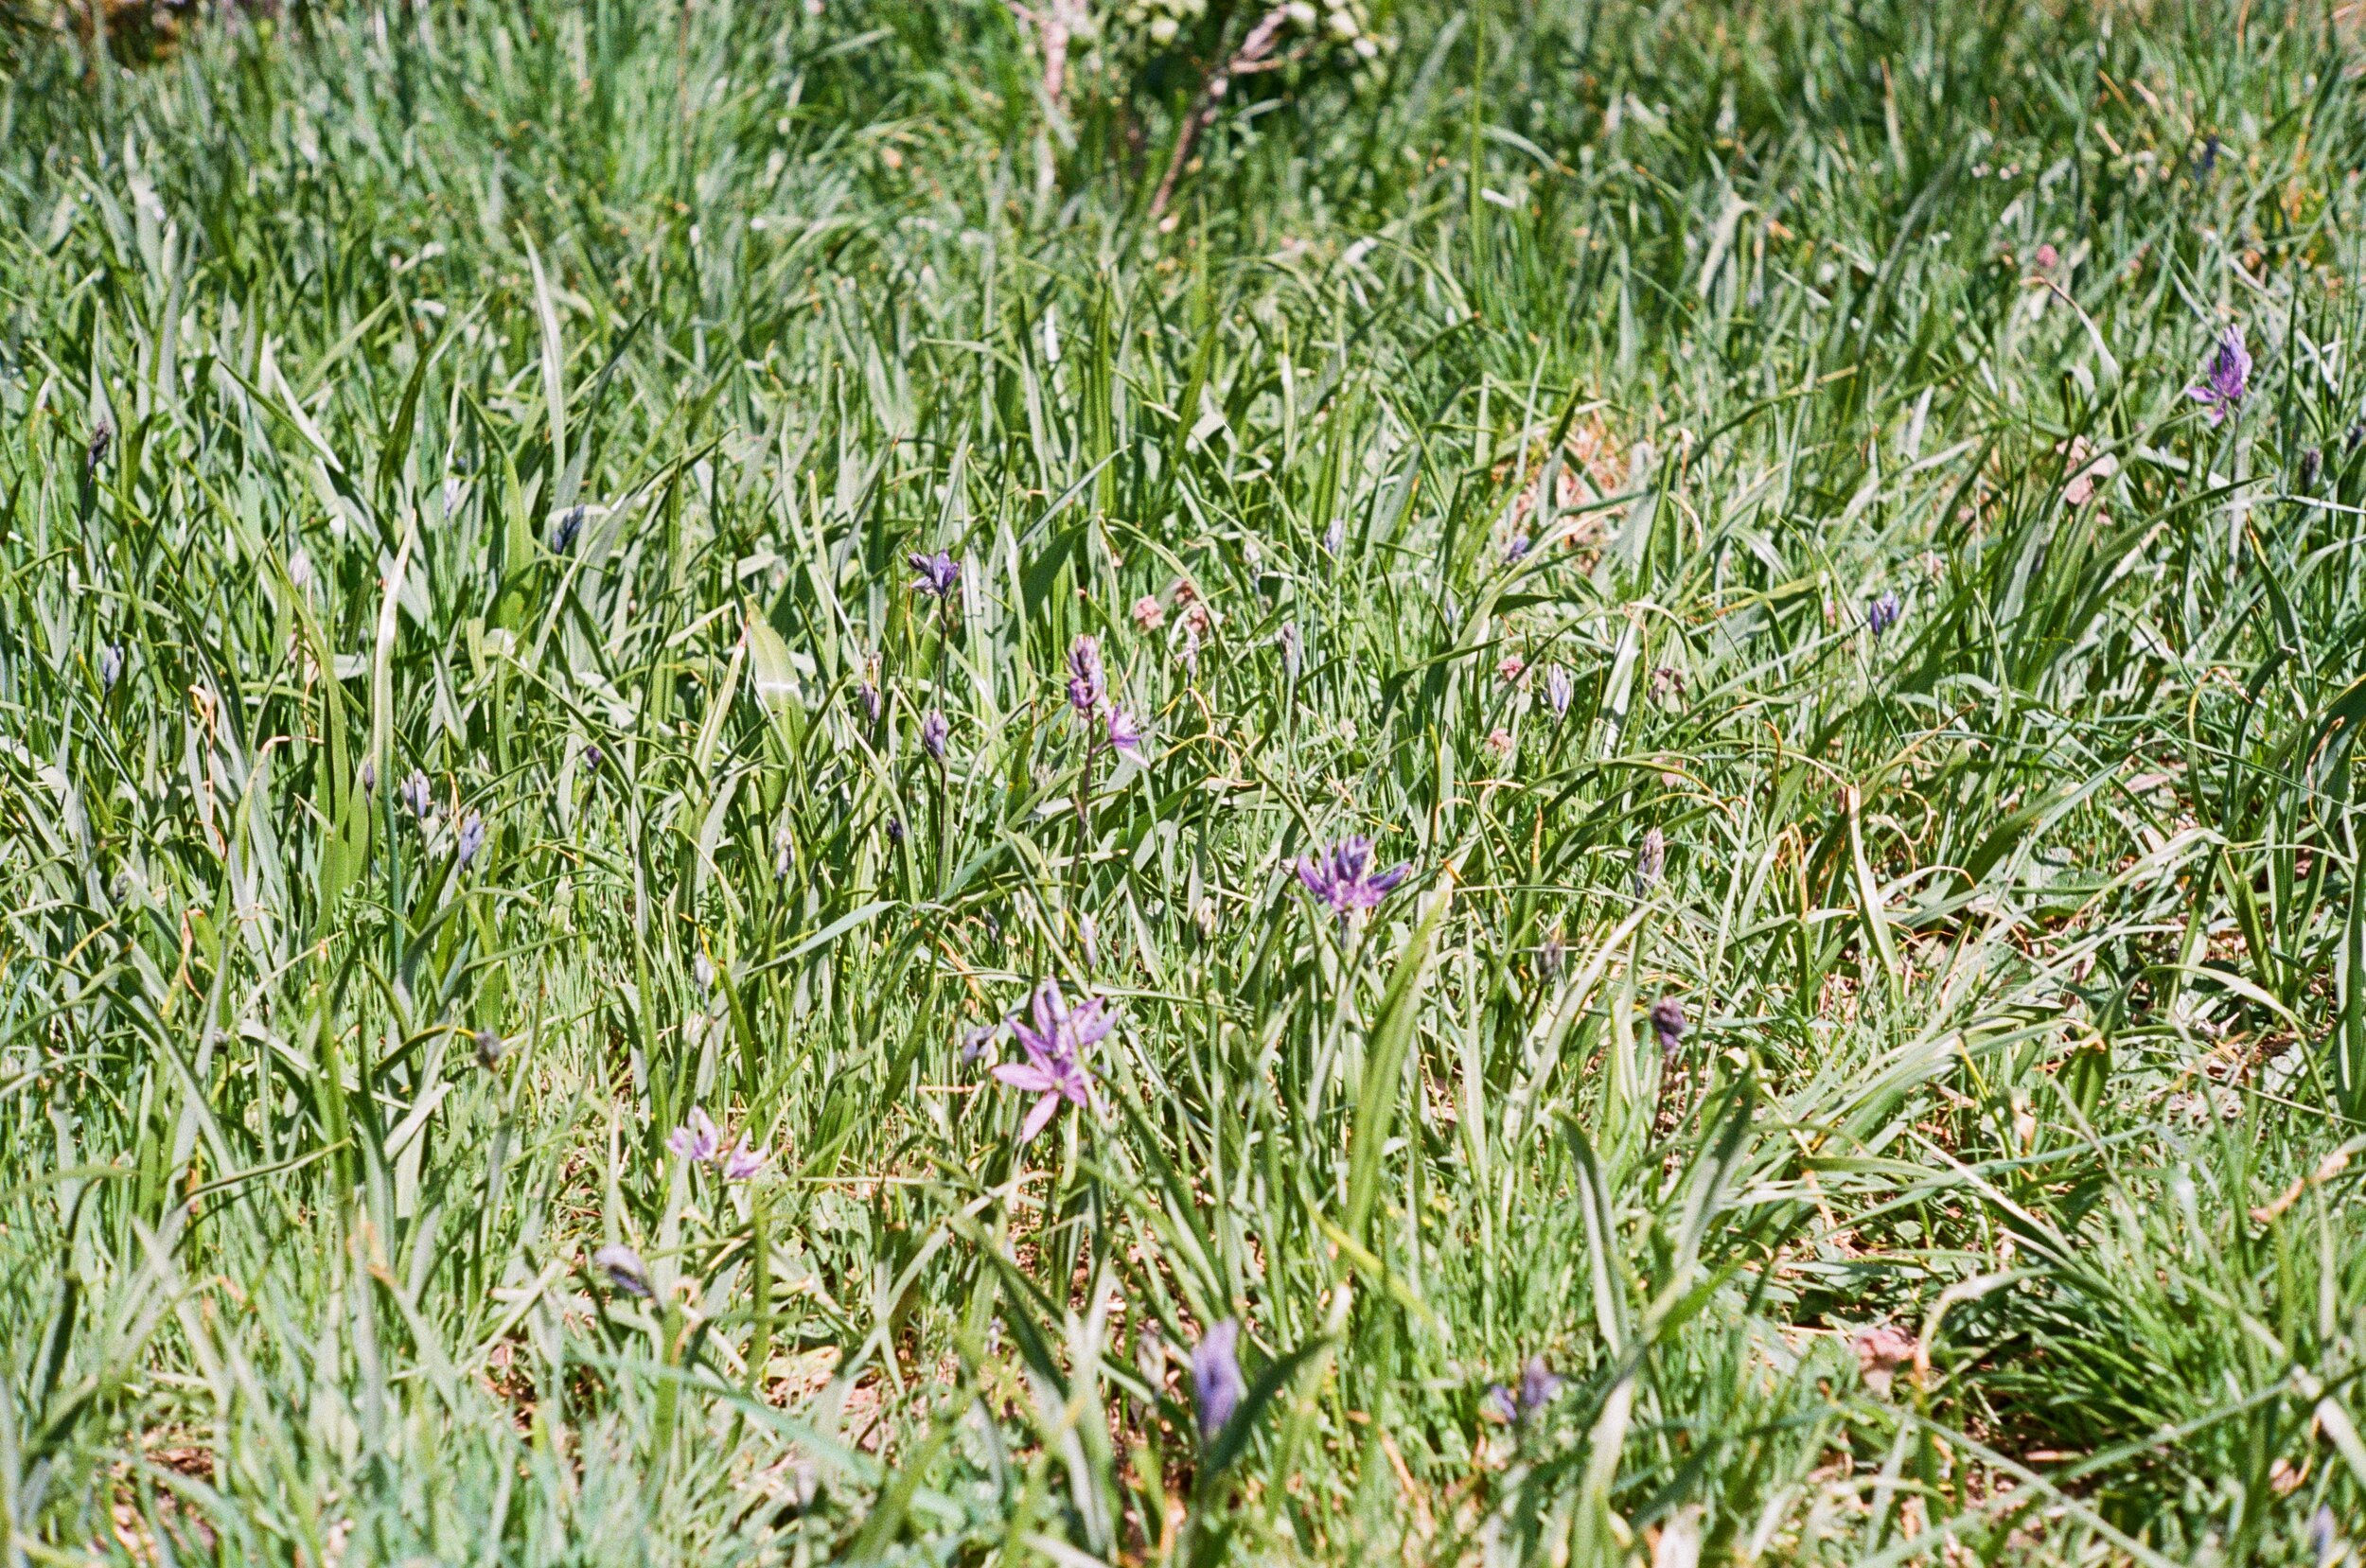
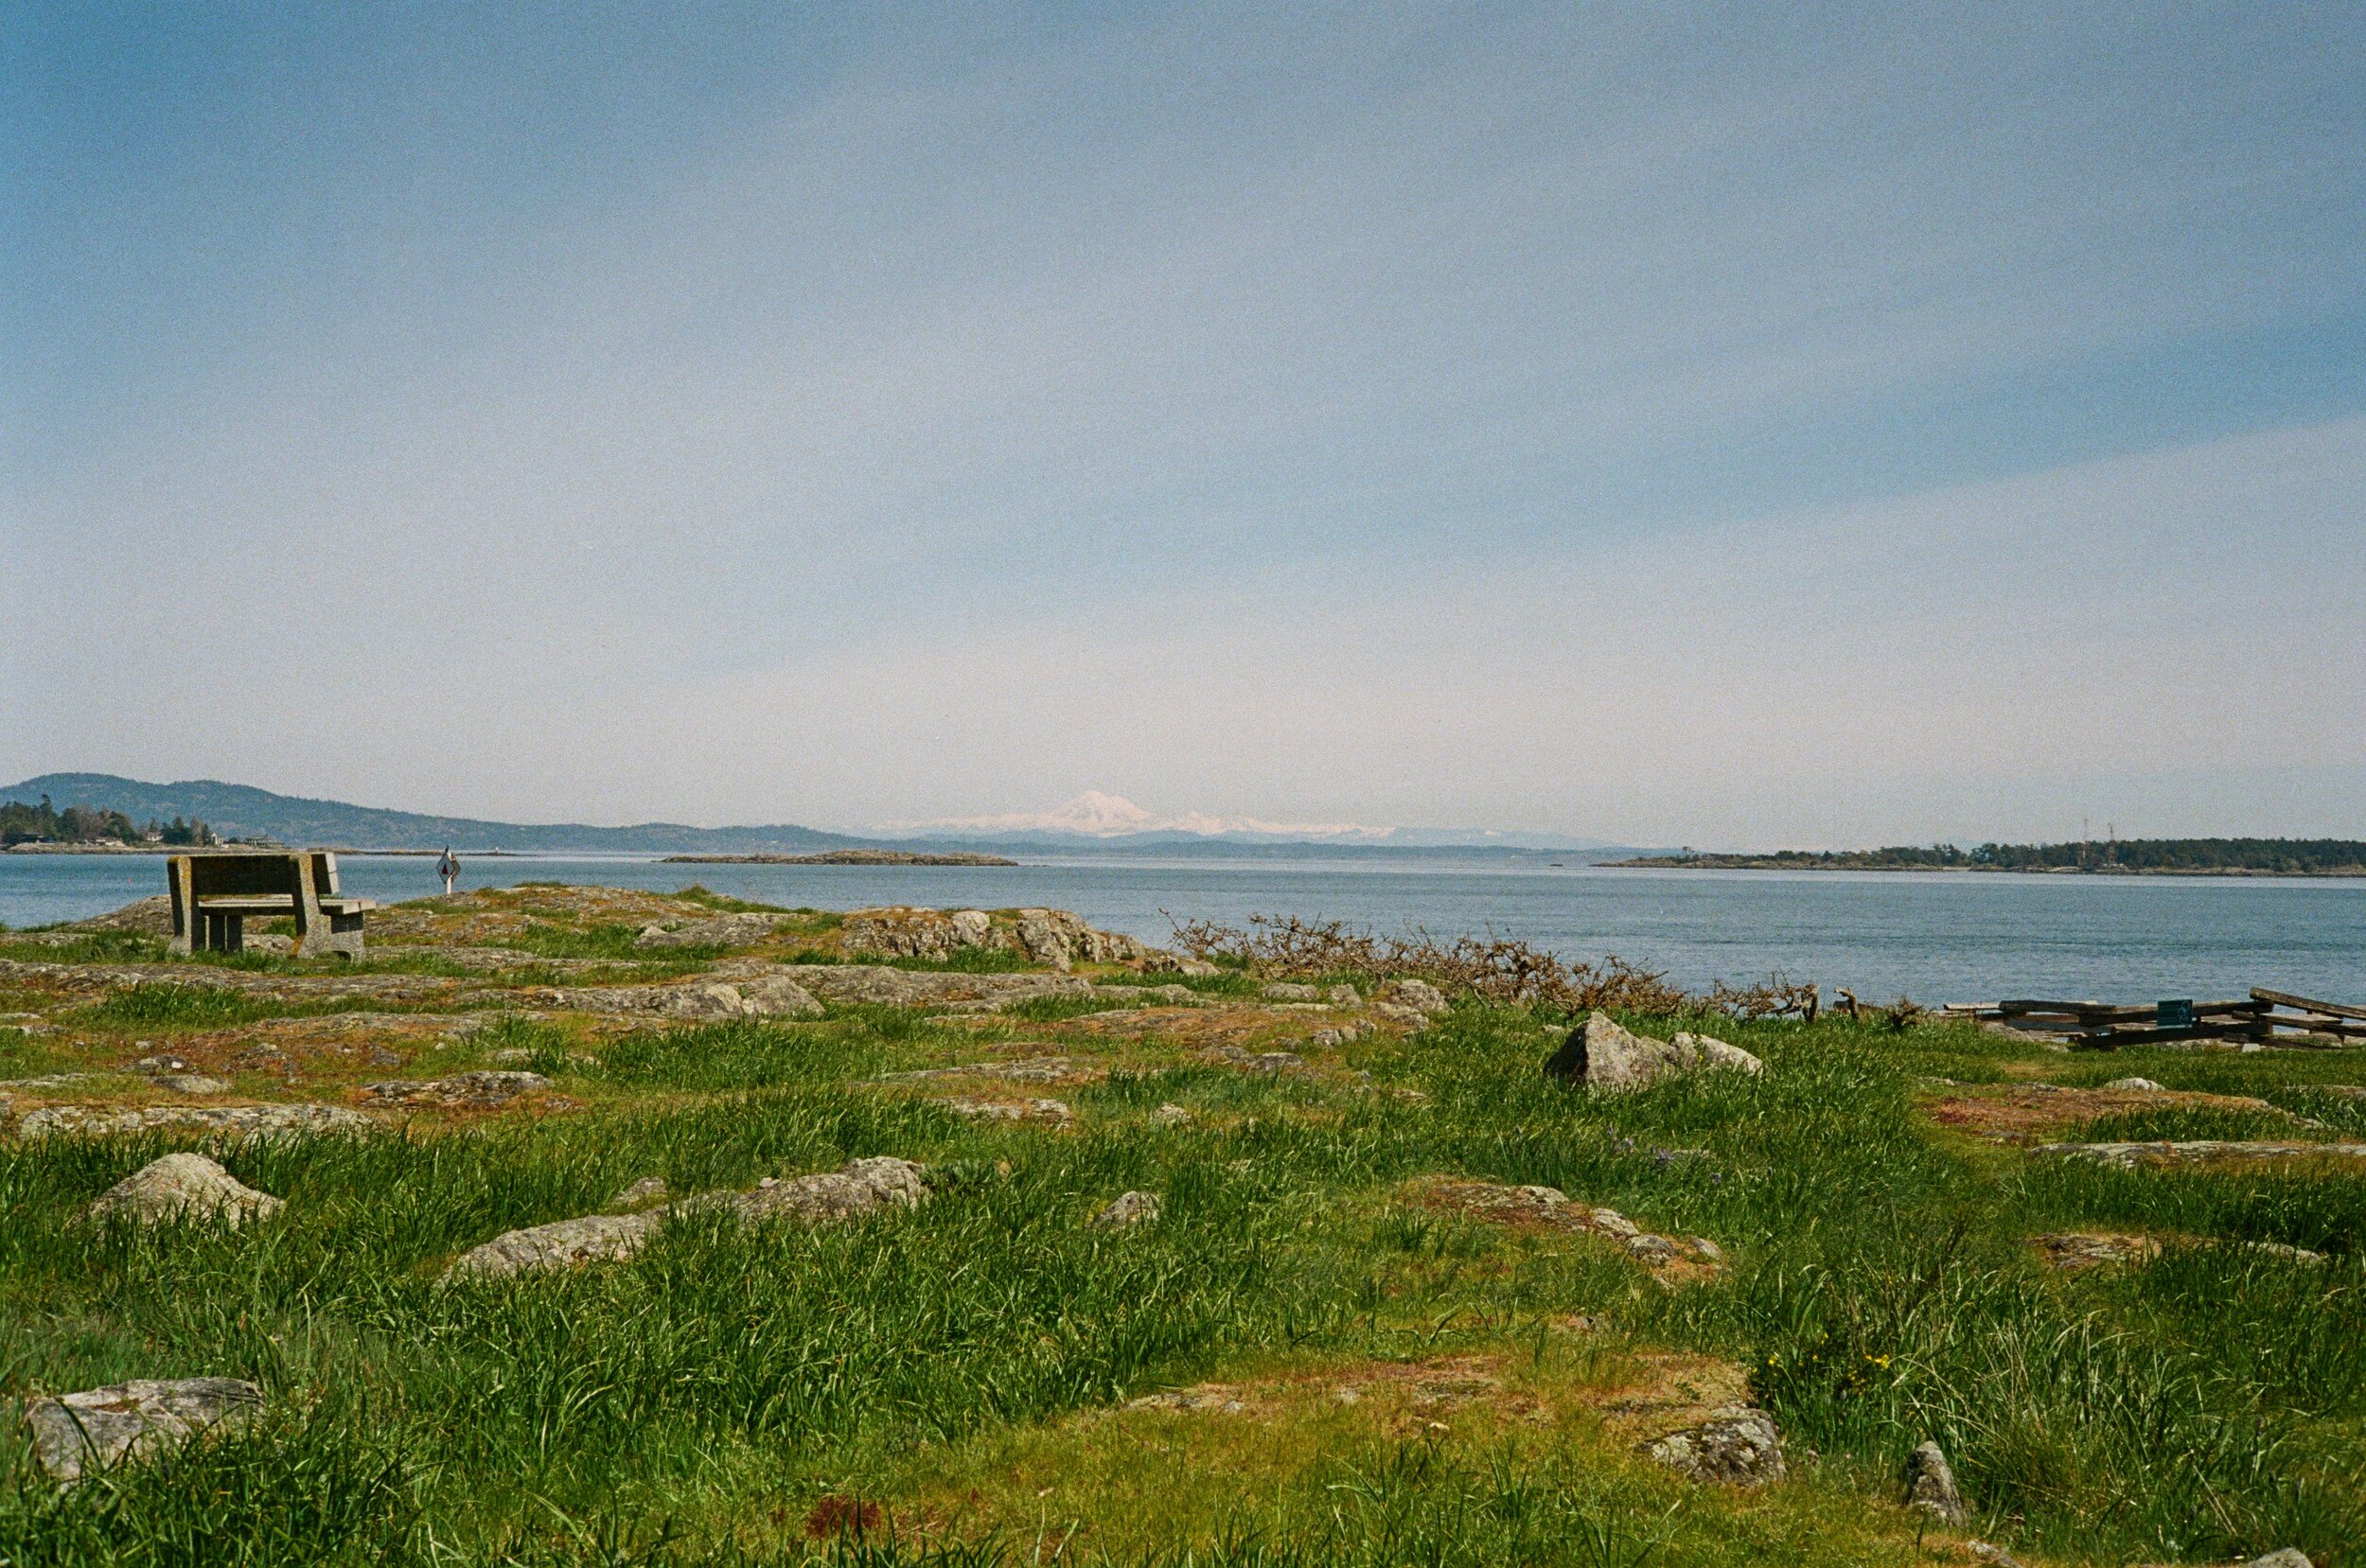
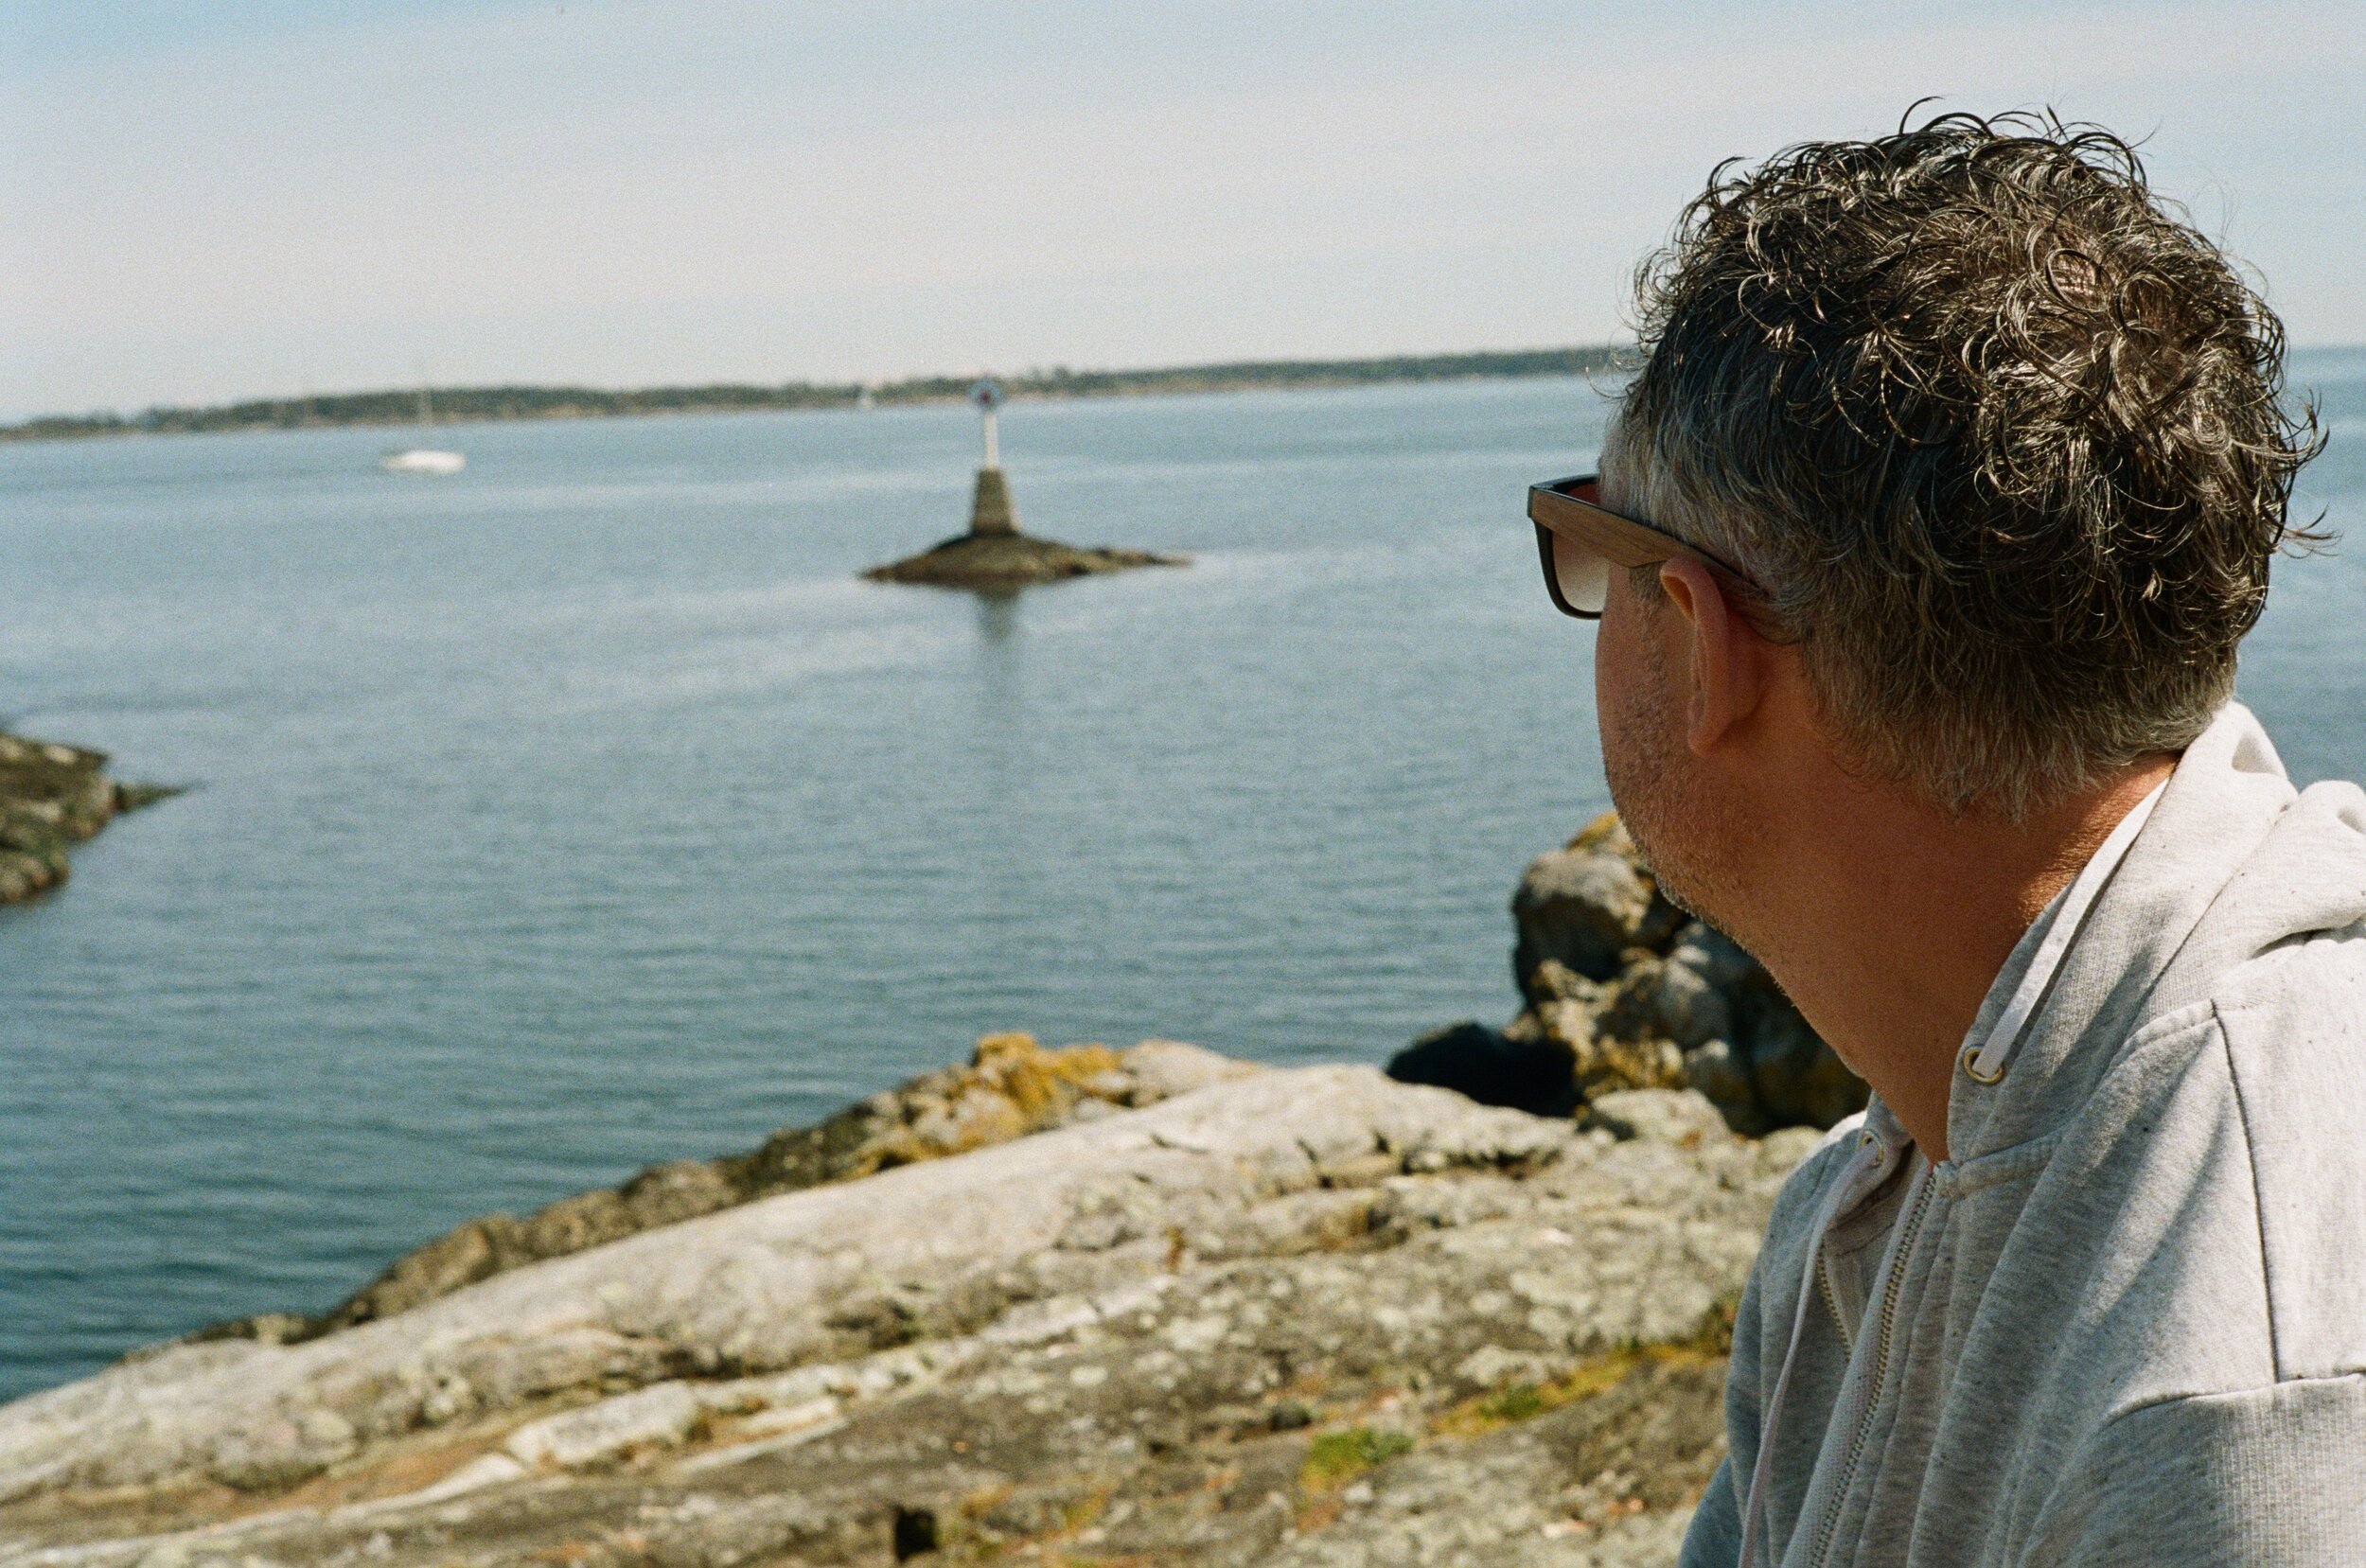
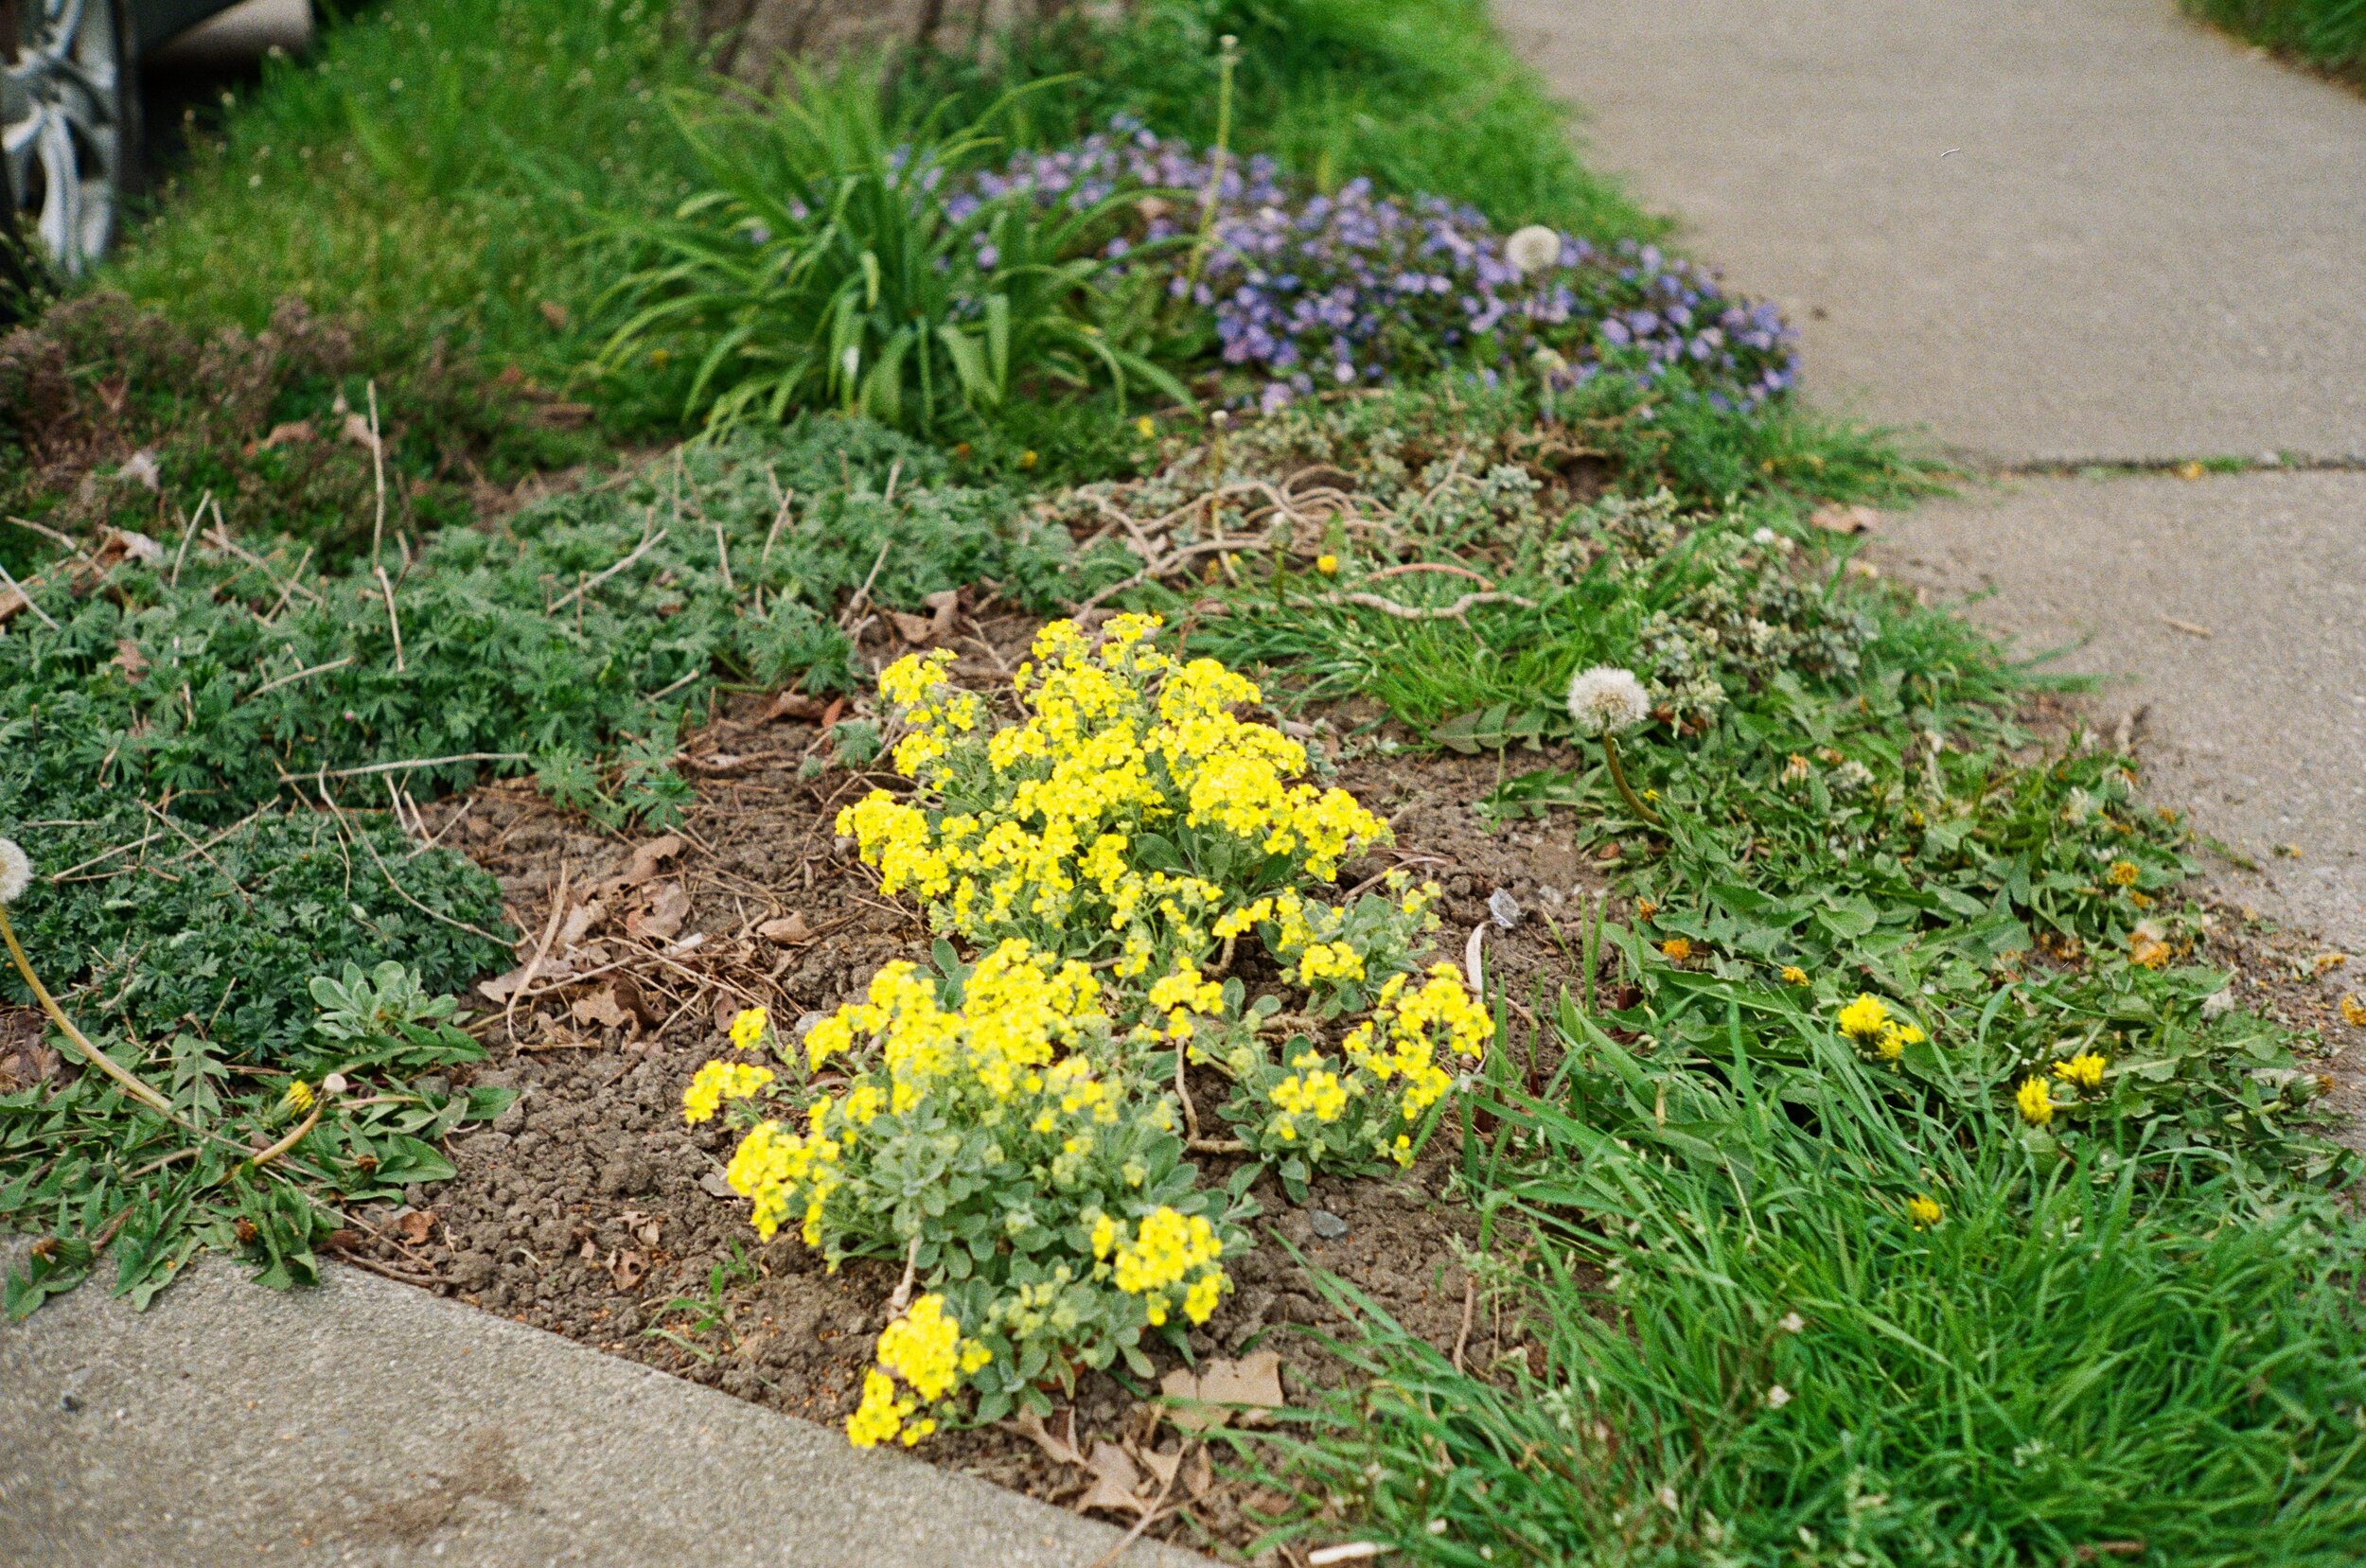
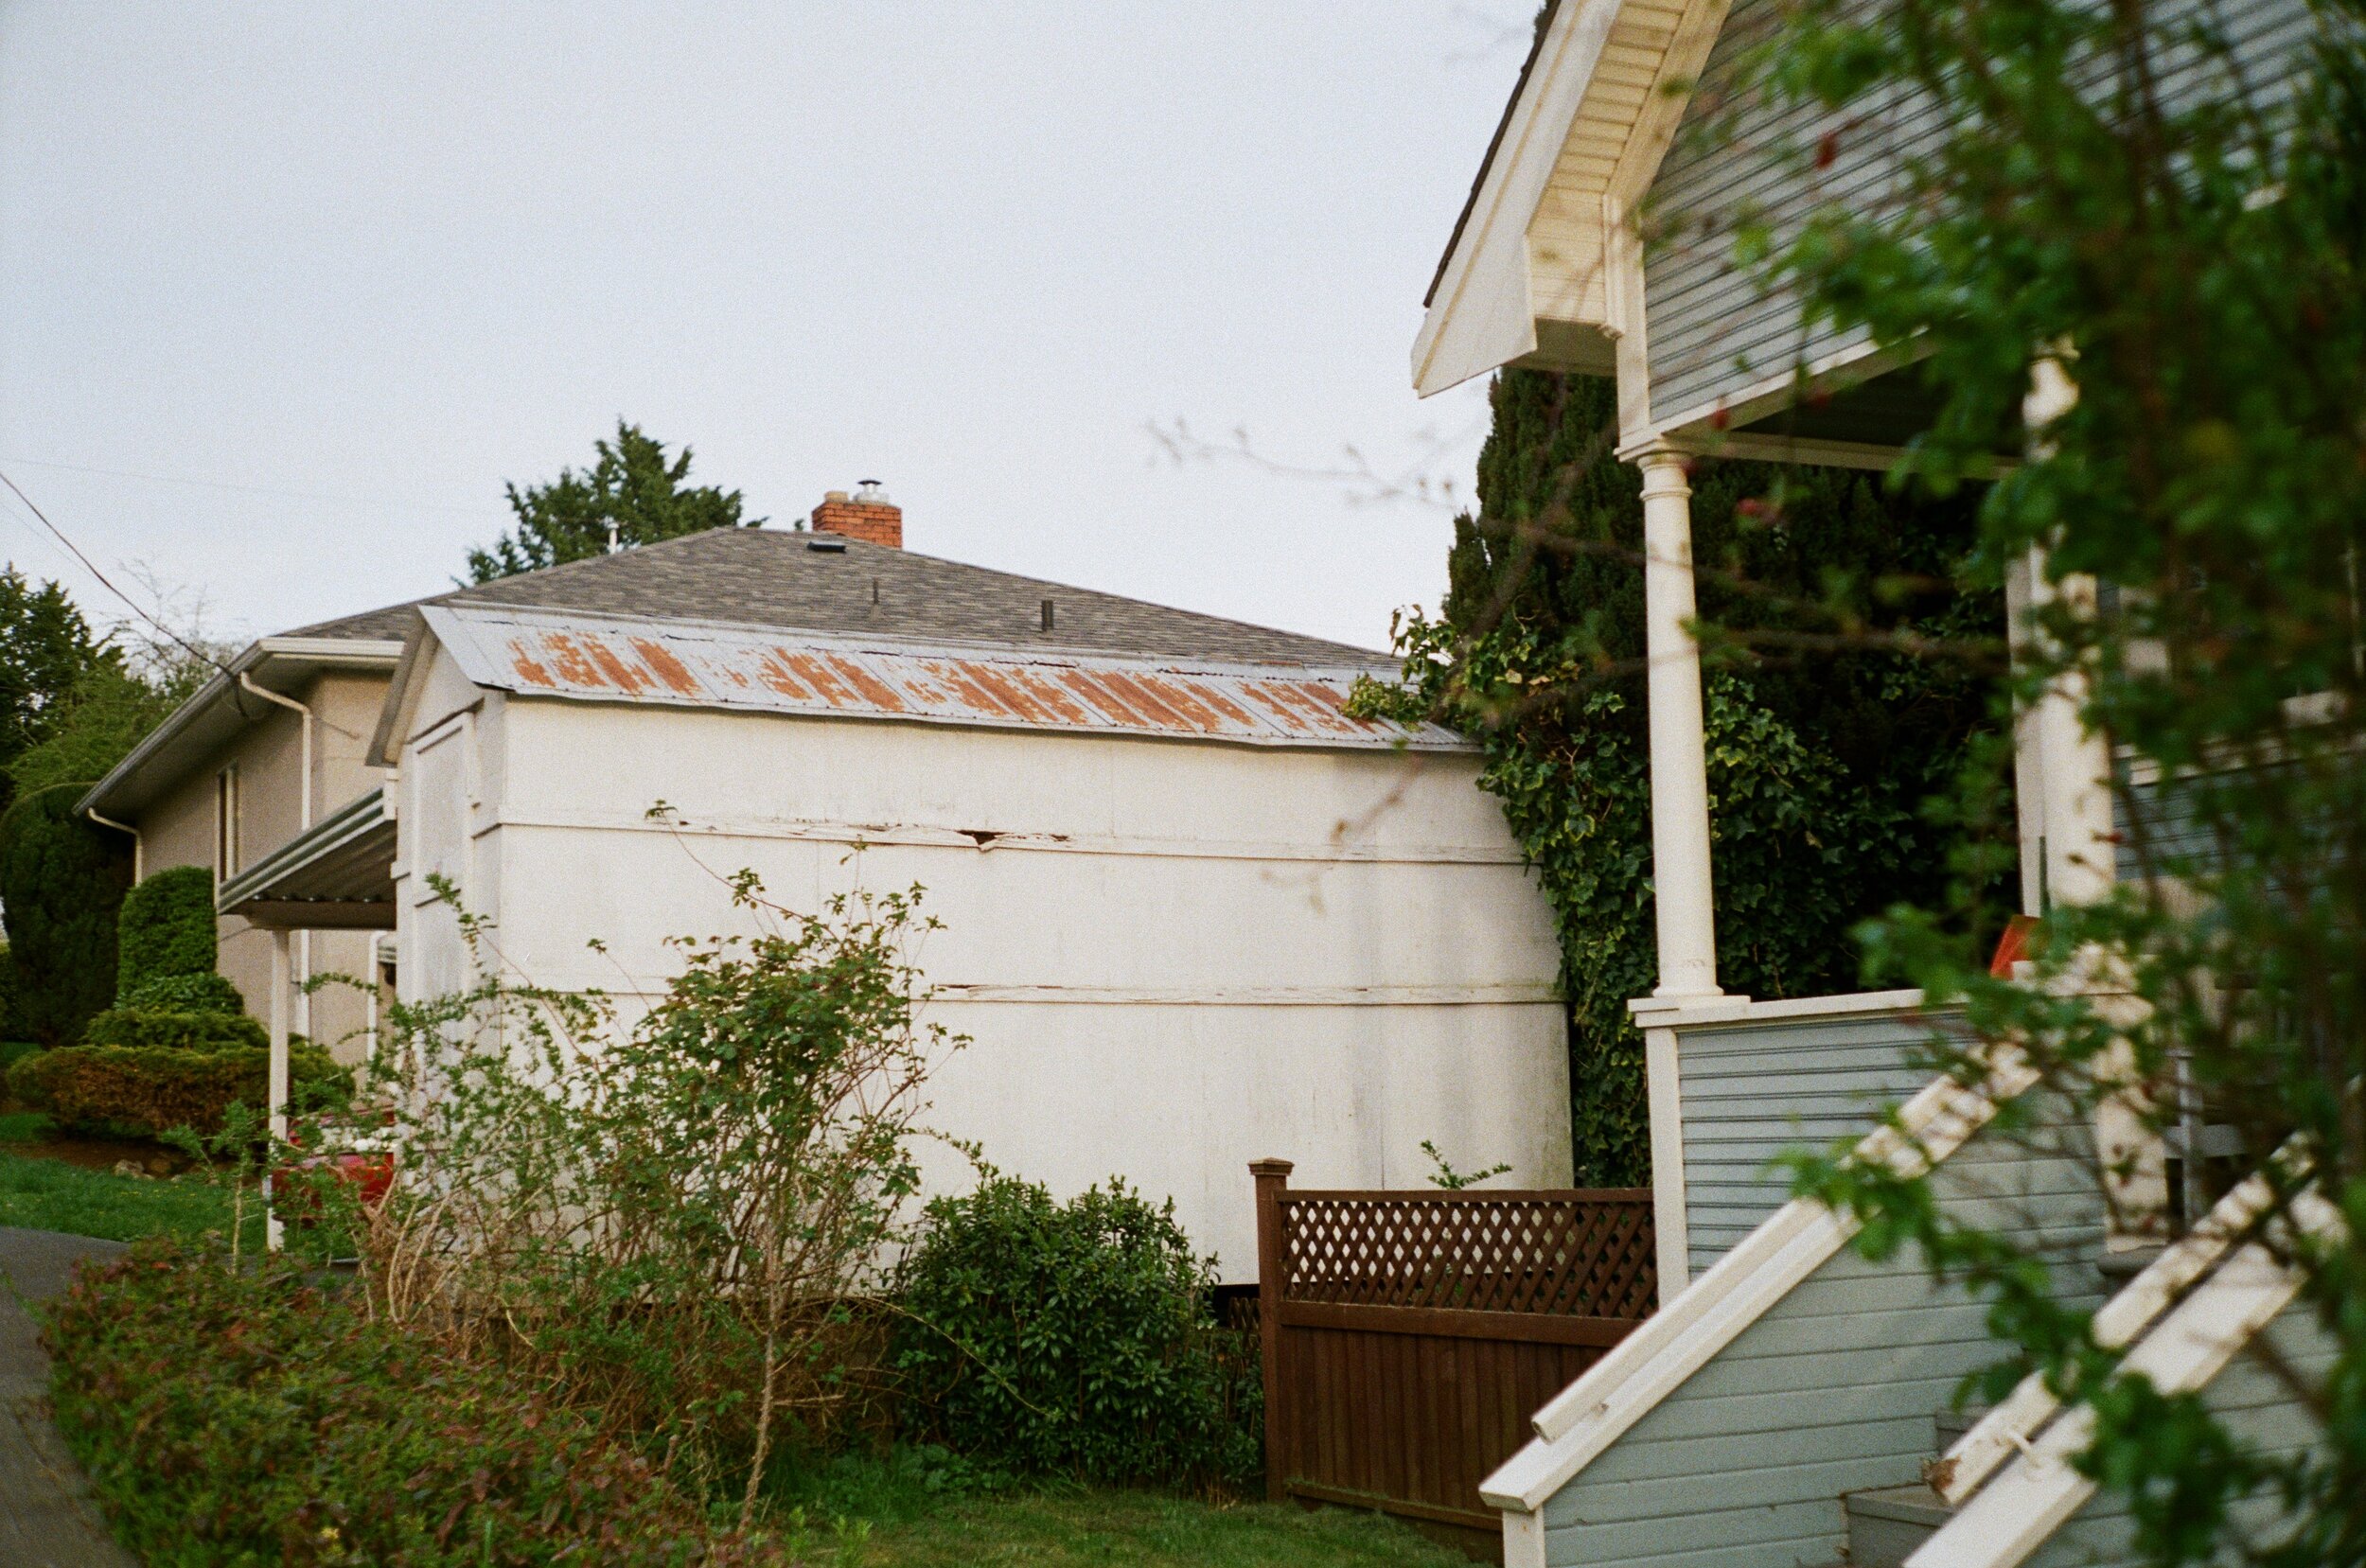
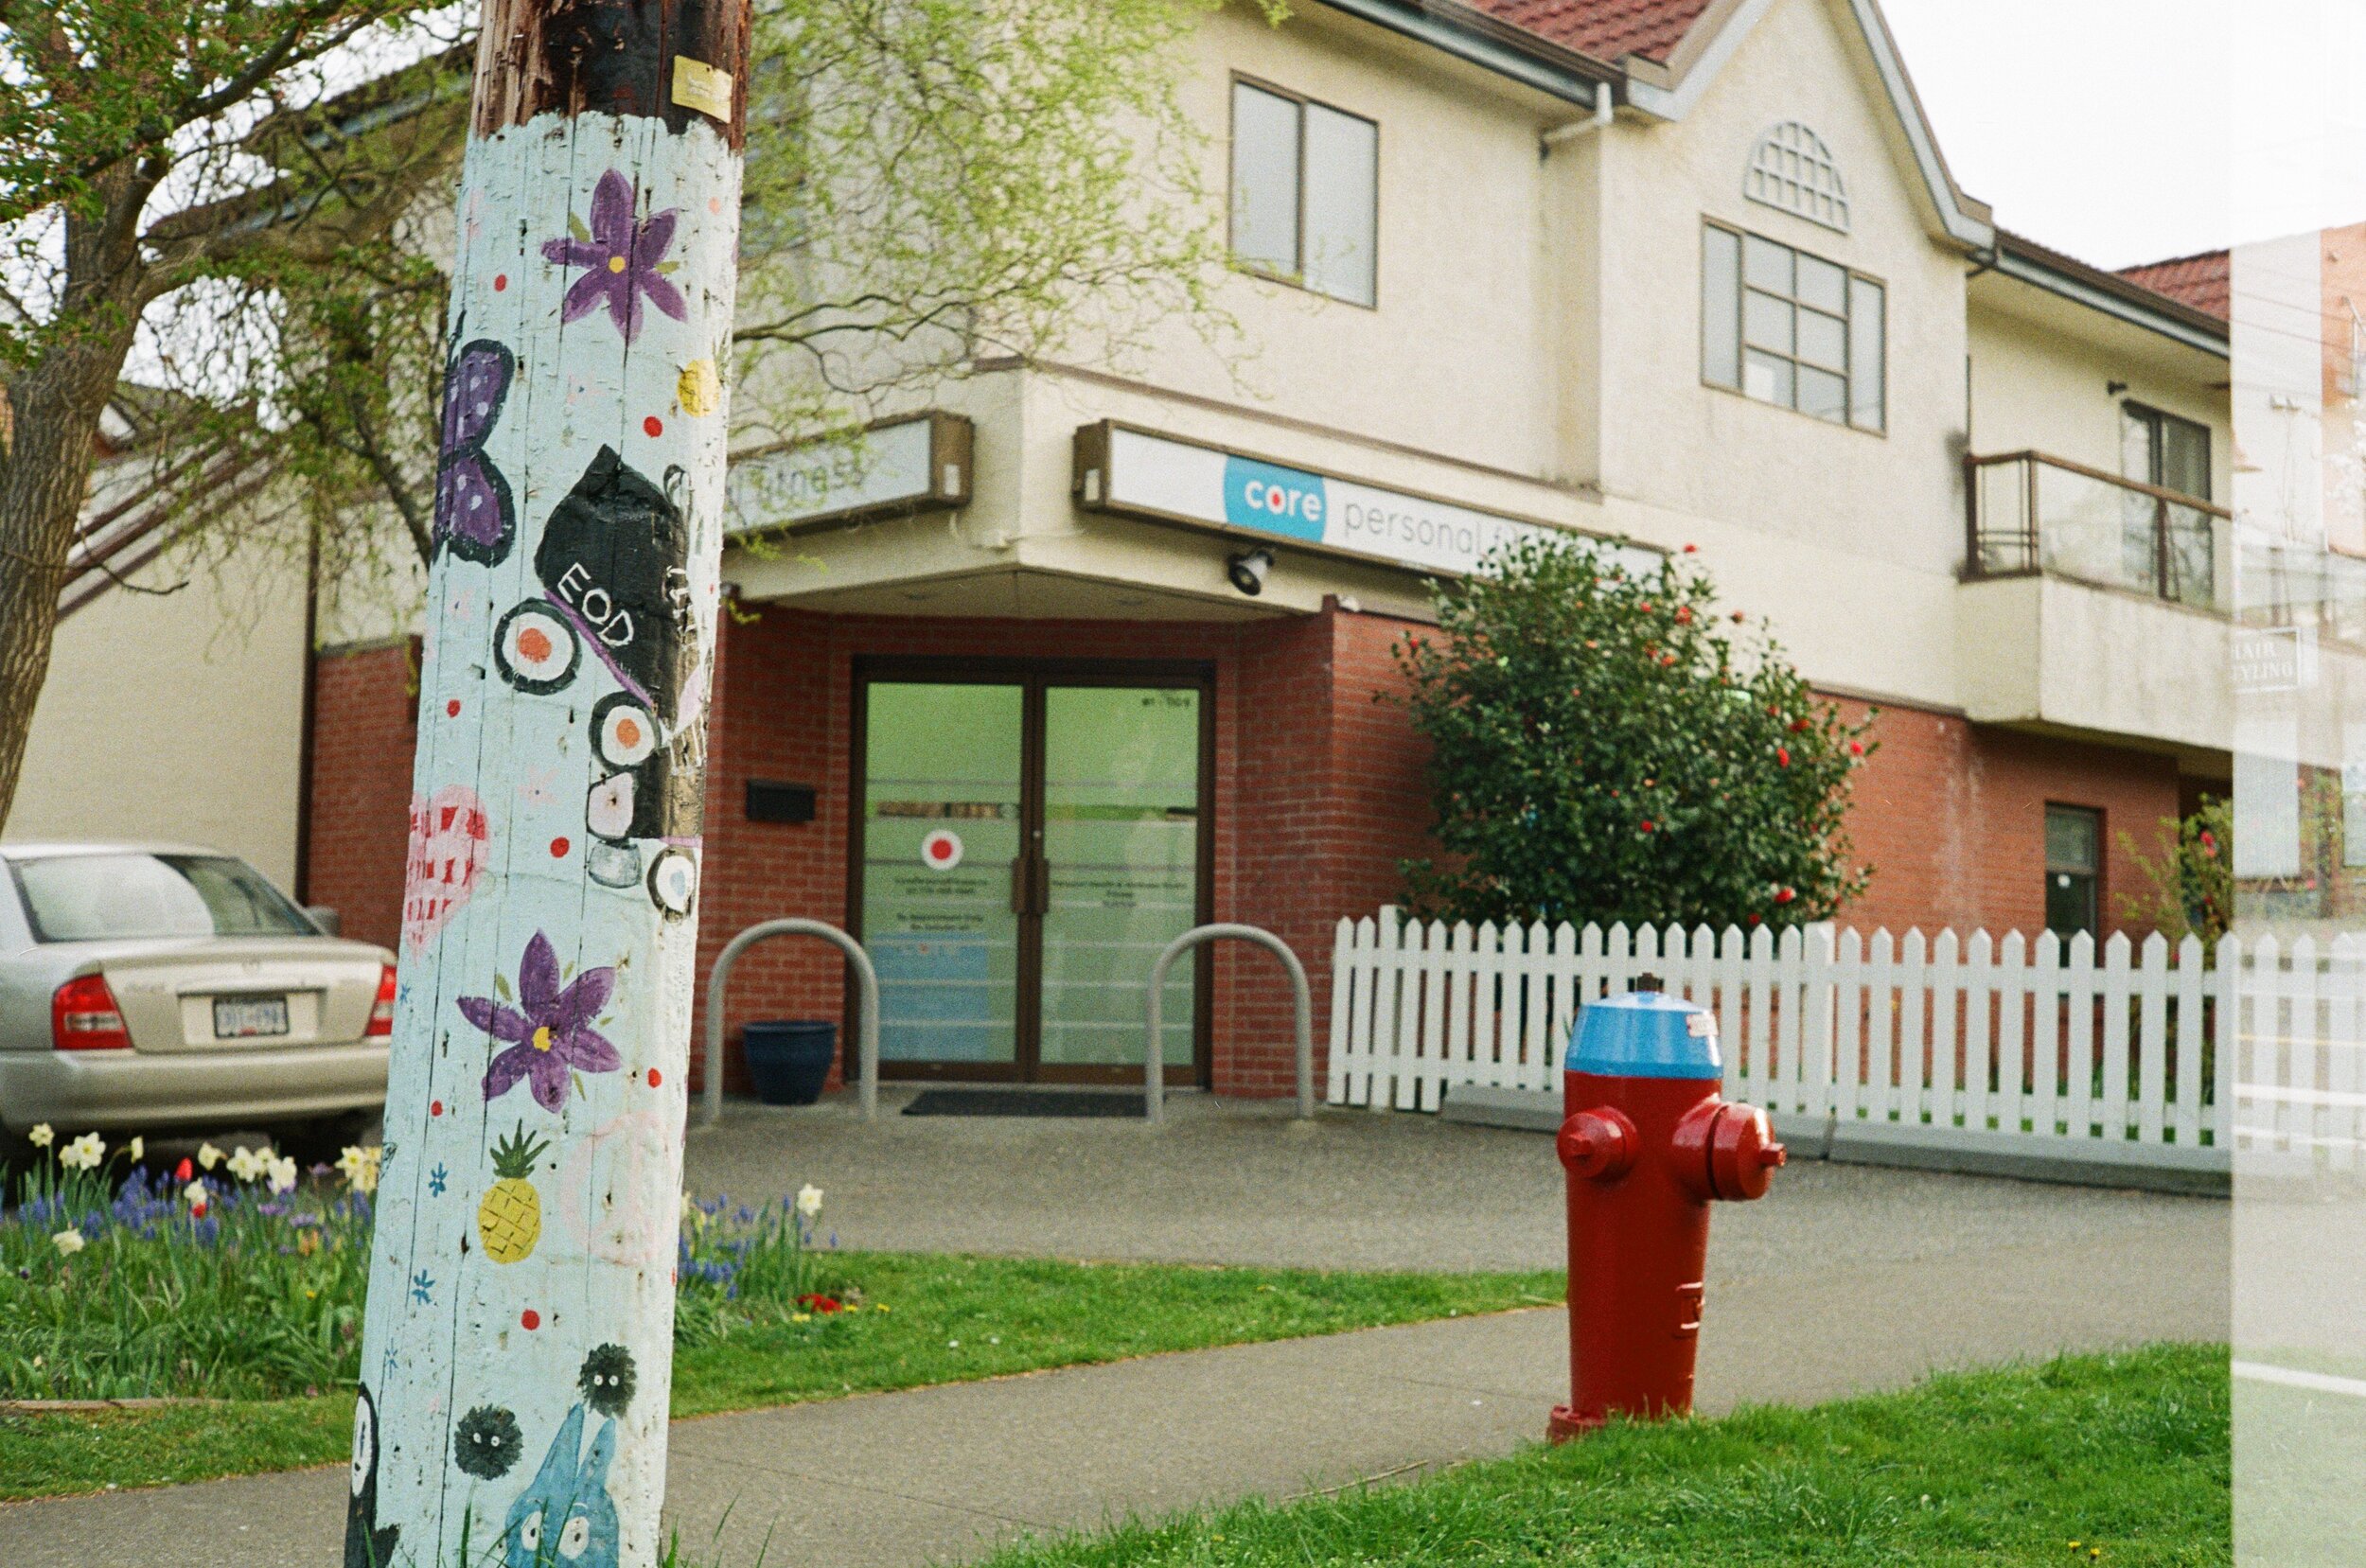
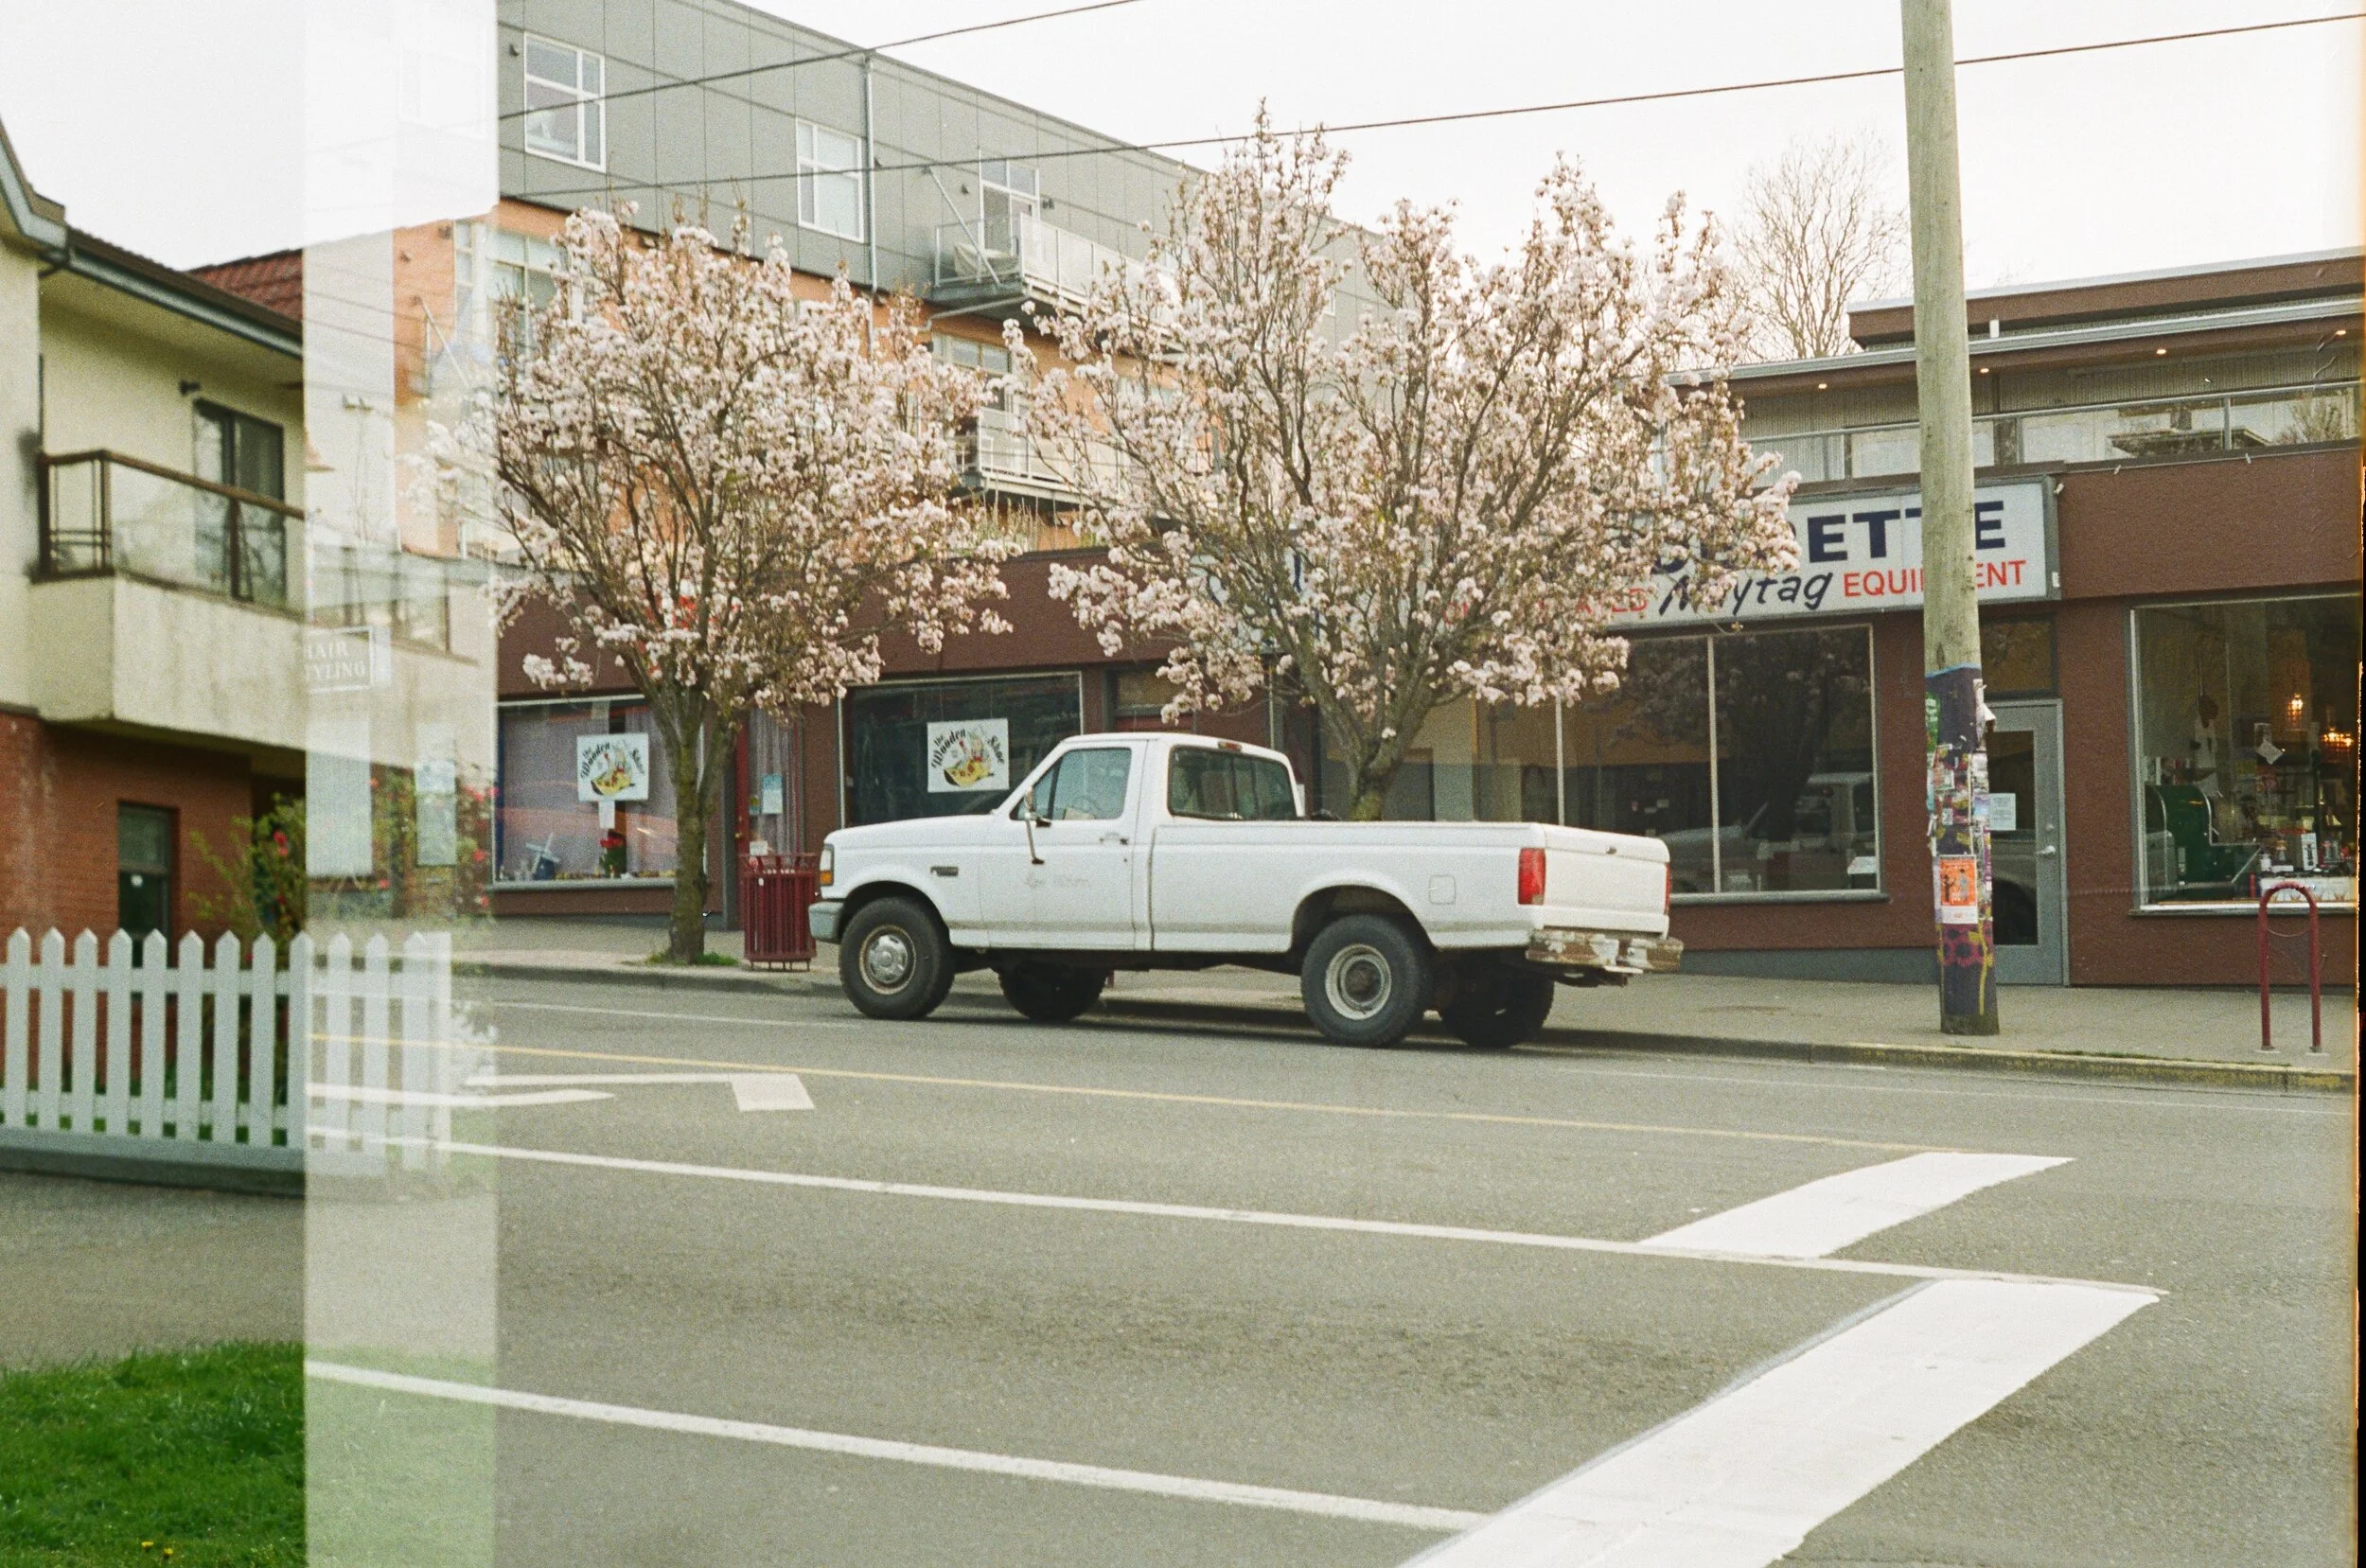
Anyways here is the first roll (with the couple family pictures removed). I have to say, I am pretty impressed with how the camera performed and it was fun to do as well. I am not likely to give up my regular digital Nikon, but I might shoot the odd focused roll on a subject around the city and post it here over the next few months. There are a couple at the end that have a little superimposing and a few others have a little bit more exposure than I would have wanted, but overall I am pretty happy with them. When it comes to playing with the aperture it is way better than my current digital camera in getting that cool blurring effect. If anyone has any questions about the project or the camera, let me know.
I would also love to know what your projects have been with all this time at home. Let me know in the comments.