Winter Film Photography - Pushing Black and White

One of the biggest challenges you face with film photography, at least in the higher latitudes, is that for a portion of the year you can be quite limited in what film you can shoot. To some degree, it can be hard to get out to shoot at all with poorer weather and colder temperatures.
I know that as the sun gets lower in the sky, I can quite get frustrated when I look into my viewfinder and see just how underexposed the light meter says I am, and I start to try and zen my body still to take a photo at 1/25 of a second. Luckily this year, I had the chance to listen to an episode of one of my favourite photography podcasts, Sunny 16, and they did an episode specifically on this challenge of shooting on darker days. The hosts didn't tell me anything I didn't already know in the back of mind, but they did inspire me to be a little more adventurous when trying film photography in the winter.

The episode focuses on a couple of specific options for shooting during the dark days of winter. The first option was to use higher ISO film, but even 400 speed film can be challenging at this time of year. One of the tasks I try and do in the autumn is to stock up on some higher ISO film at Camera Traders. If there happens to be some 800 at the shop, I will definitely get some. The second idea that they presented was to purposely slow down. And I don’t mean it in the overused (but true) comment that is often made about film photography, instead slow down your shutter speed. Find ways to slow it right down and play with some motion blur on the street. This may mean getting out your tripod and lugging it down the street though. Their final idea was to push film. I think that if you have film on hand from the summer, changing the ASA/ISO knob on your camera and then carrying on as if normal is likely the easiest thing to do. You can of course push any film, but as I say that, I suppose I should explain the term a little deeper.
Pushing film is when you take a film at a specific film speed, let’s say 200 ISO, and shoot it at 400. That is pushing the film 1 stop (100 -> 200, 200 -> 400, 400 -> 800). You can push more than one stop as well. What is actually happening in this situation is that you are telling your camera’s light meter that the film inside is more sensitive to light than it actually is. So the film gets underexposed when you take the photo and you then over-develop it with your chemicals when you are done the roll. This is exactly what I did with the two rolls I wanted to show you today.
Before I get into the photo examples, I should mention that the podcast episode I referenced also included this year’s “Cheap Shots Challenge”. This is a great photo competition where you have to buy a cheap used camera from somewhere like KEH (under $75) and use some cheap film and try and take photos based on a theme. The theme this time was of course, ‘Embracing the Dark’. If you are ever looking for welcoming contest to join, this is the one.
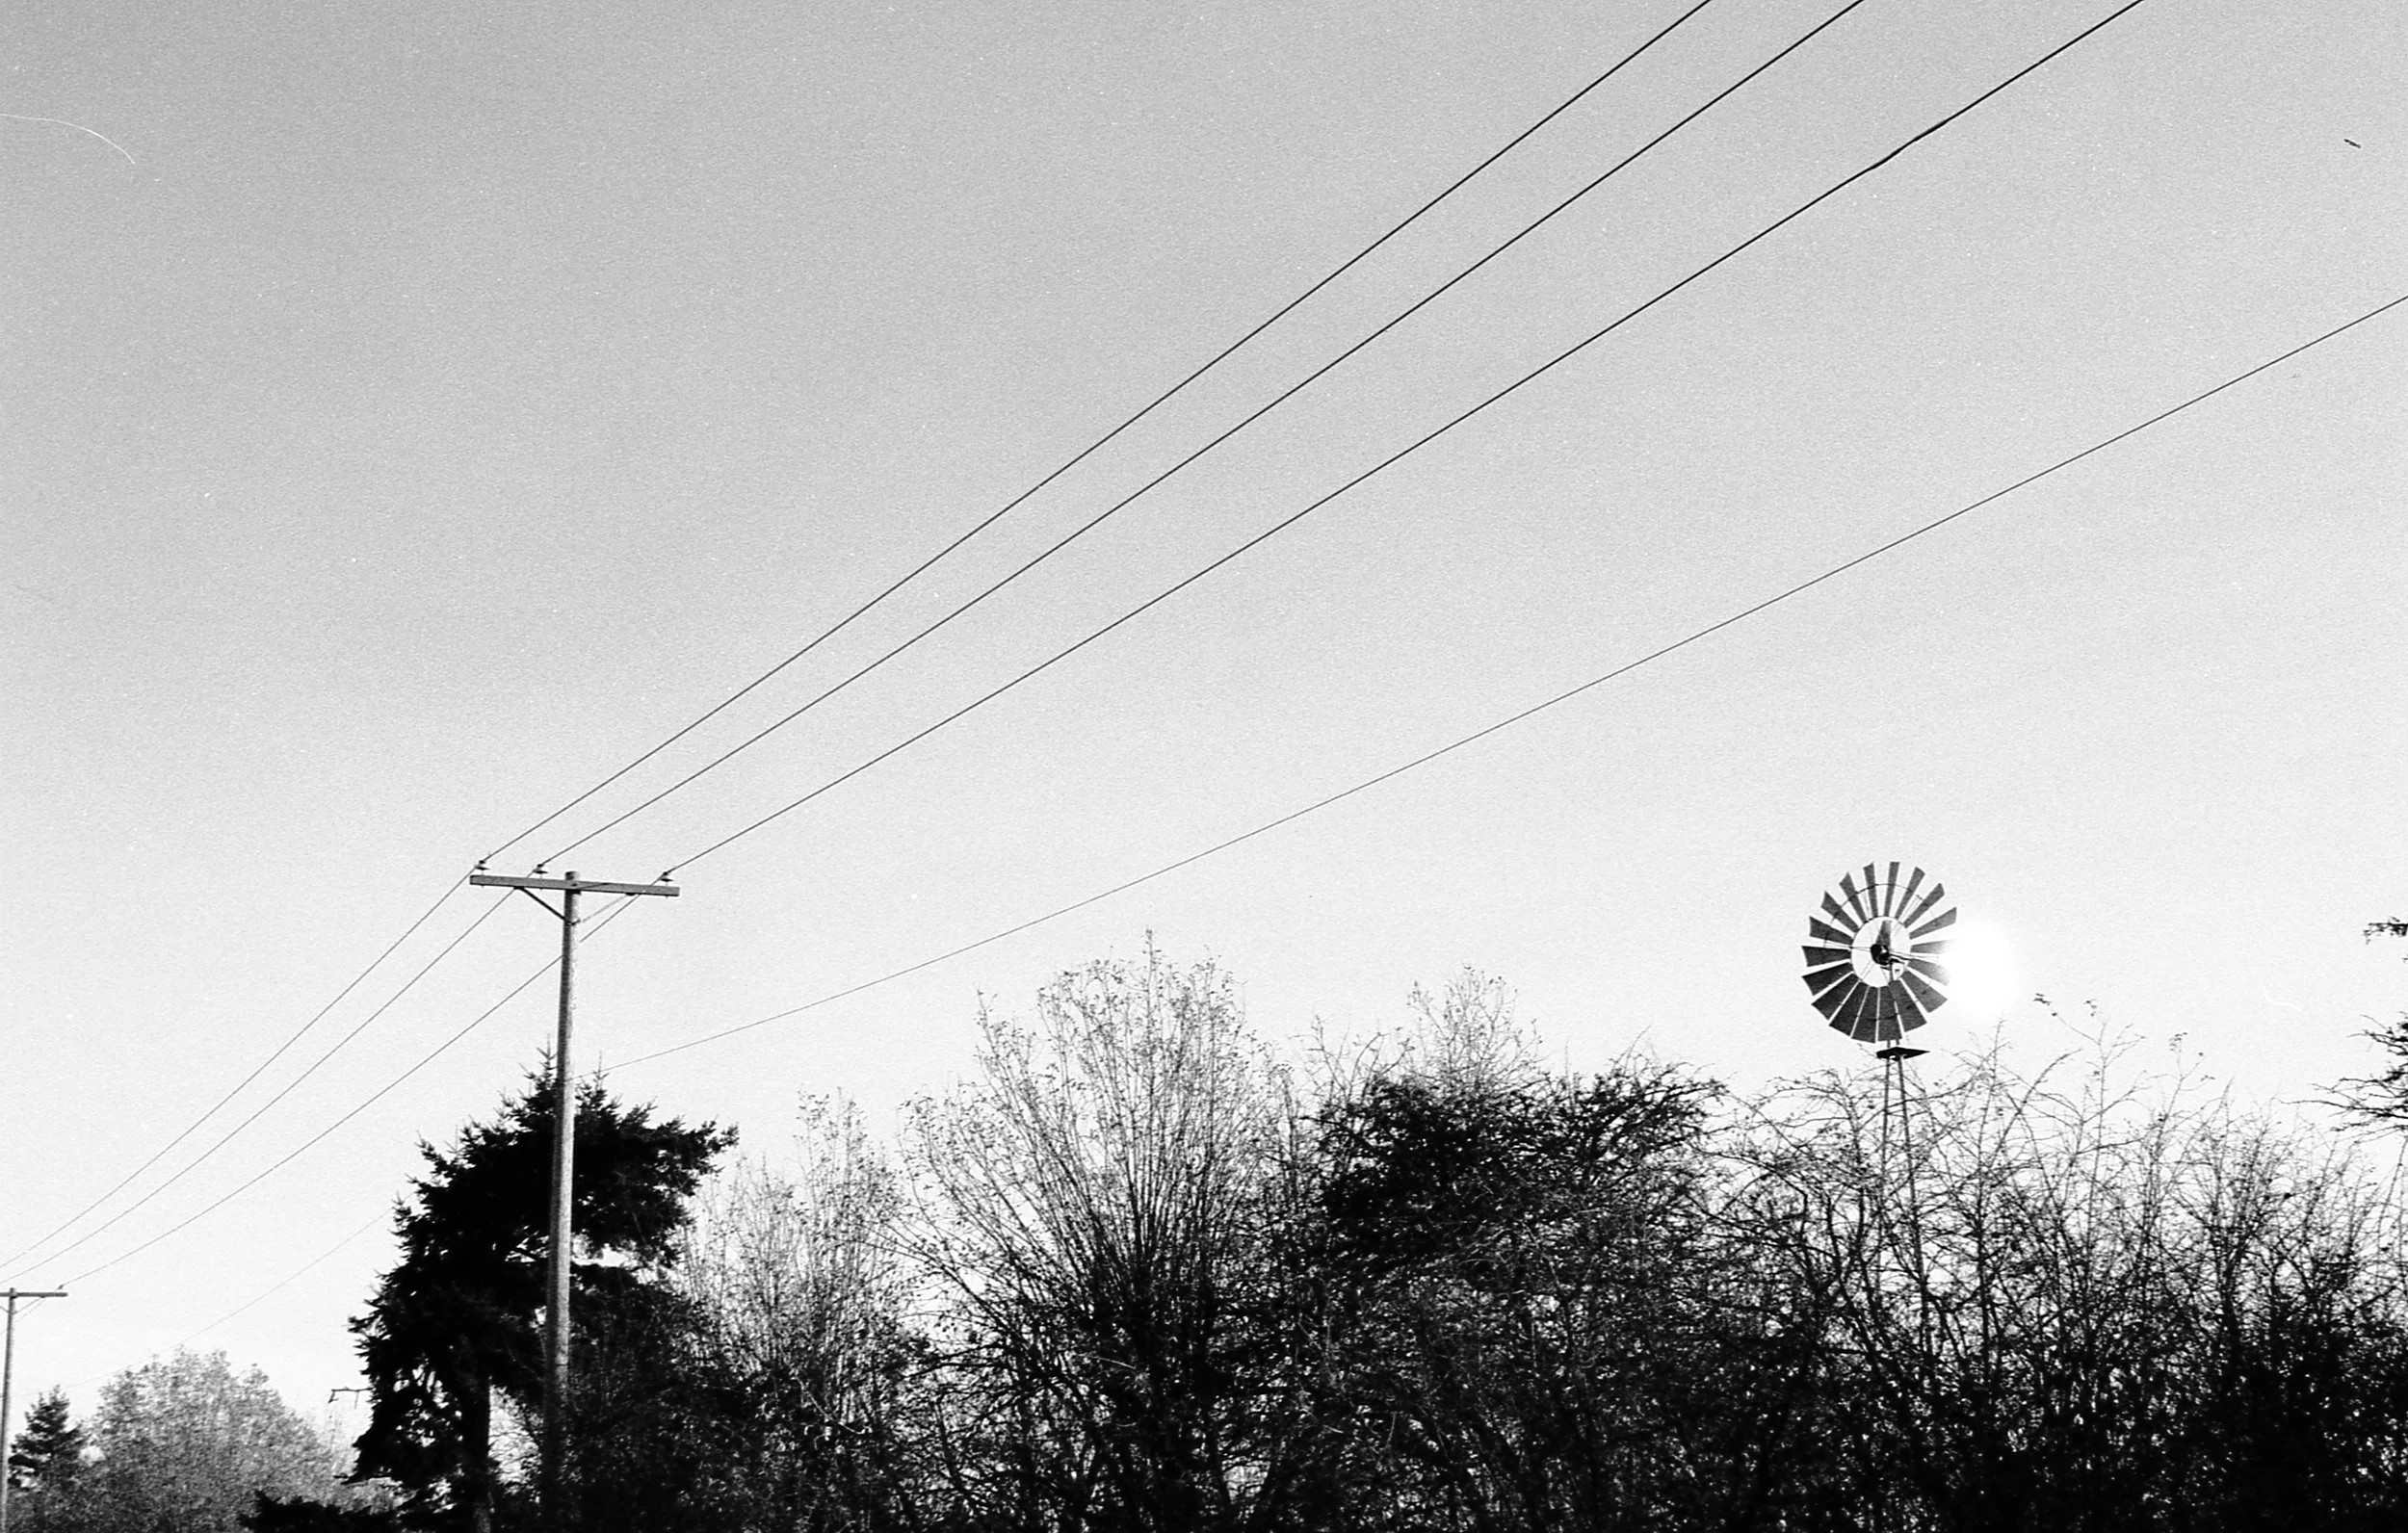
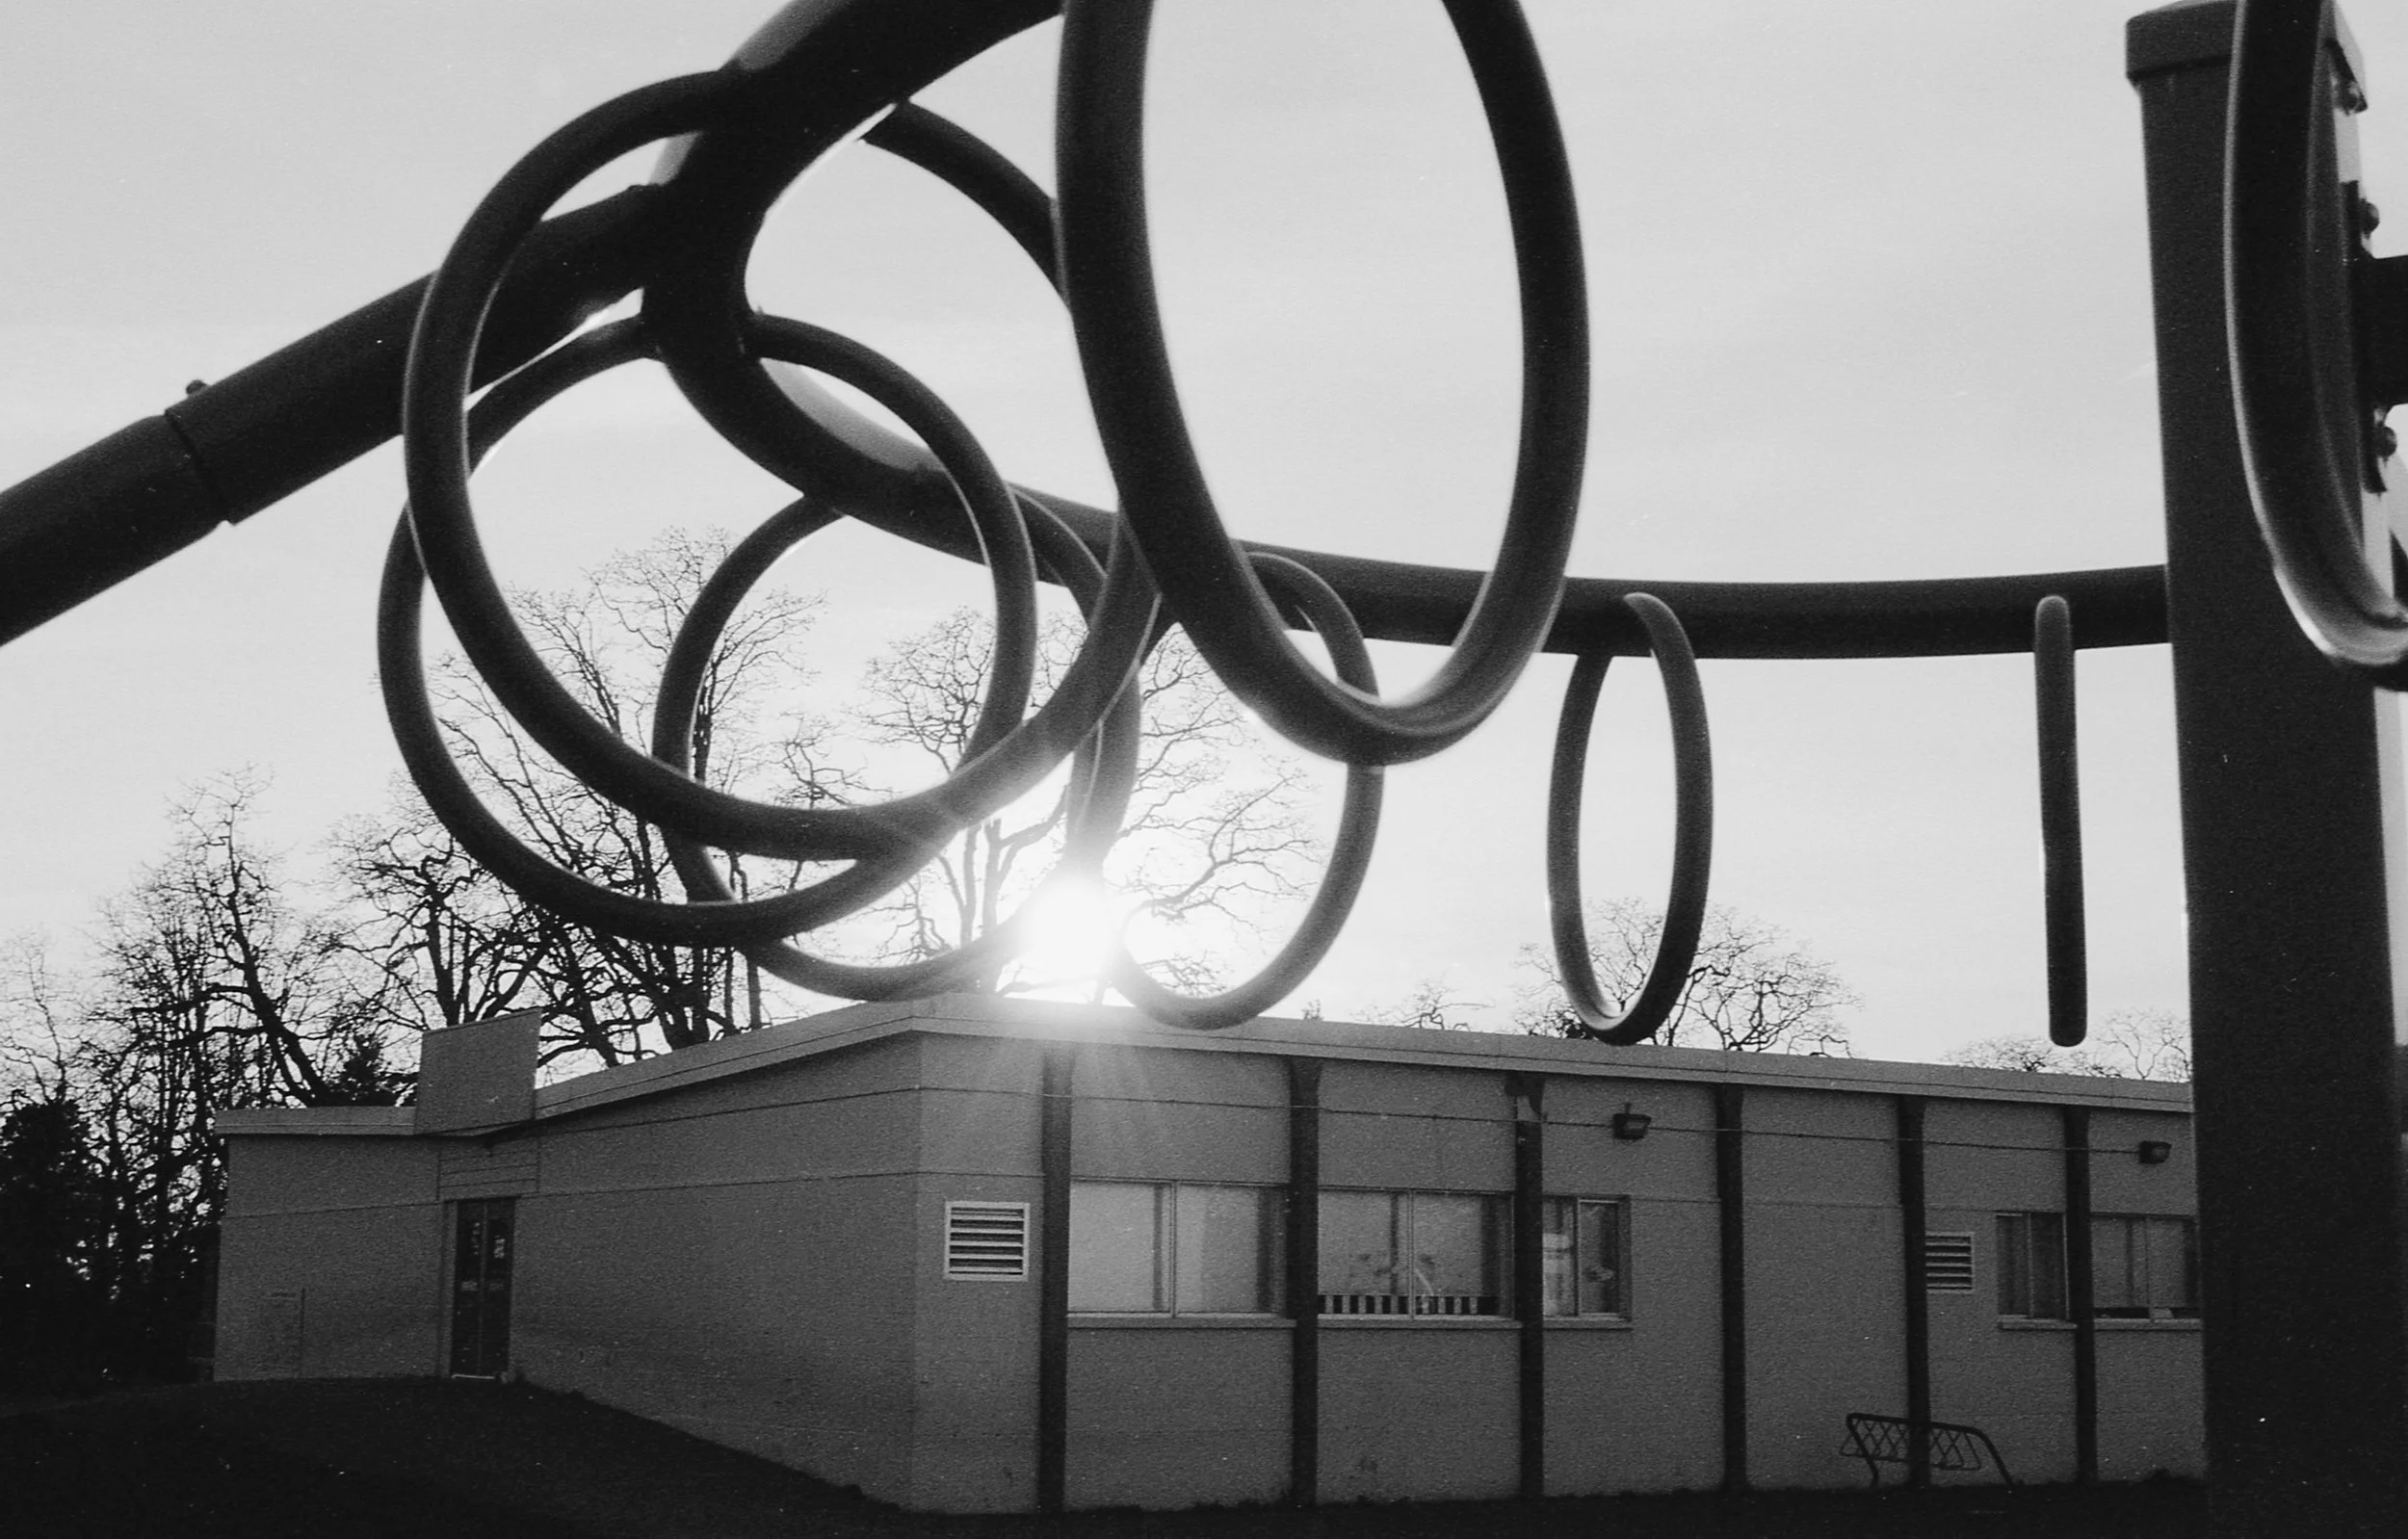
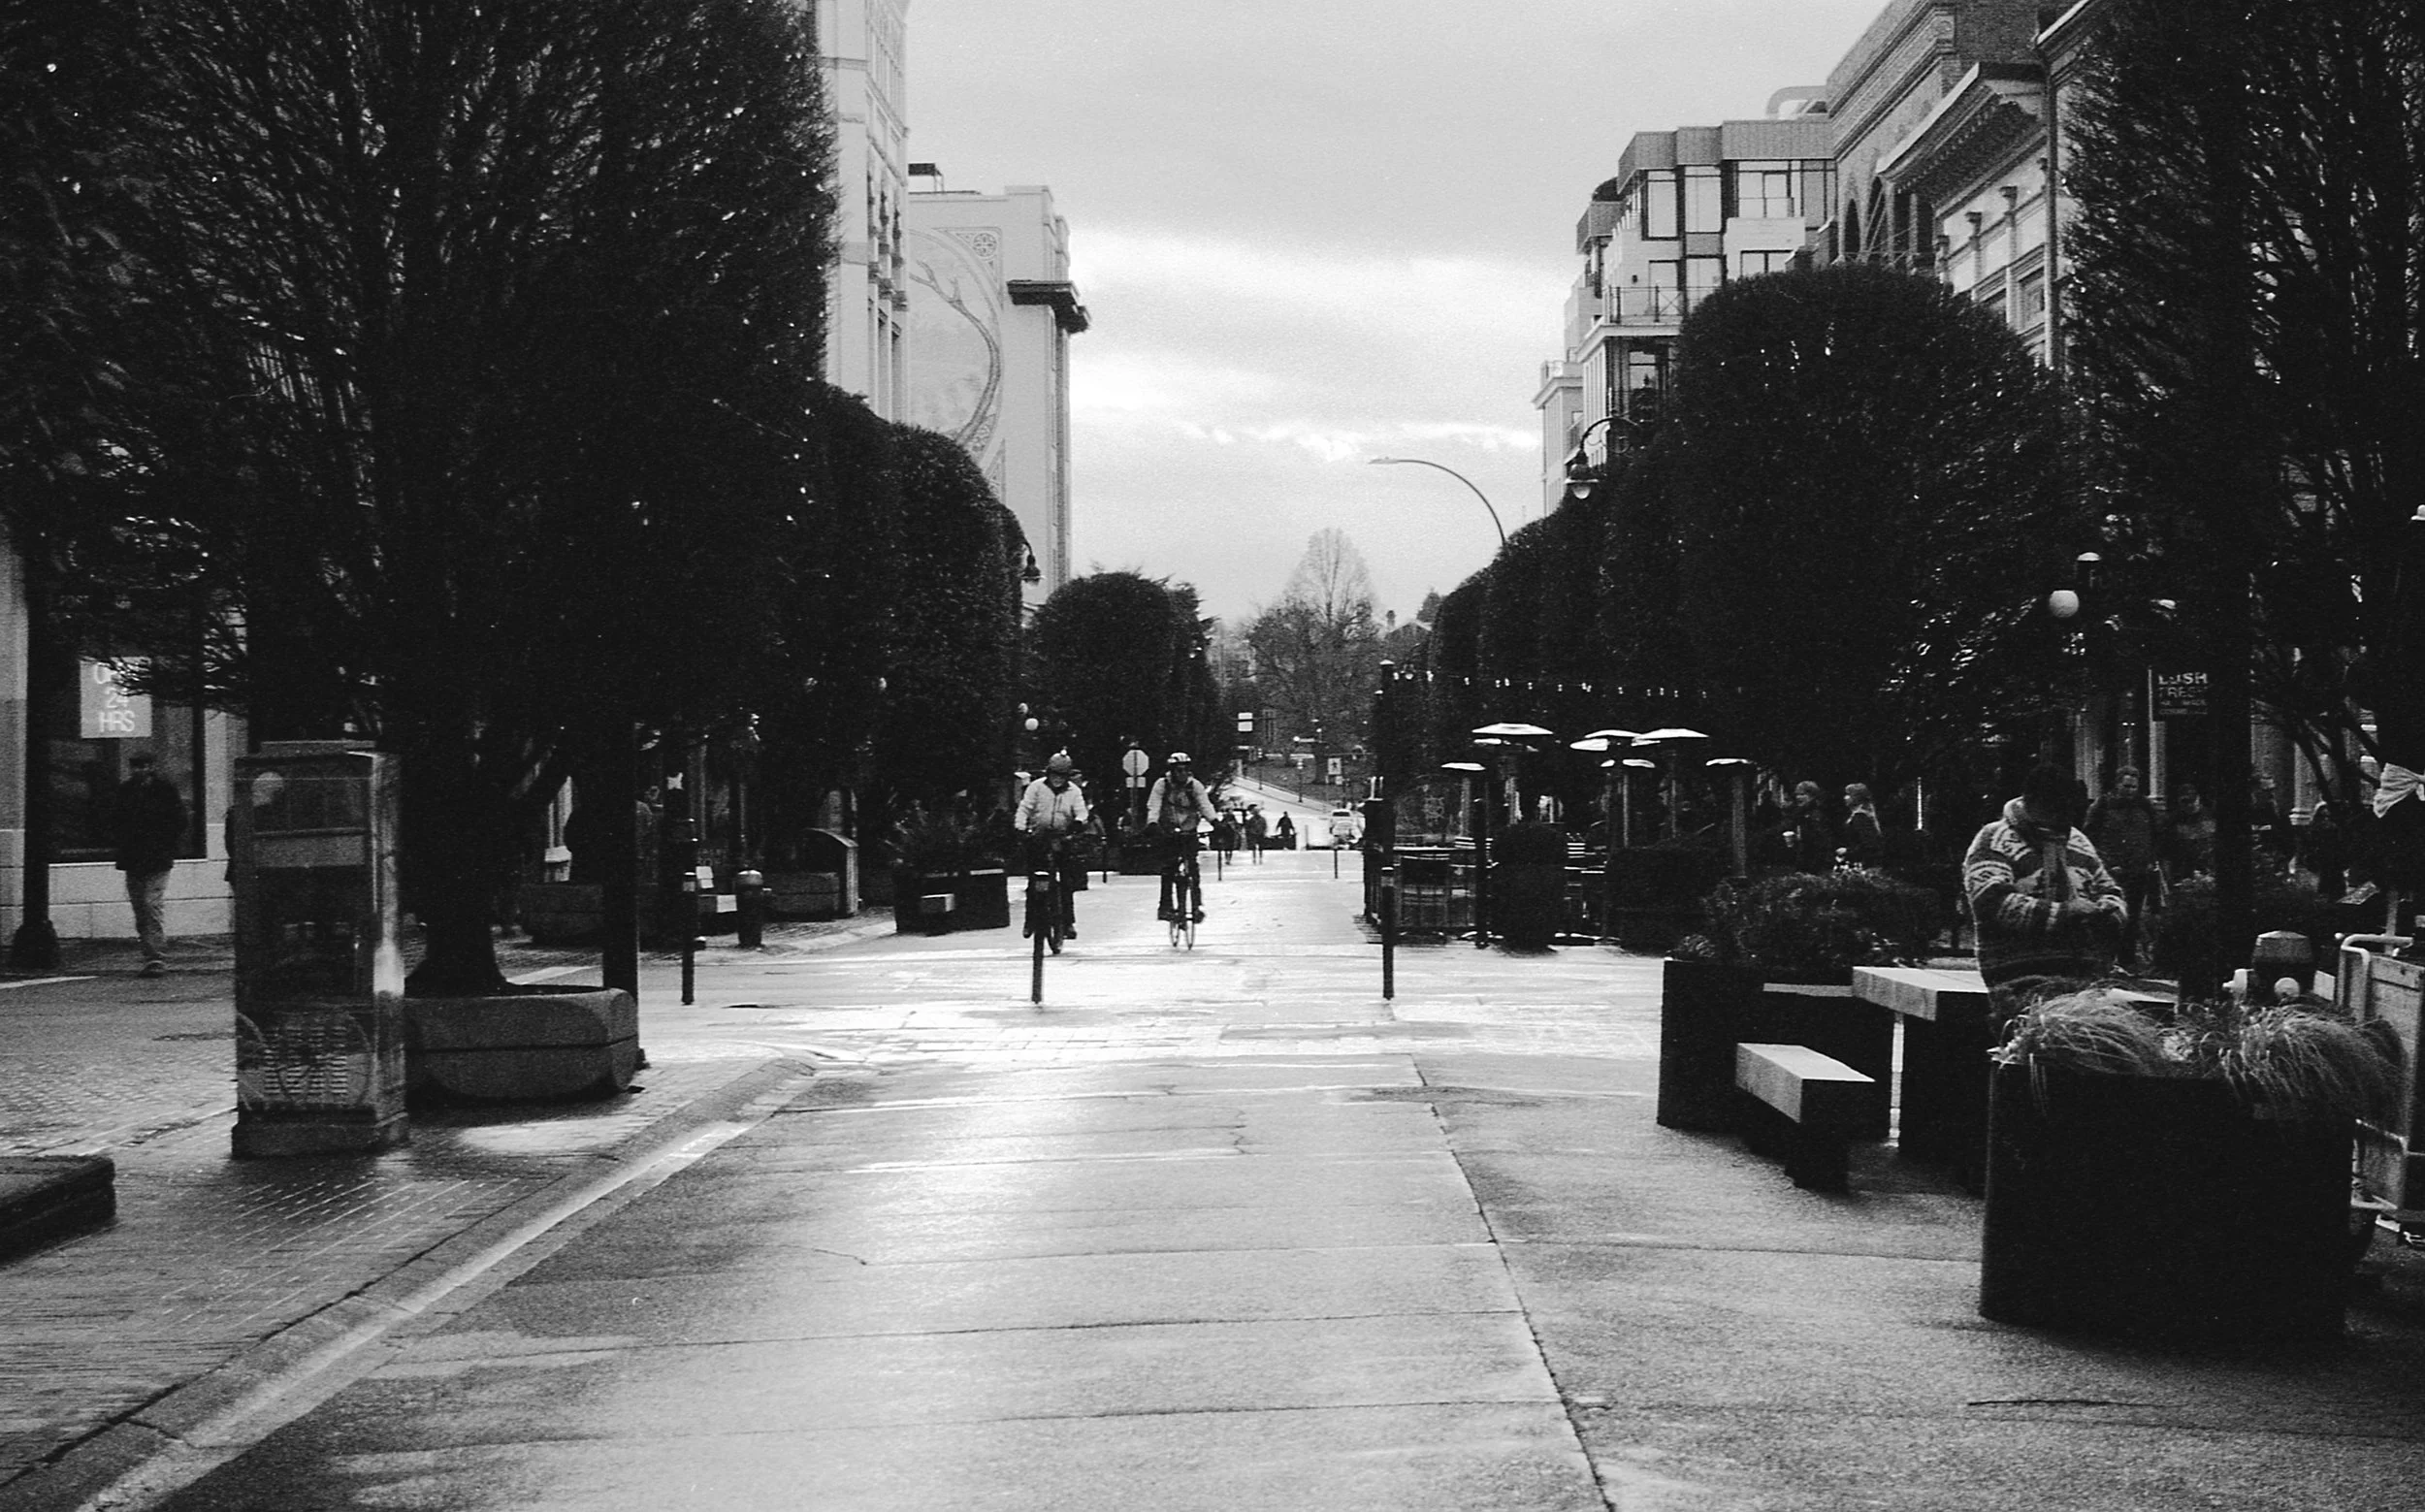
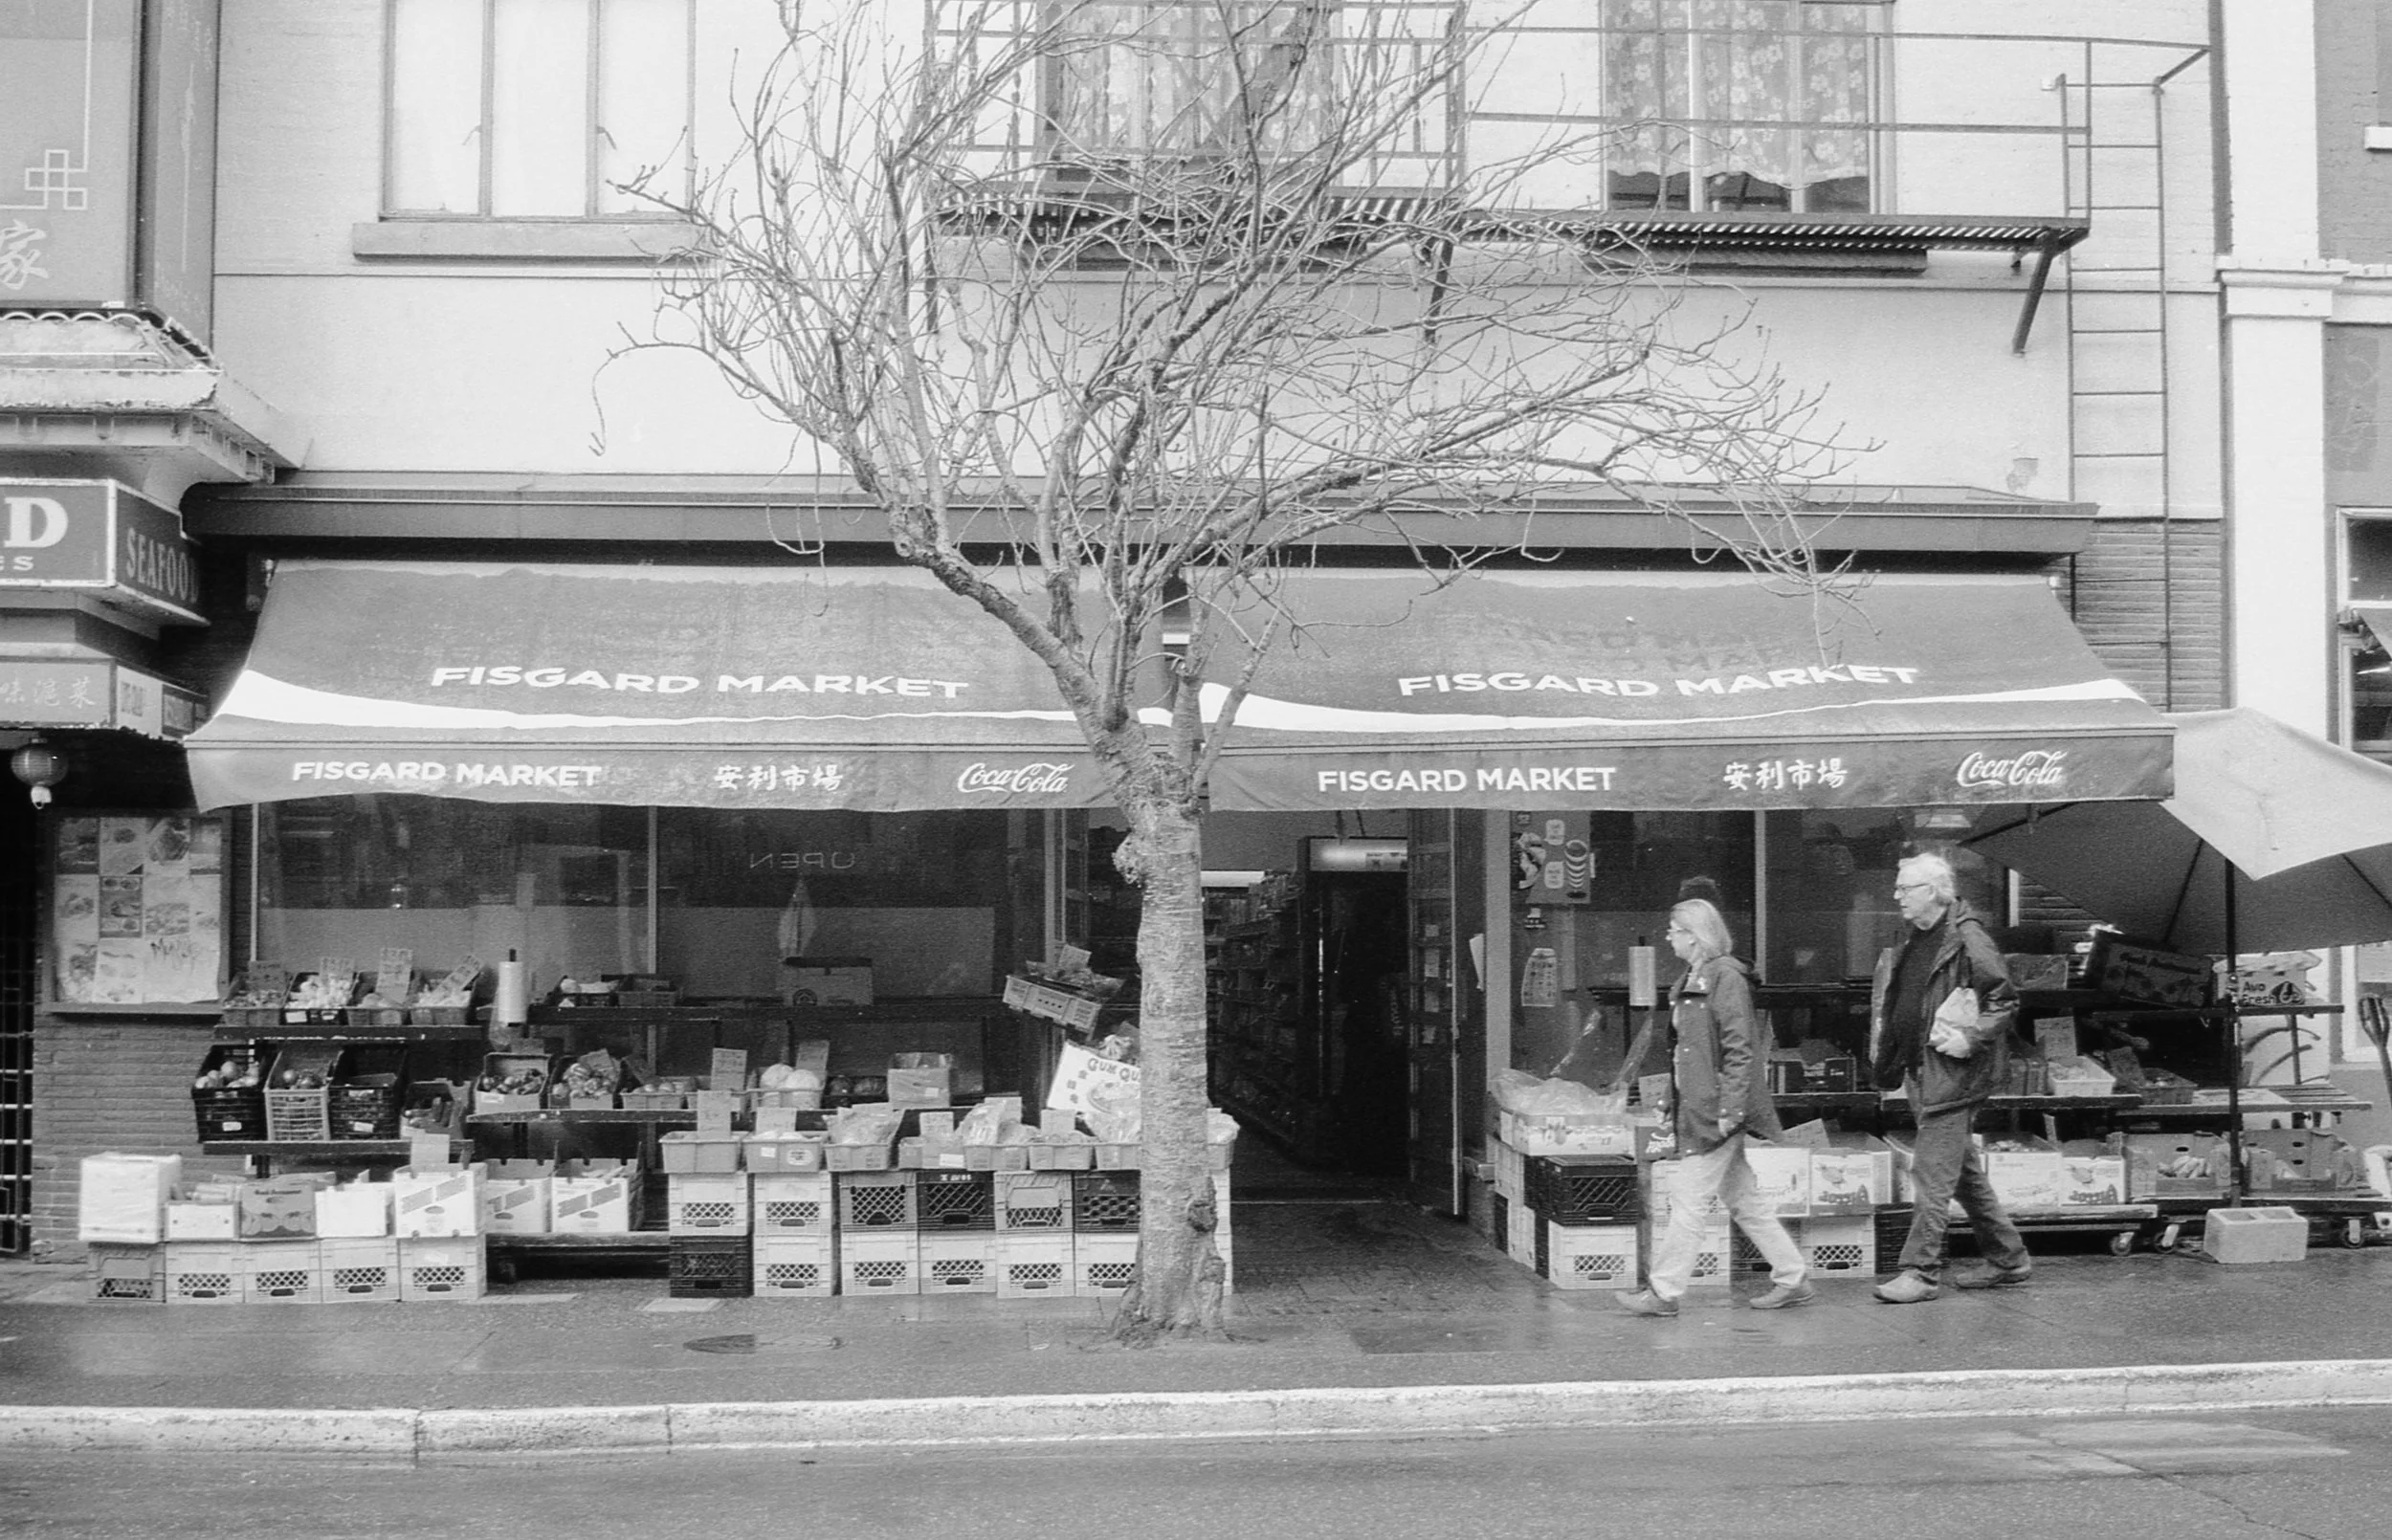
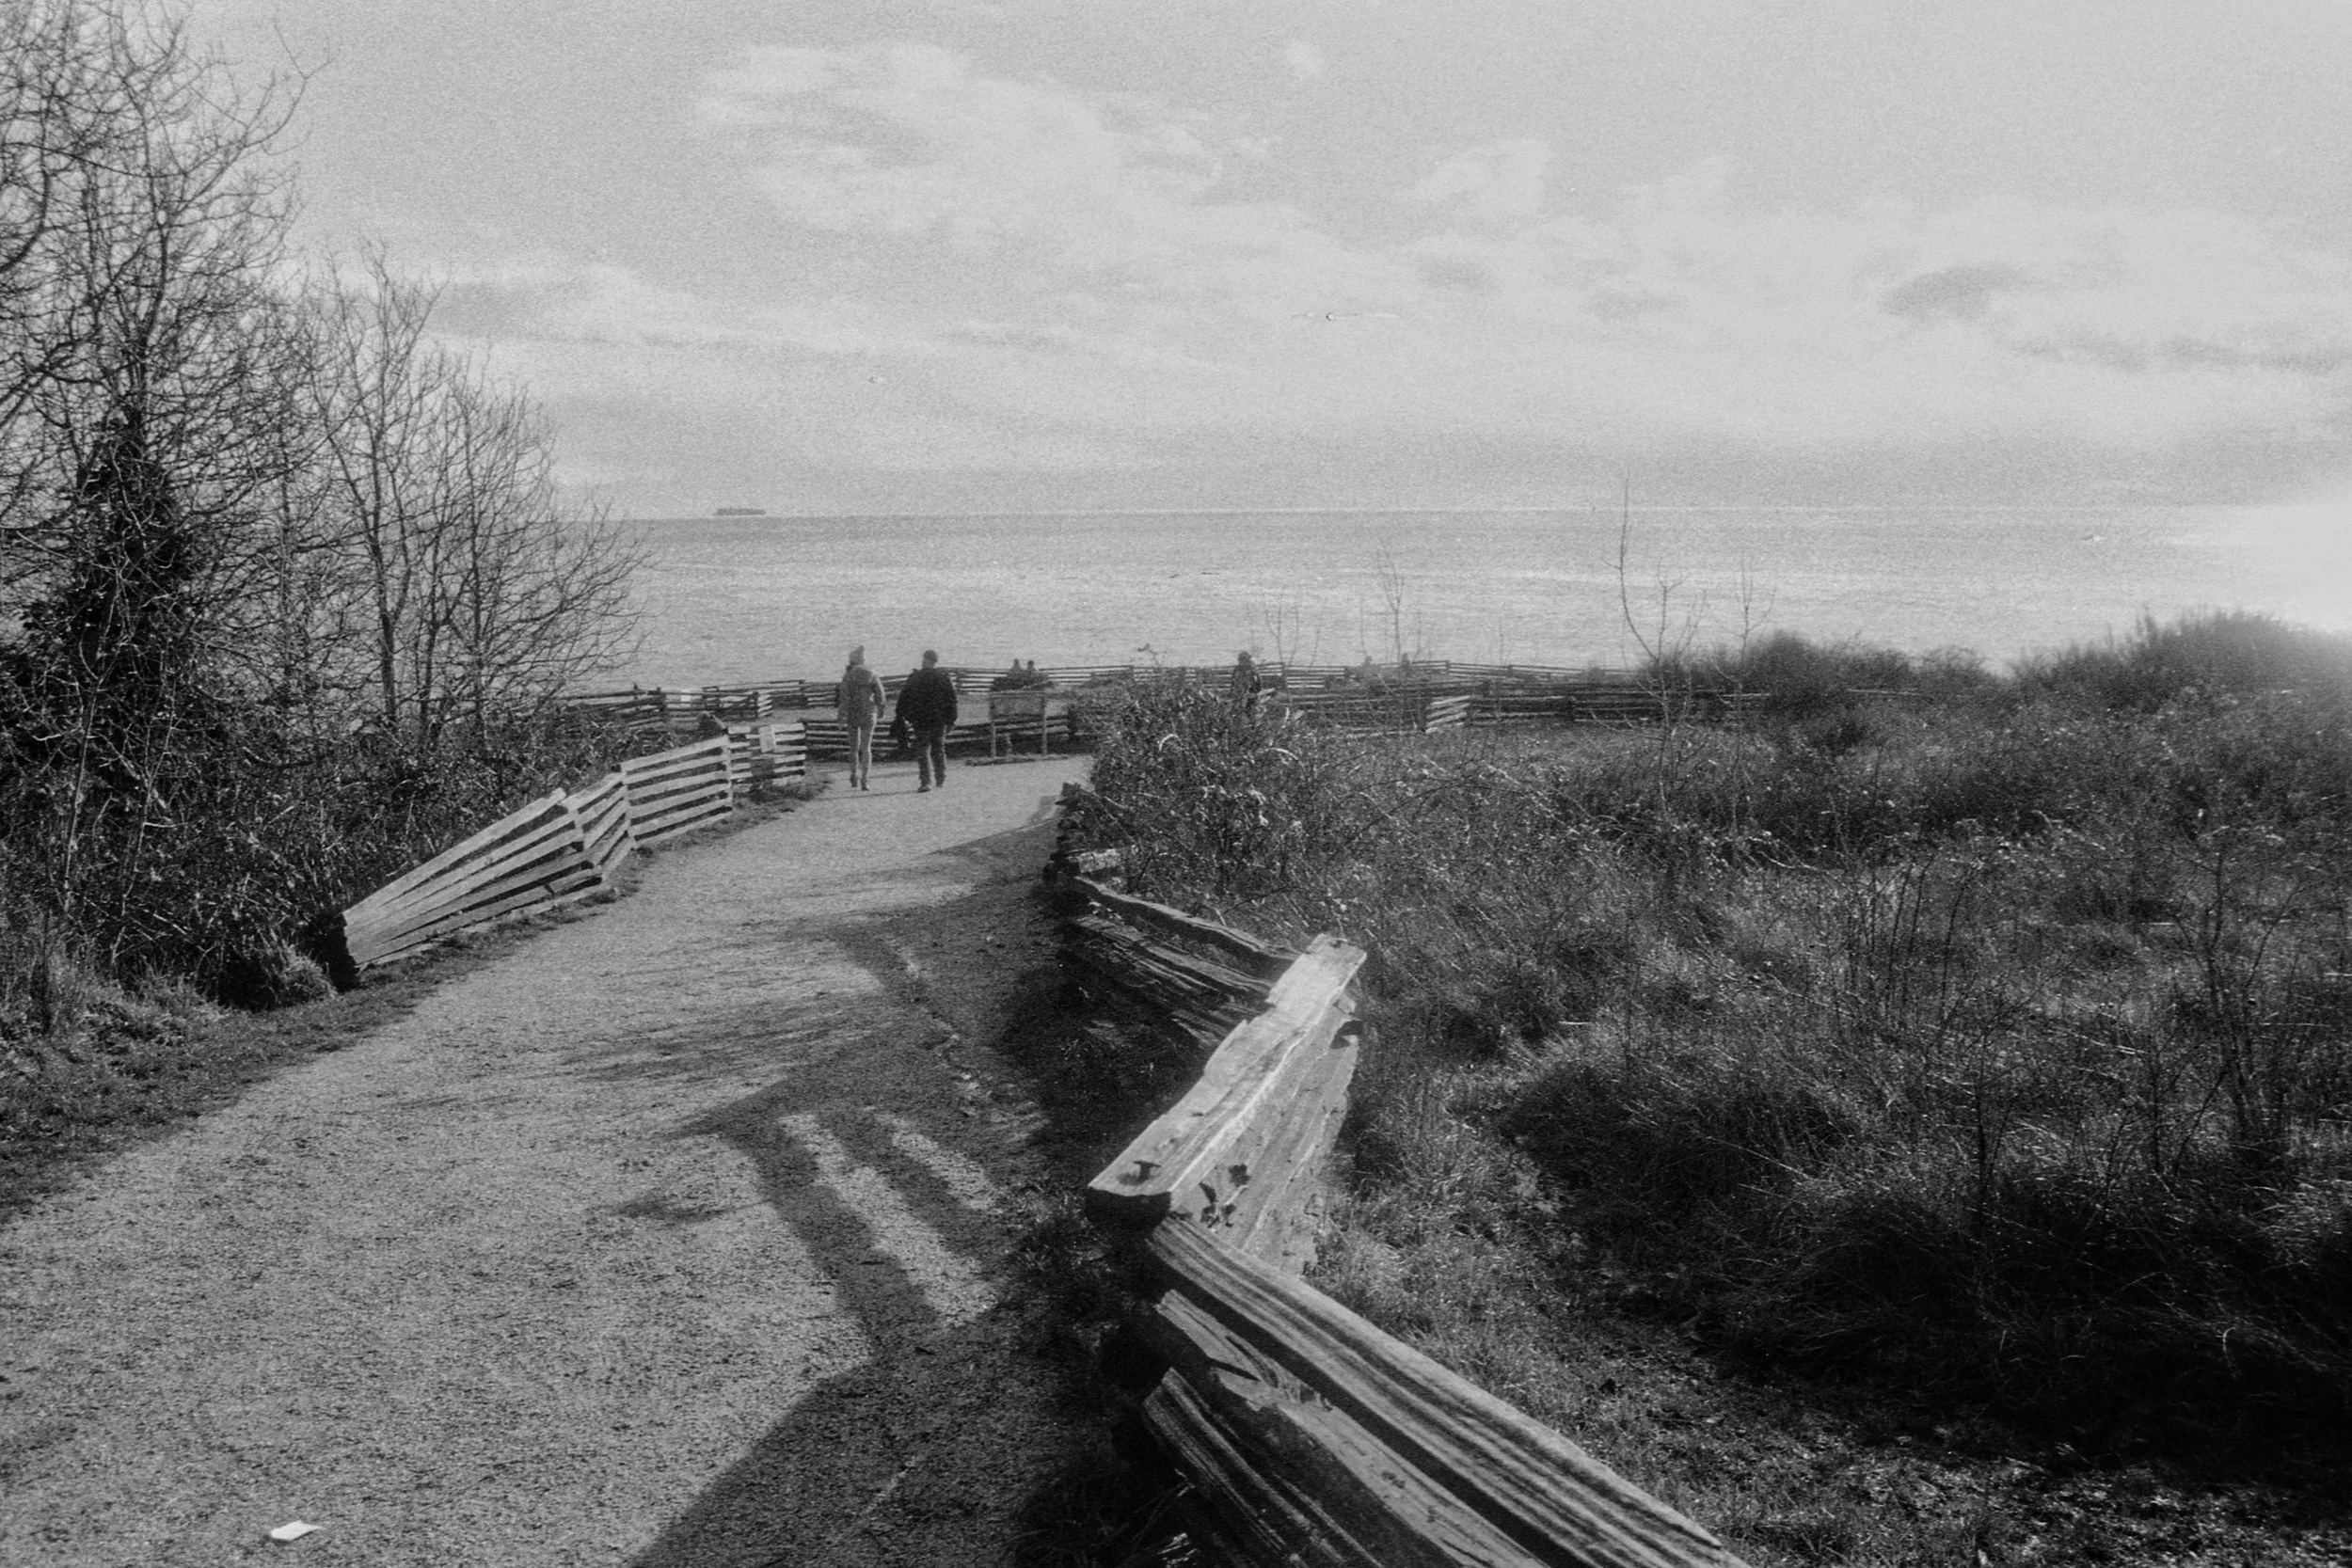
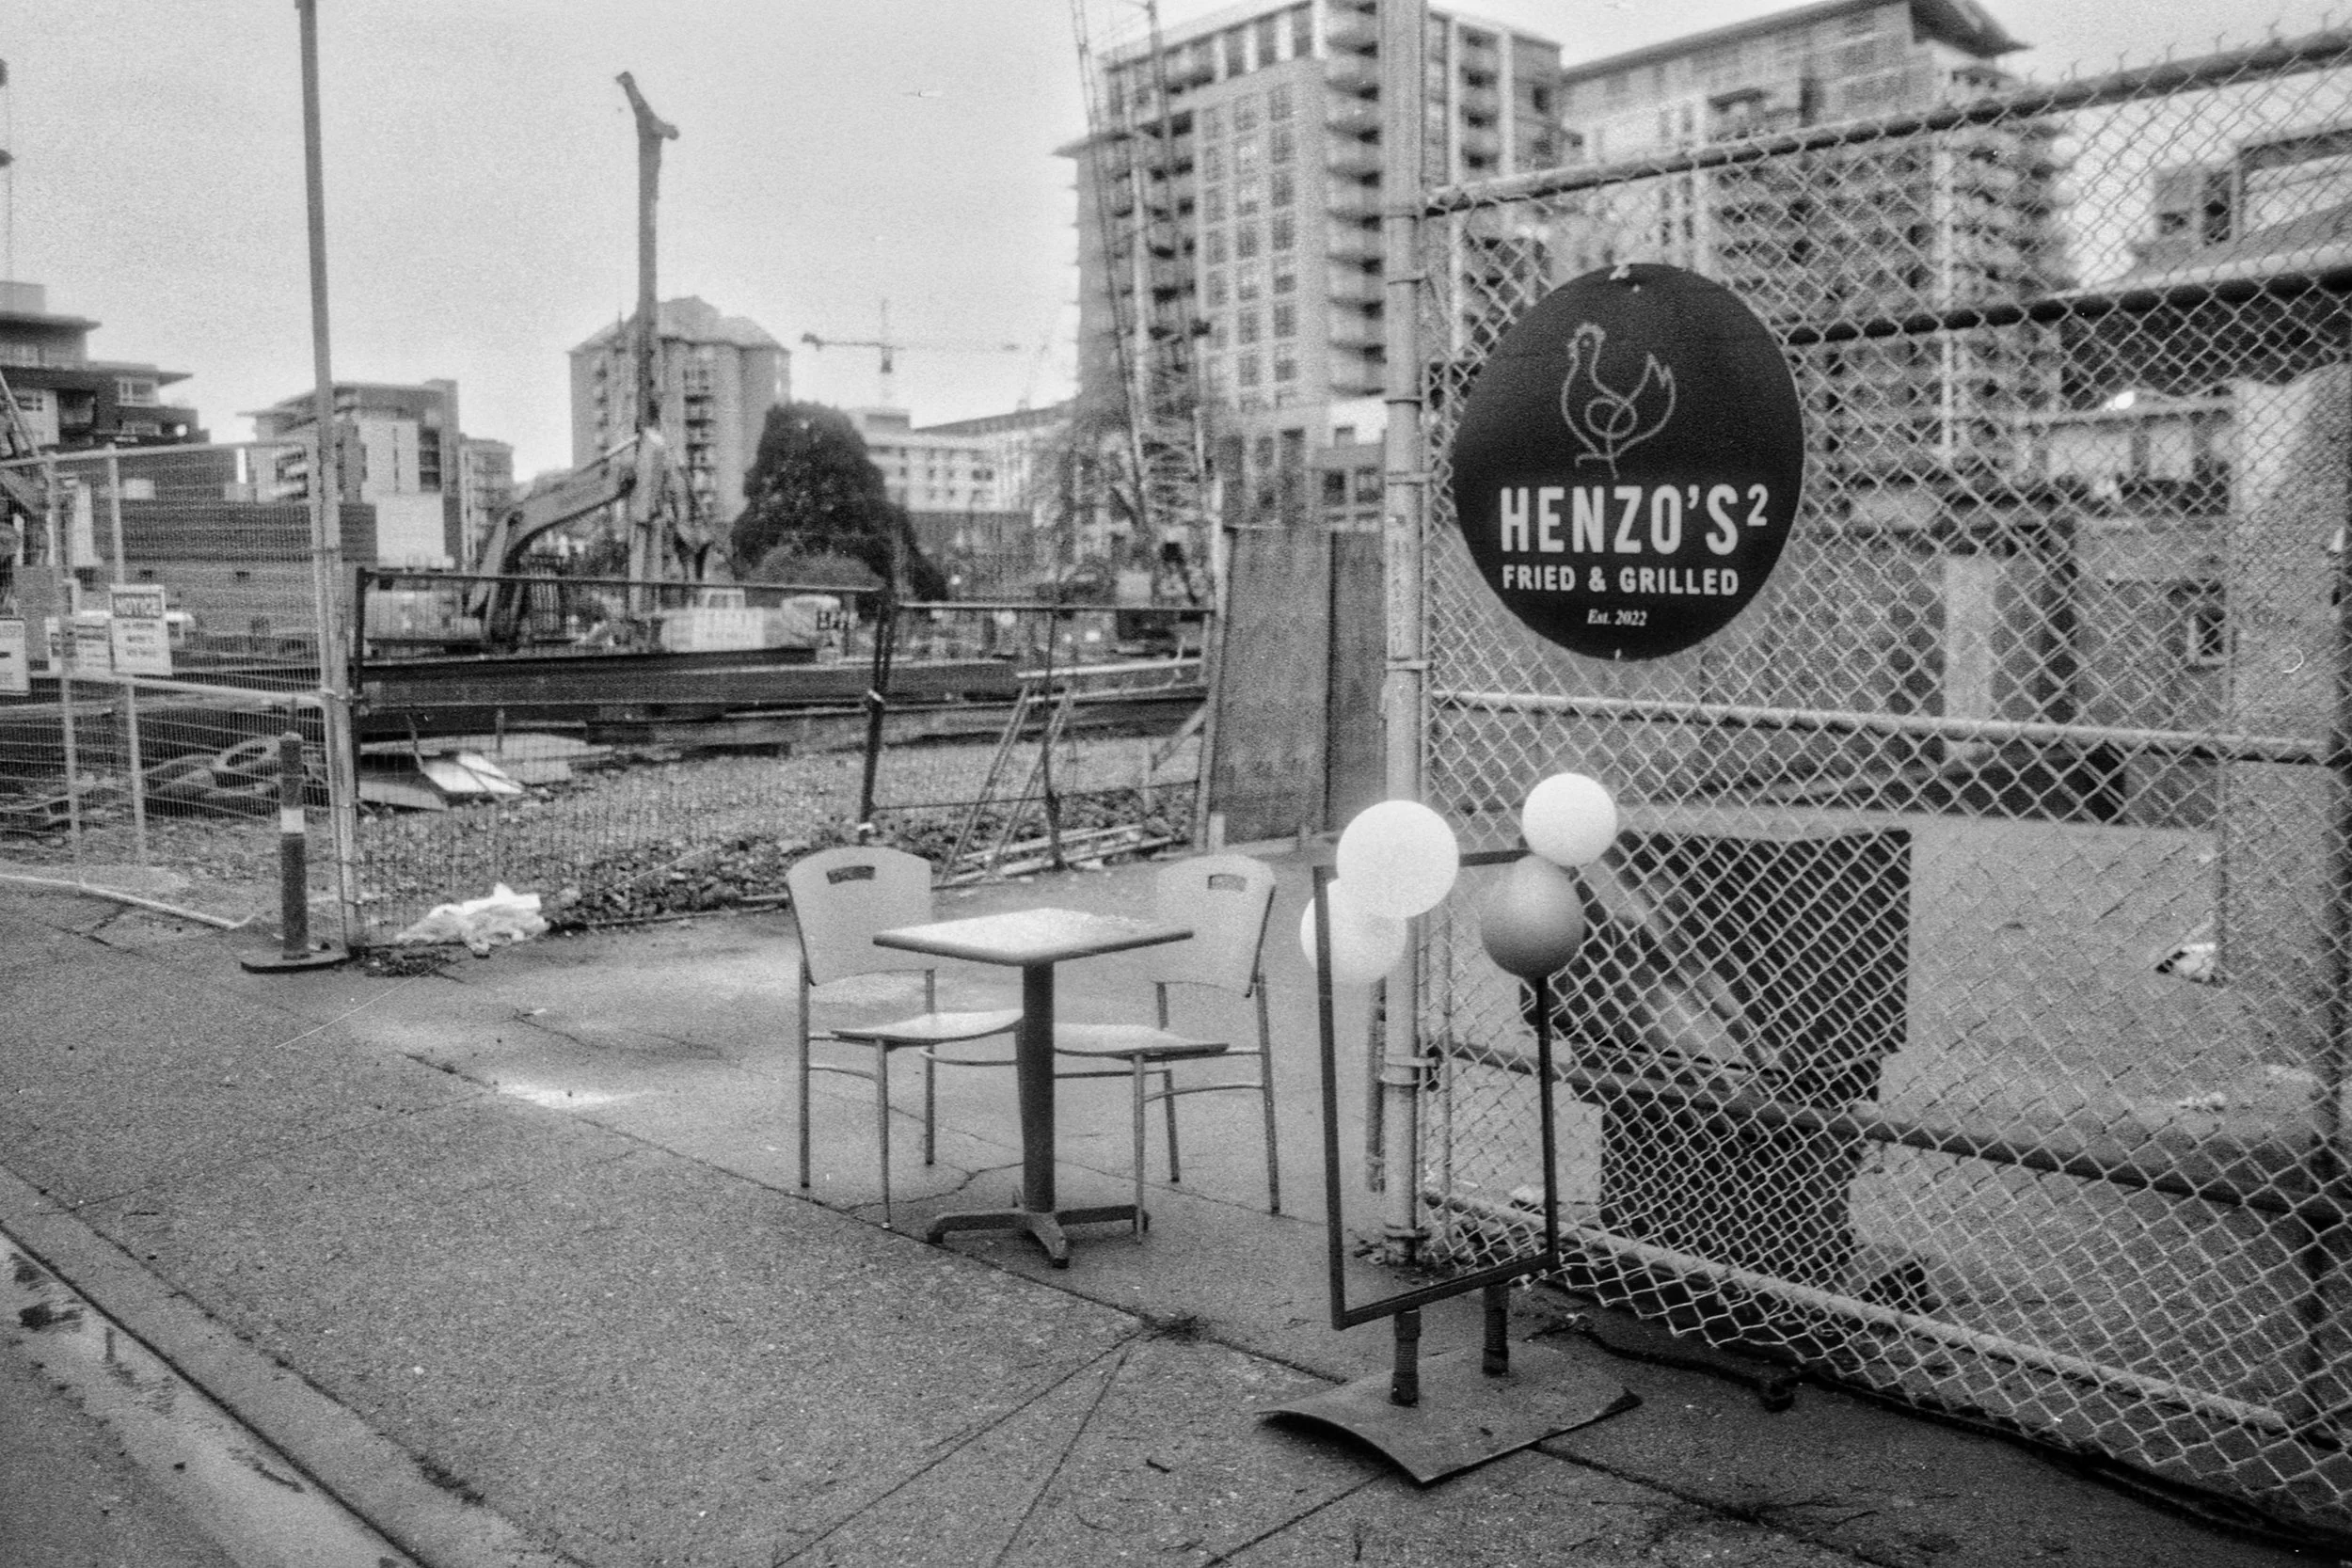
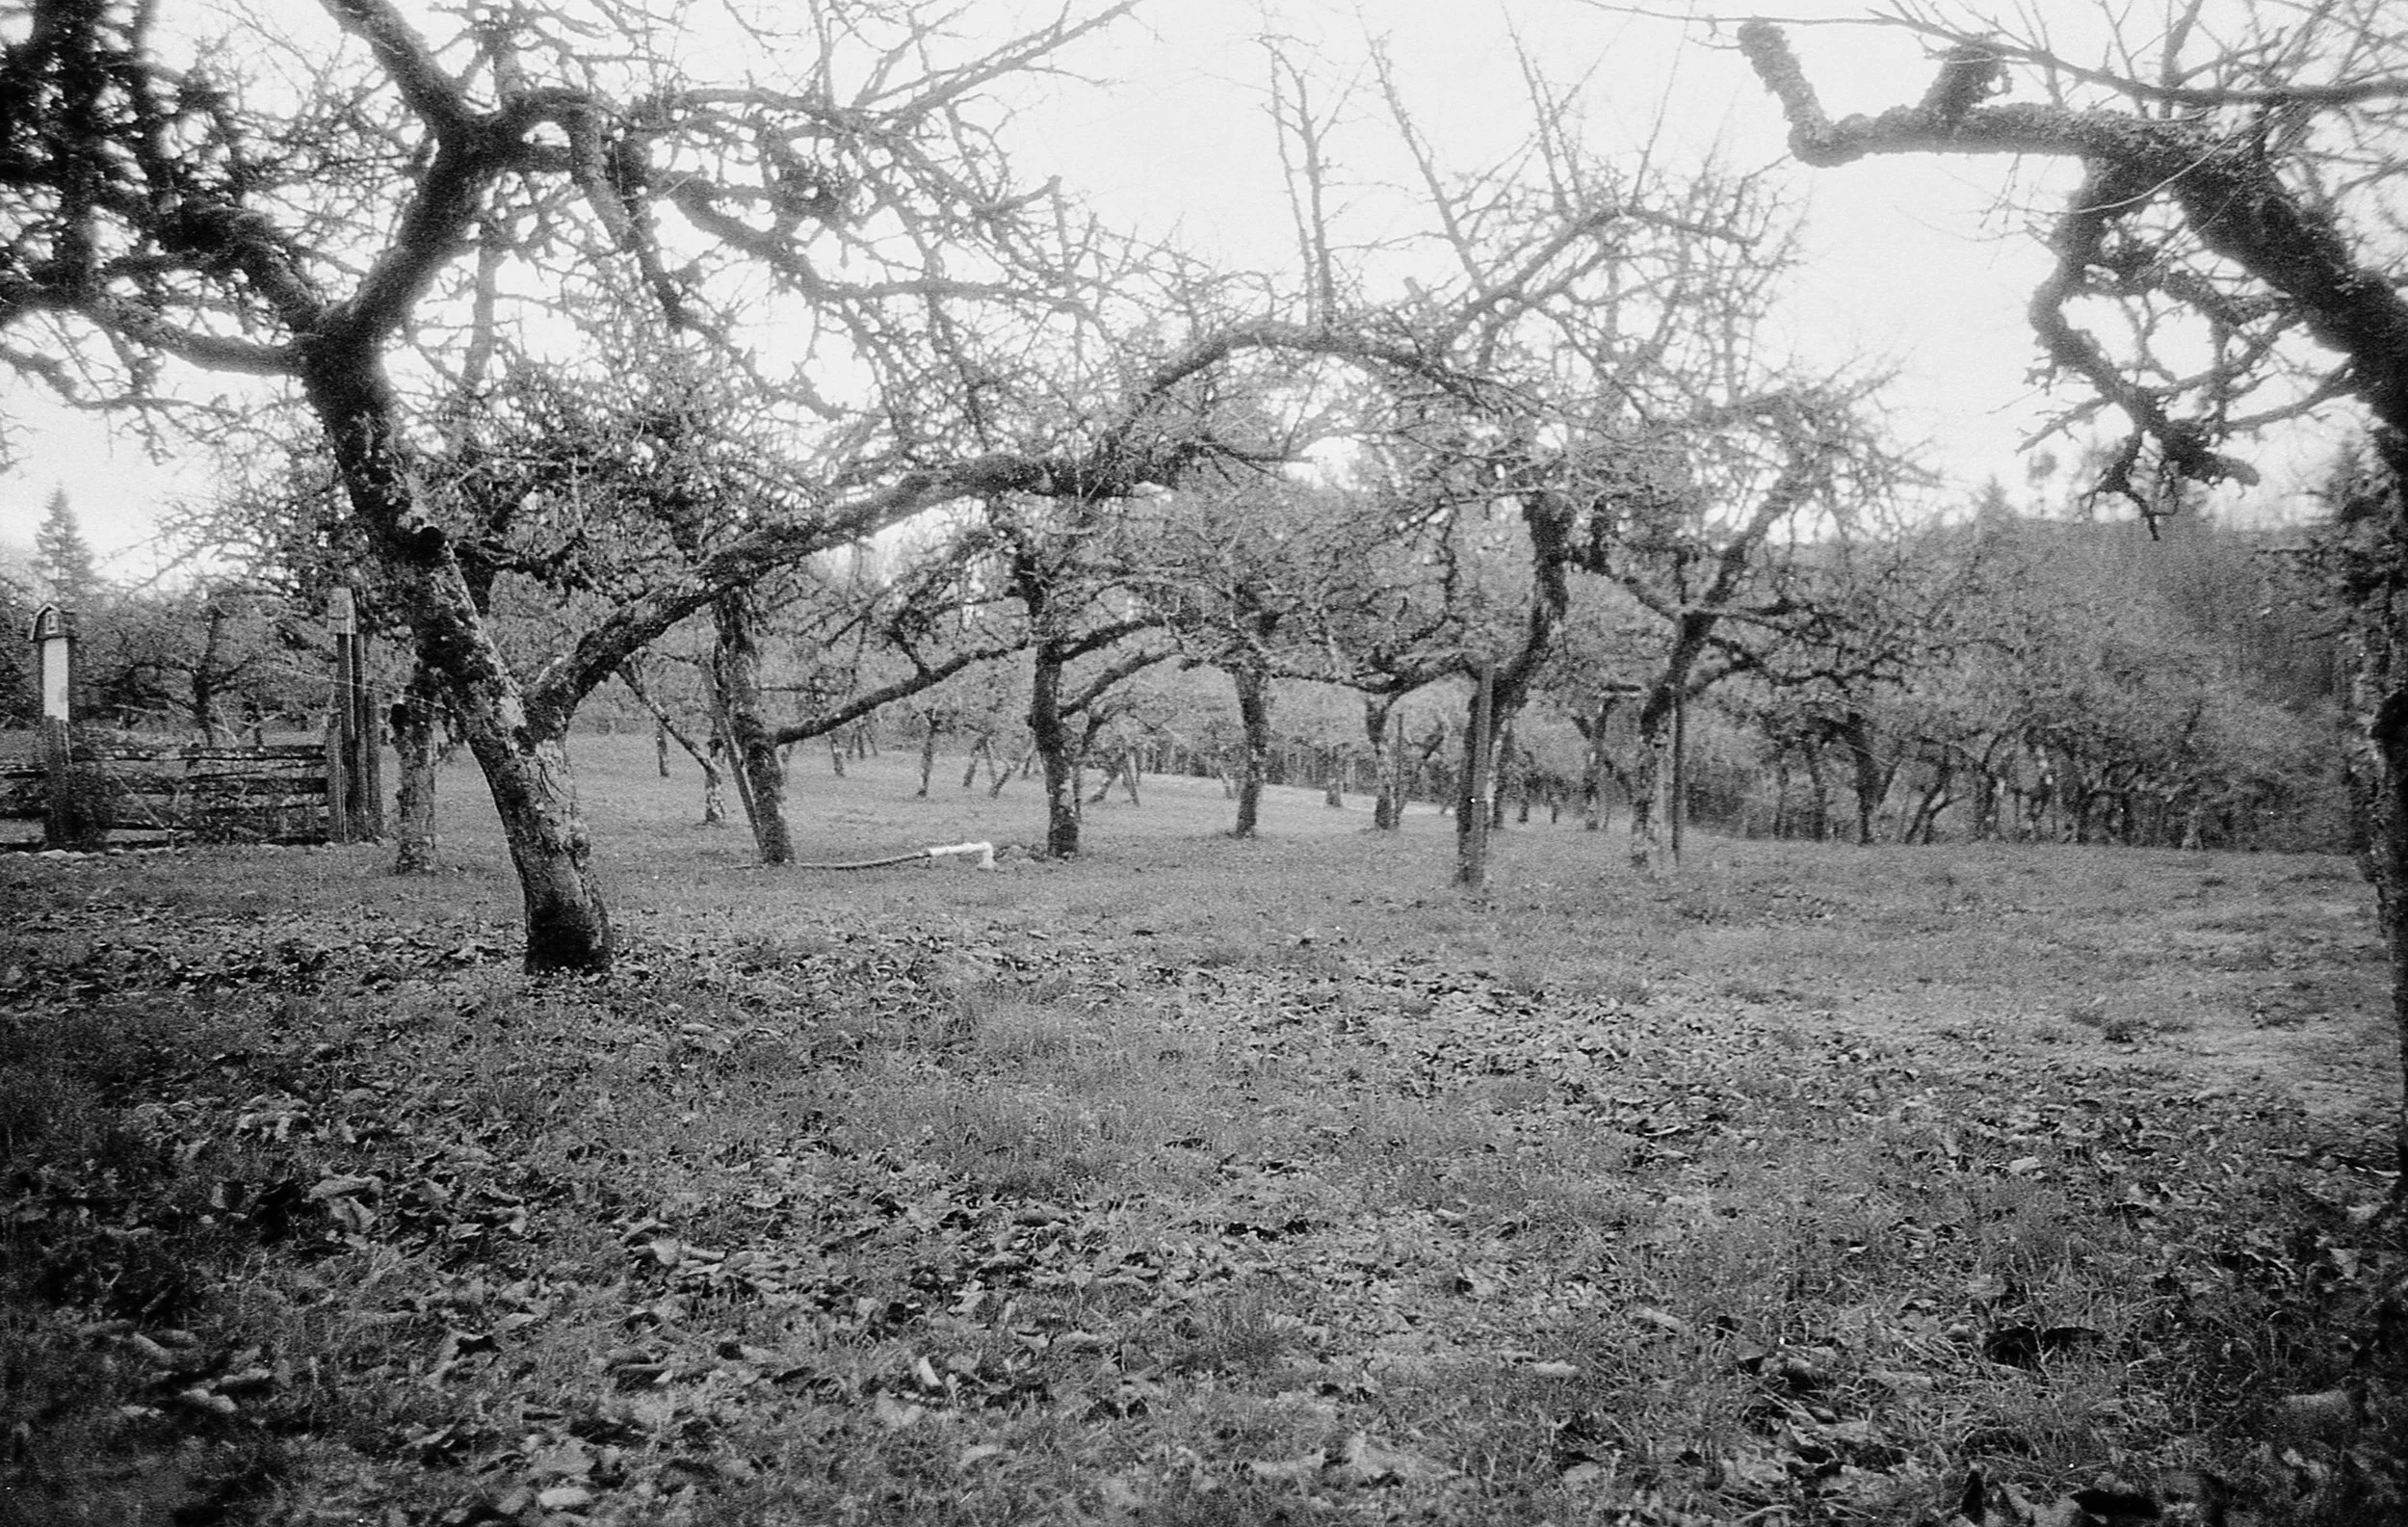
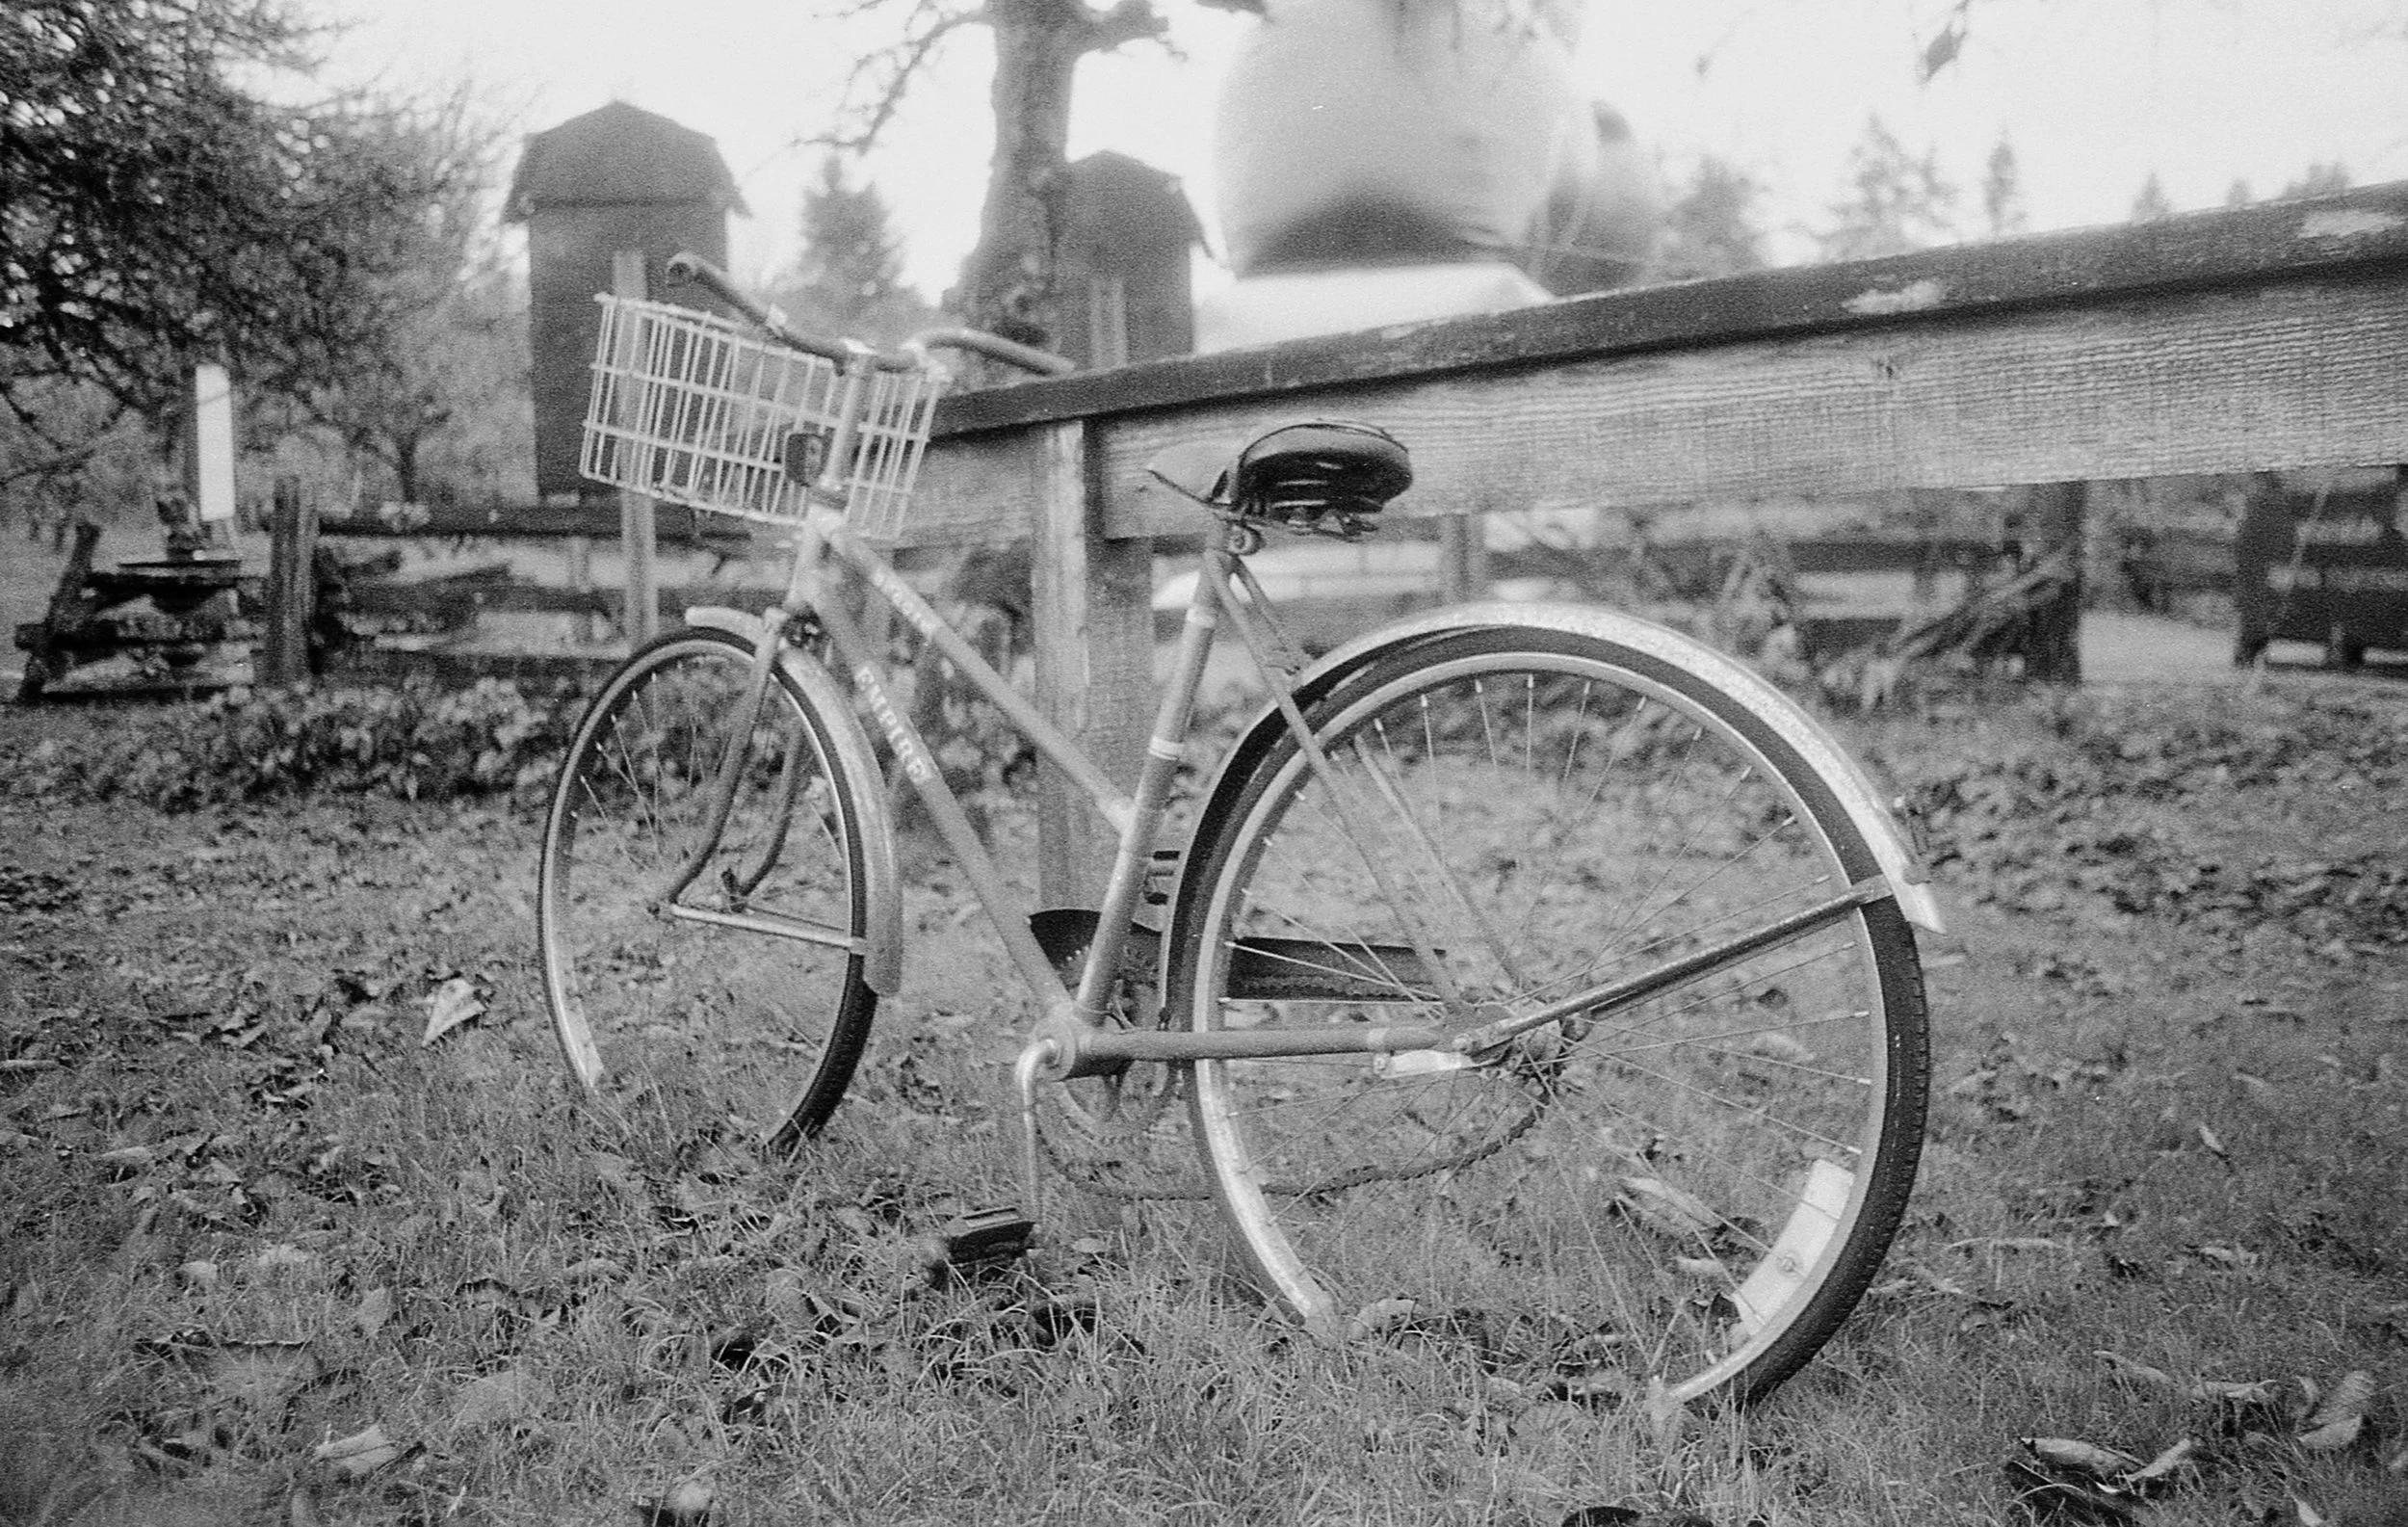
Pushing Kentmere 200 to 400
Kentmere 200 is a very new film actually. You can read my review of it here. As such there is not much info on pushing it (or even developing it at all) online yet. I went with the tried and true suggestion to increase your time by 1/3 per stop and so, as I was just pushing it one stop, kept it in the developer for about 18 minutes instead of the 13.5 I had done previously (I use Flic Film Black, White and Green as my developer). I think the photos turned out pretty well! As you will see, pushing black and white film does make your contrast stronger, but I personally prefer that look anyways.
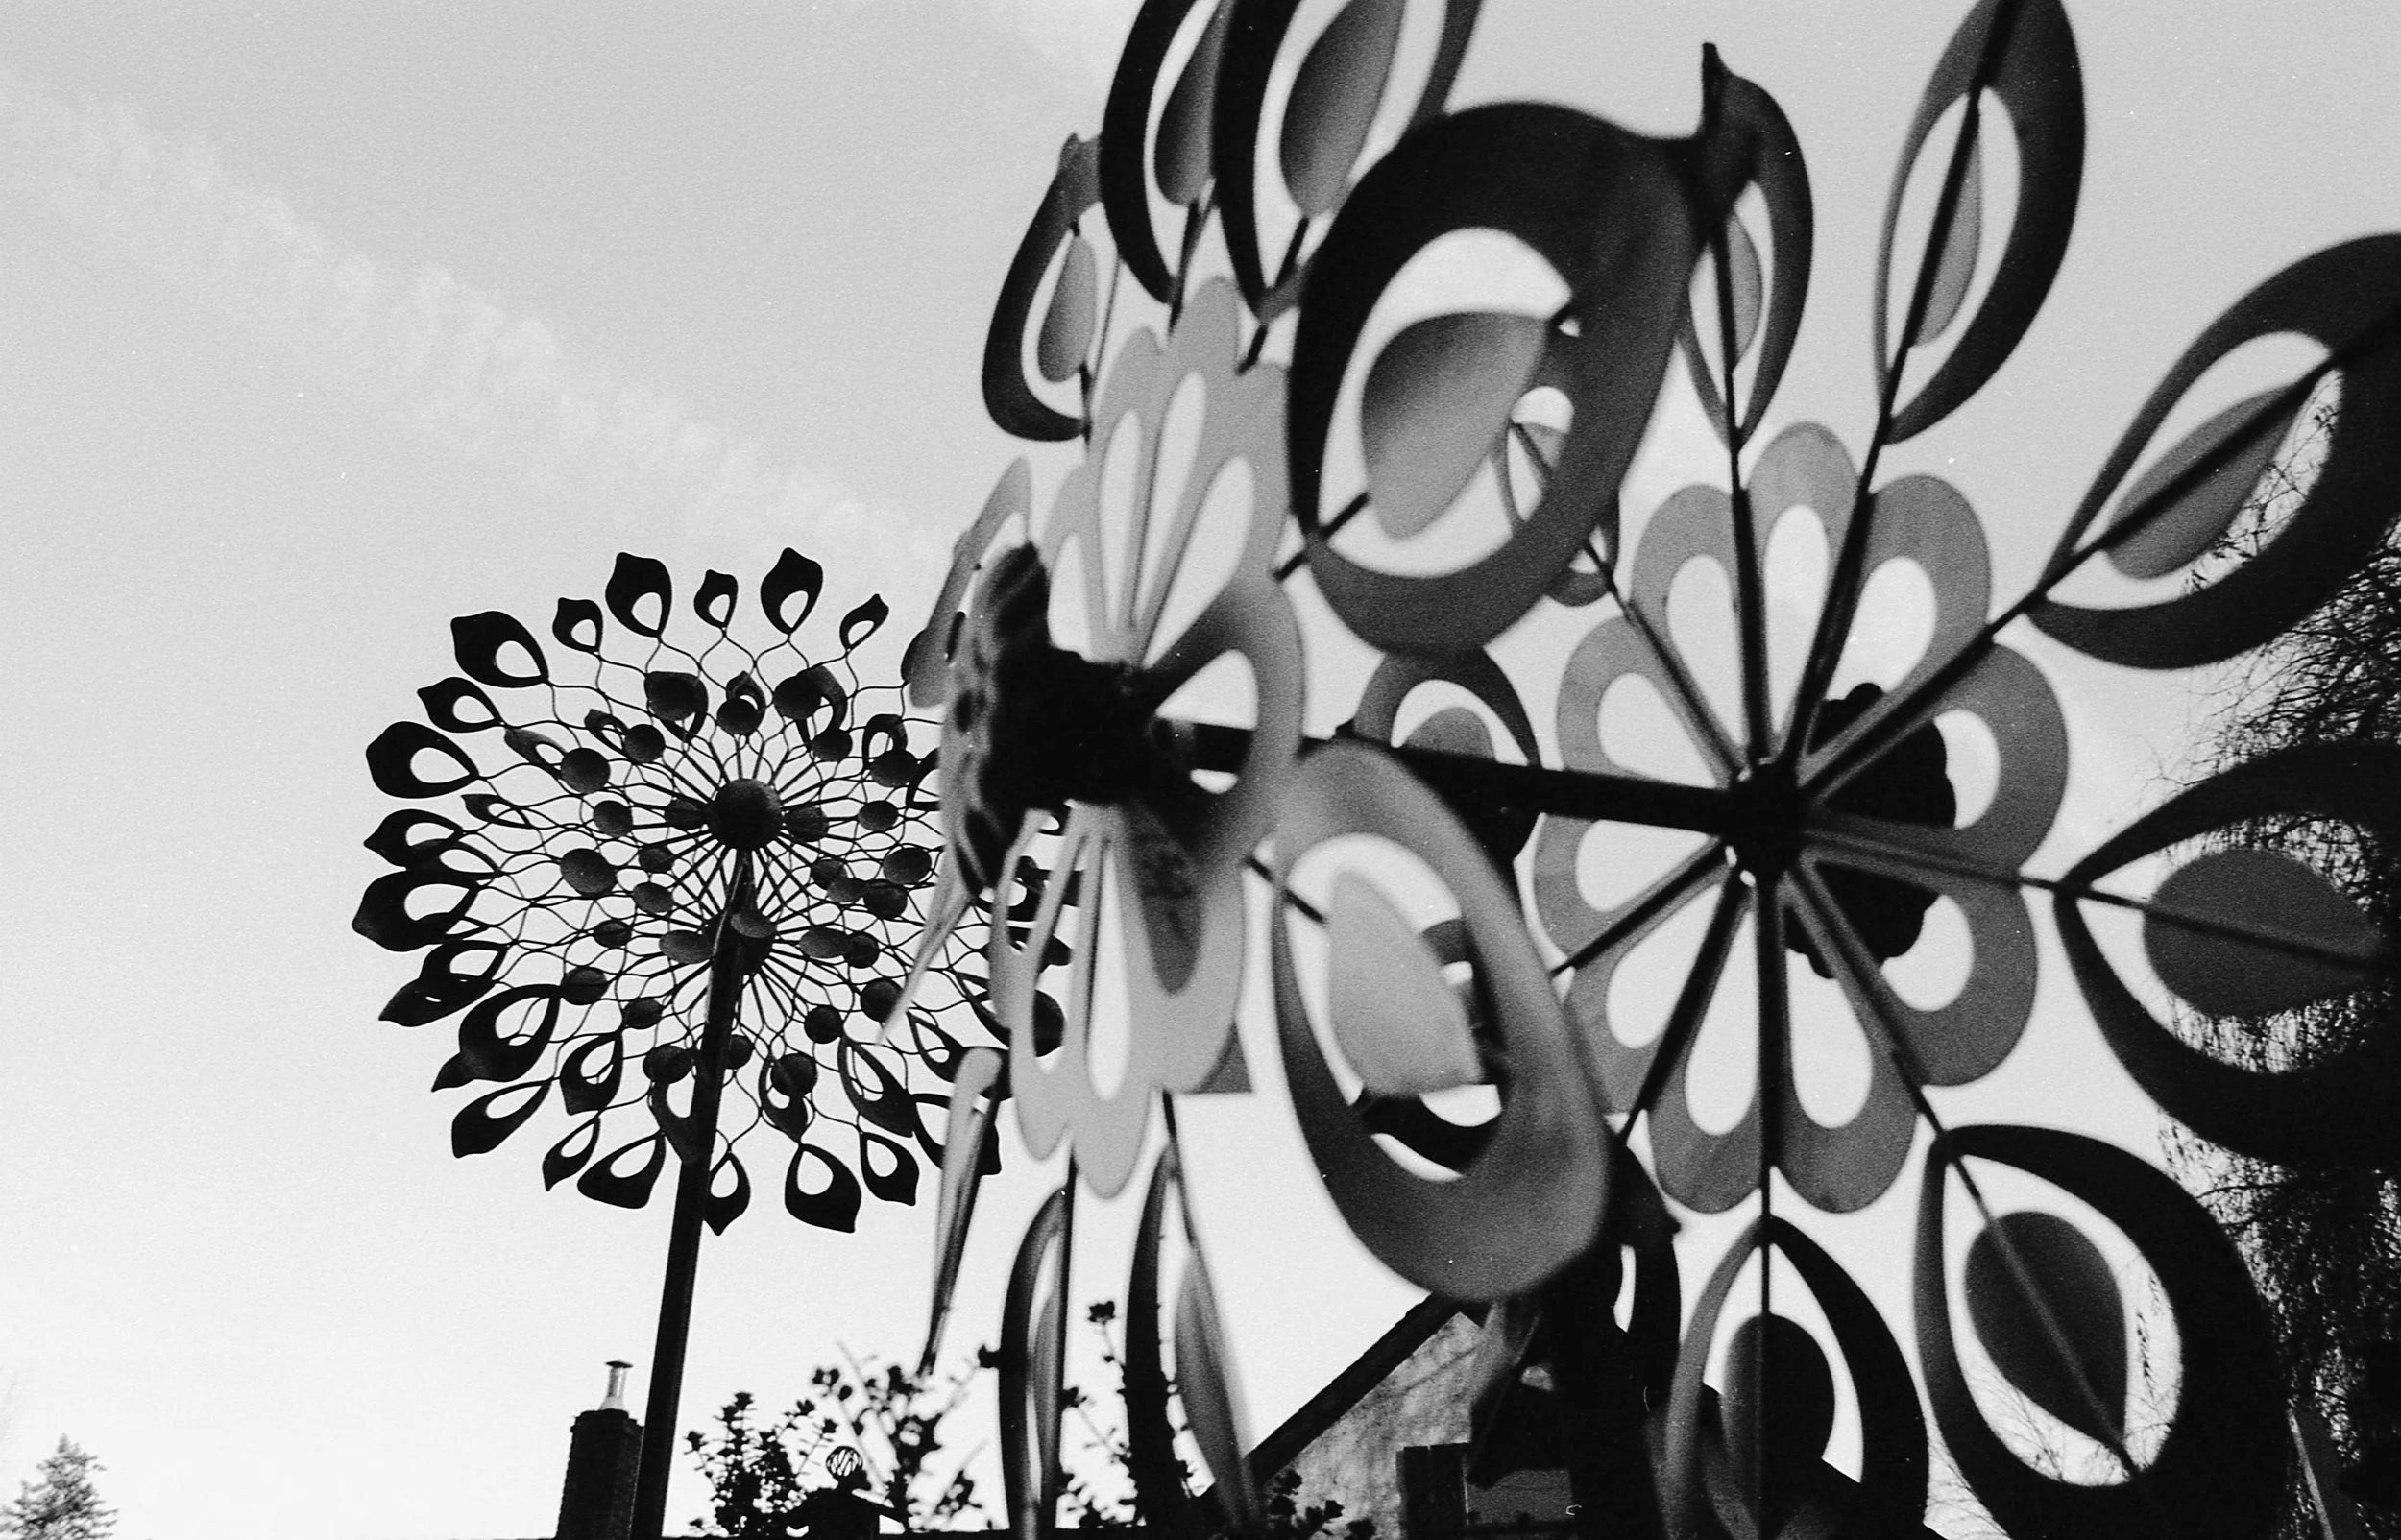
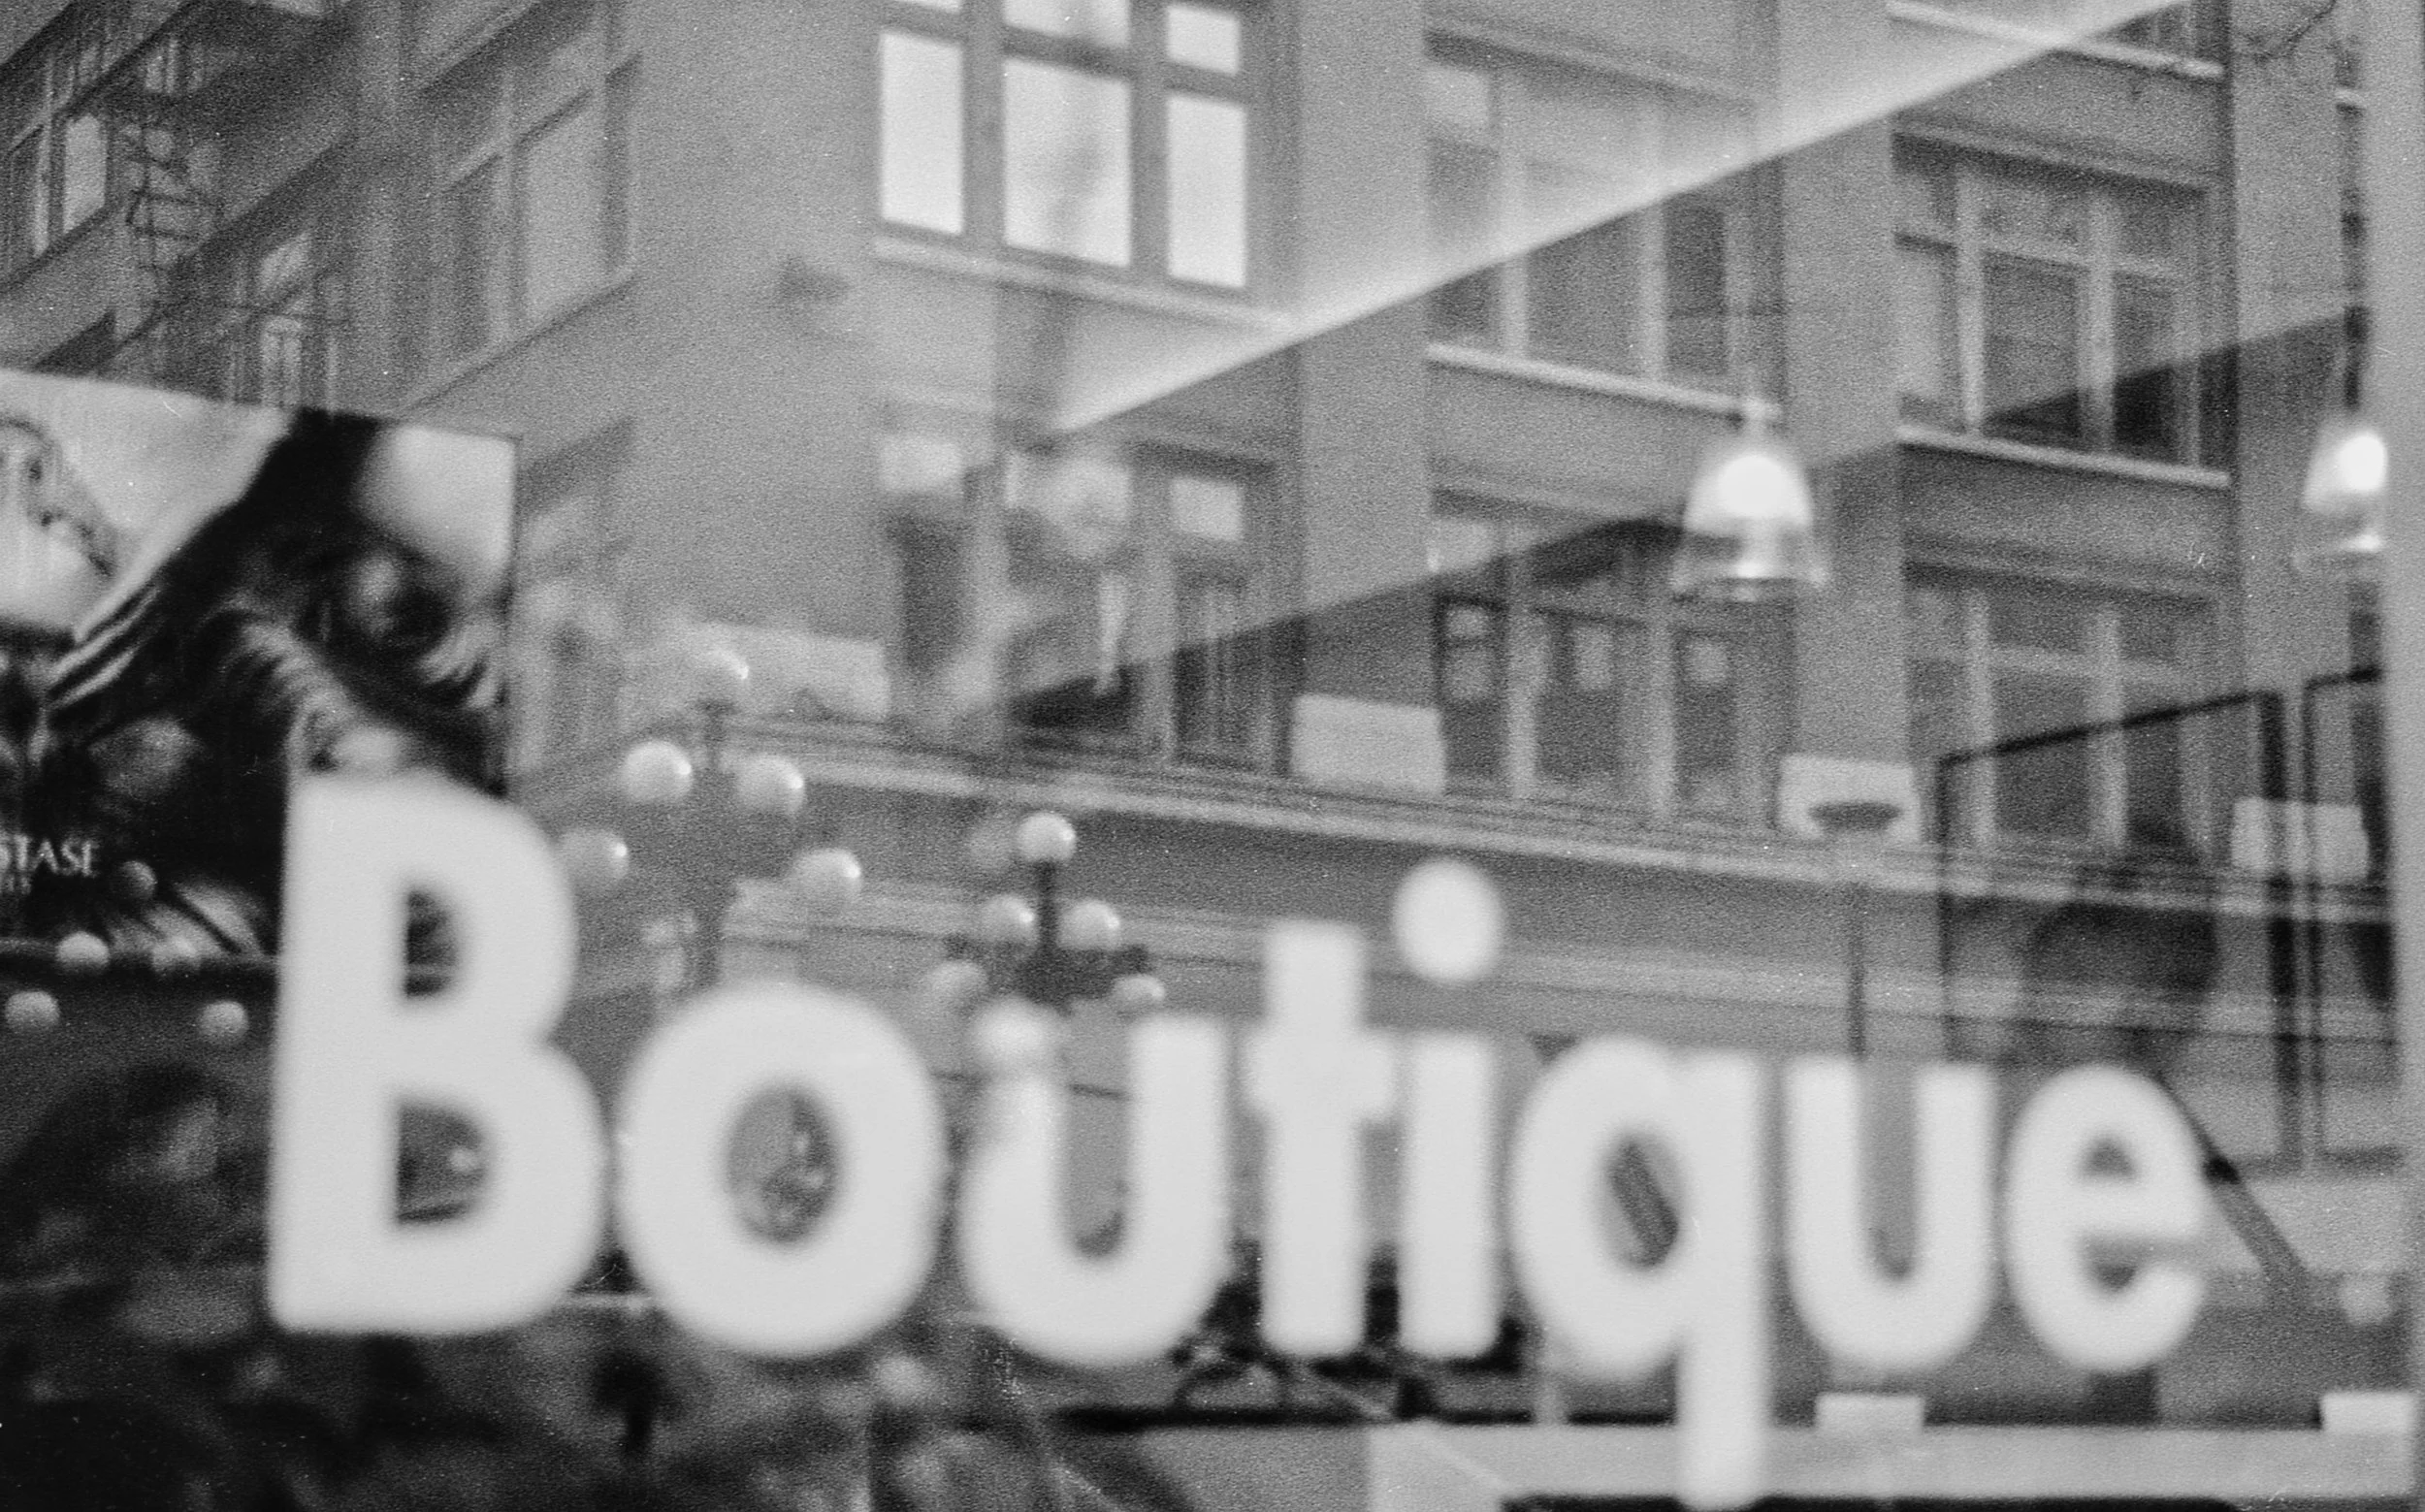
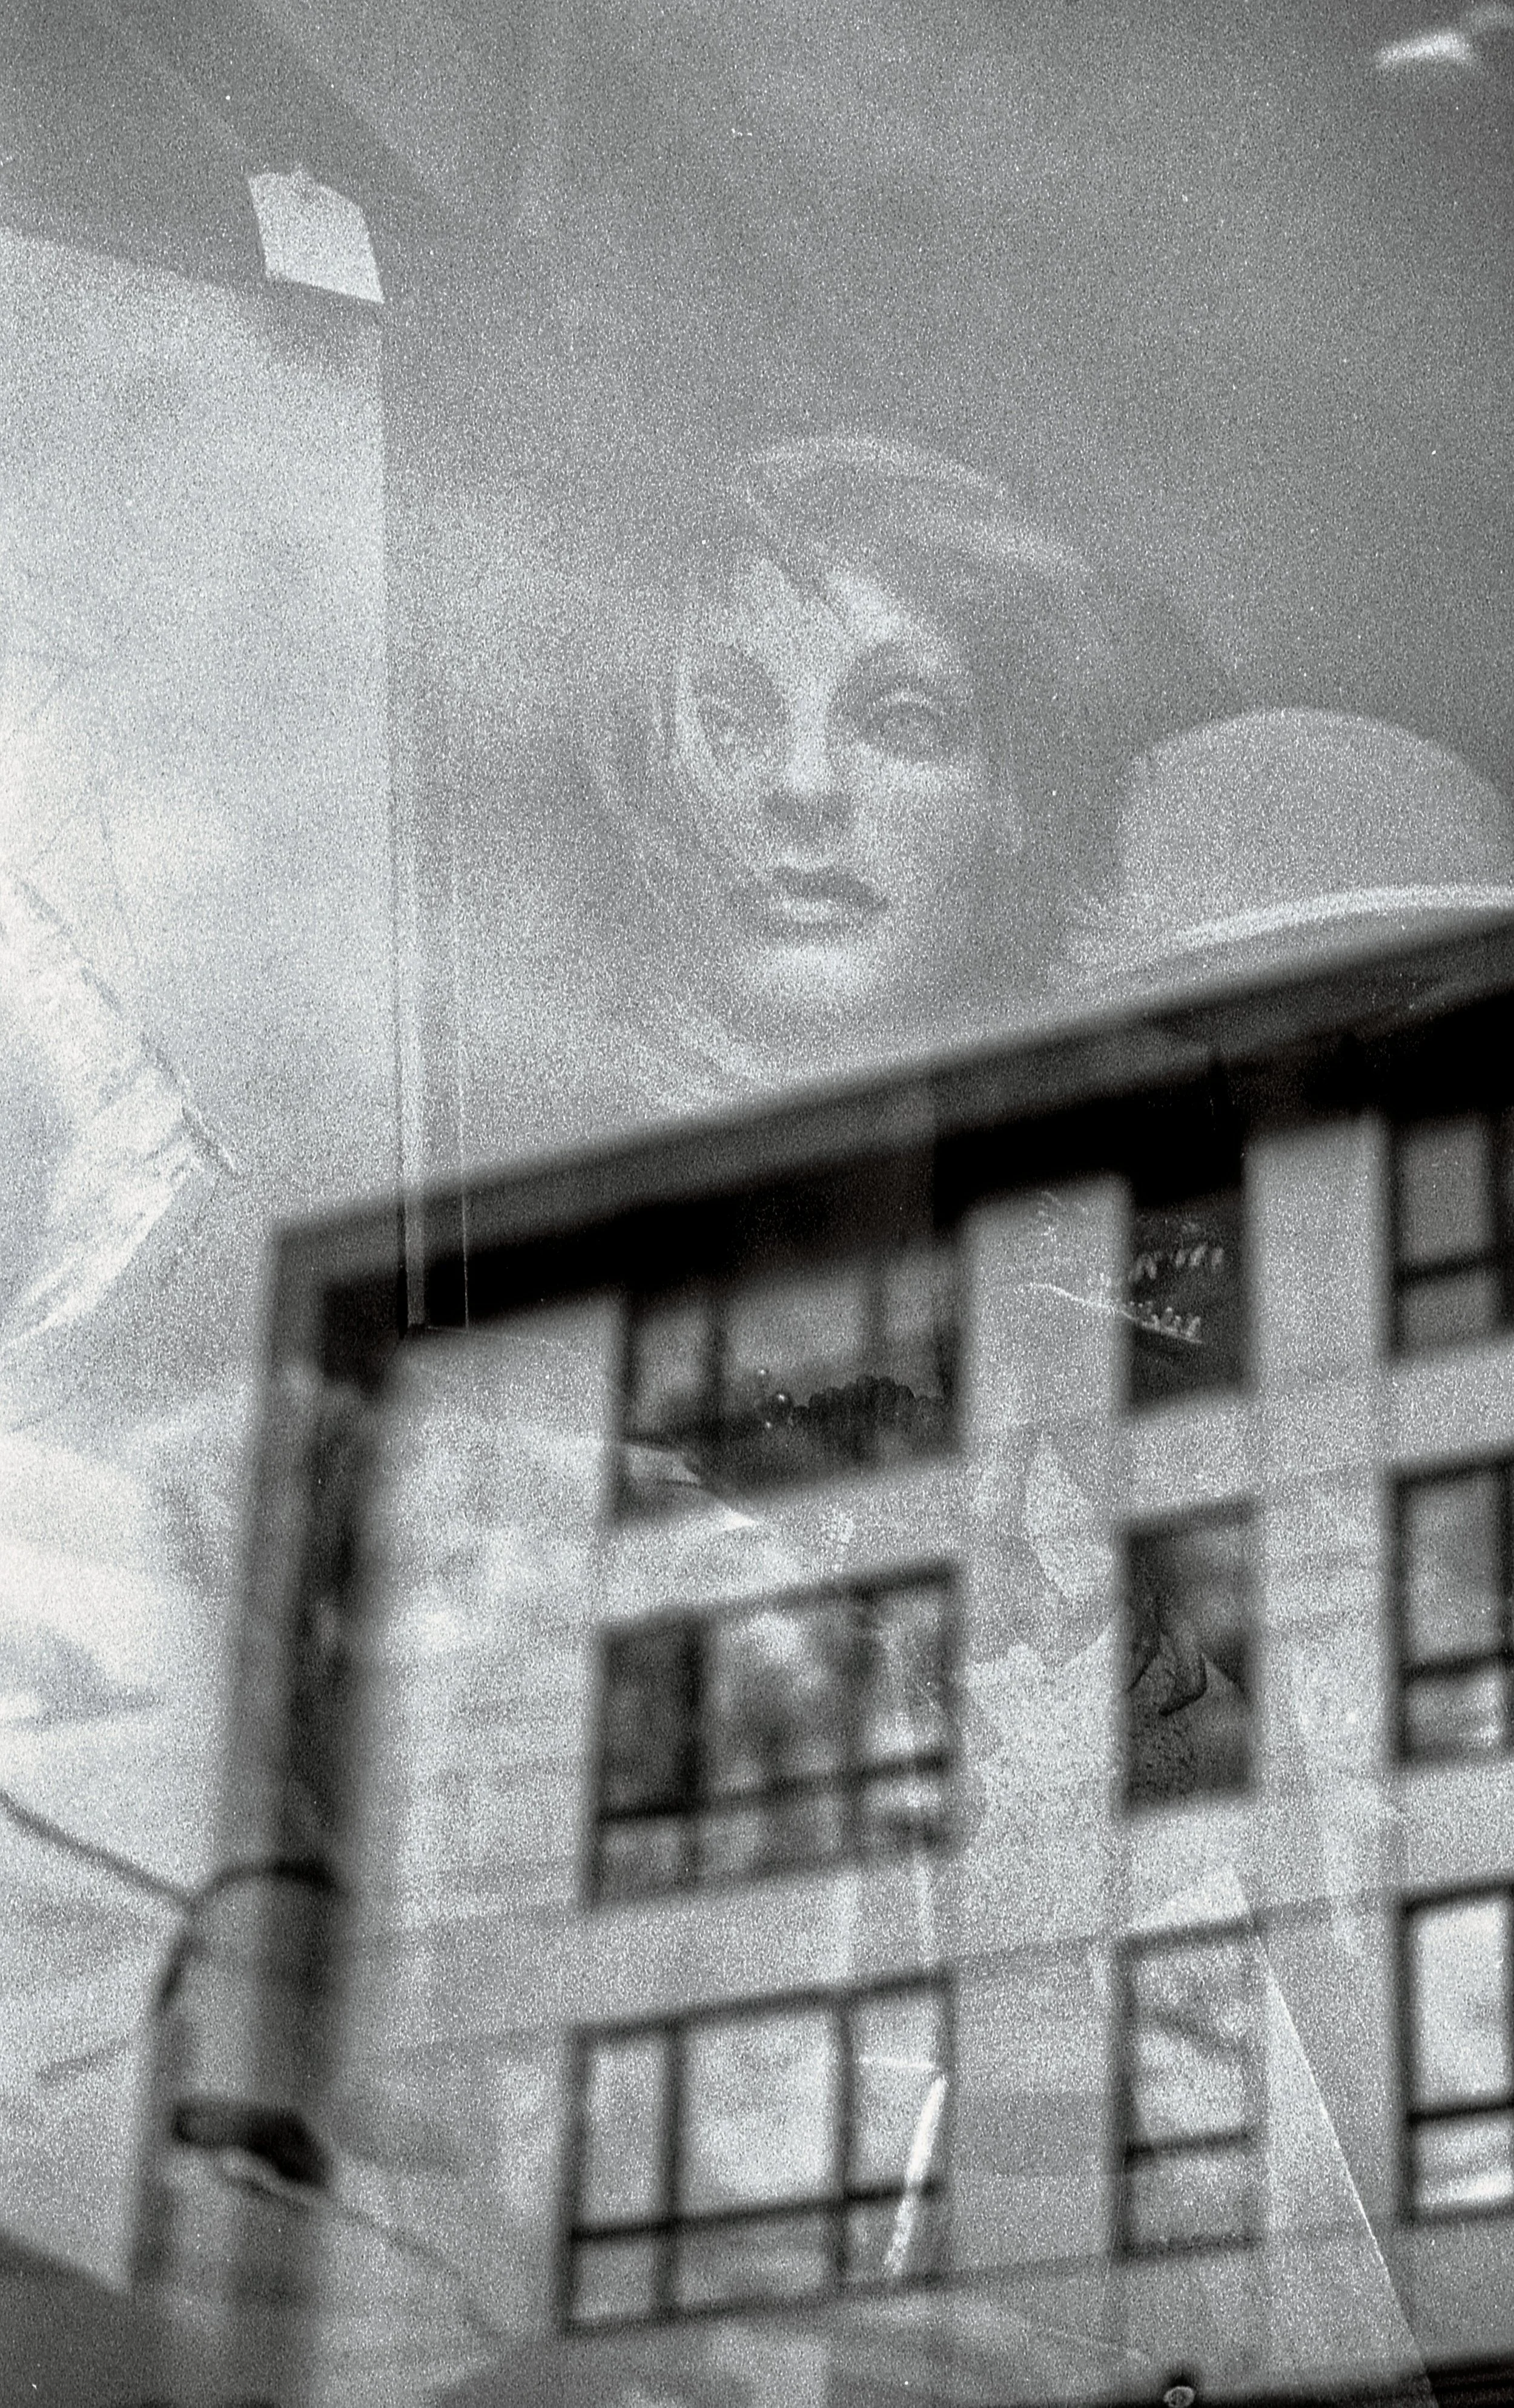
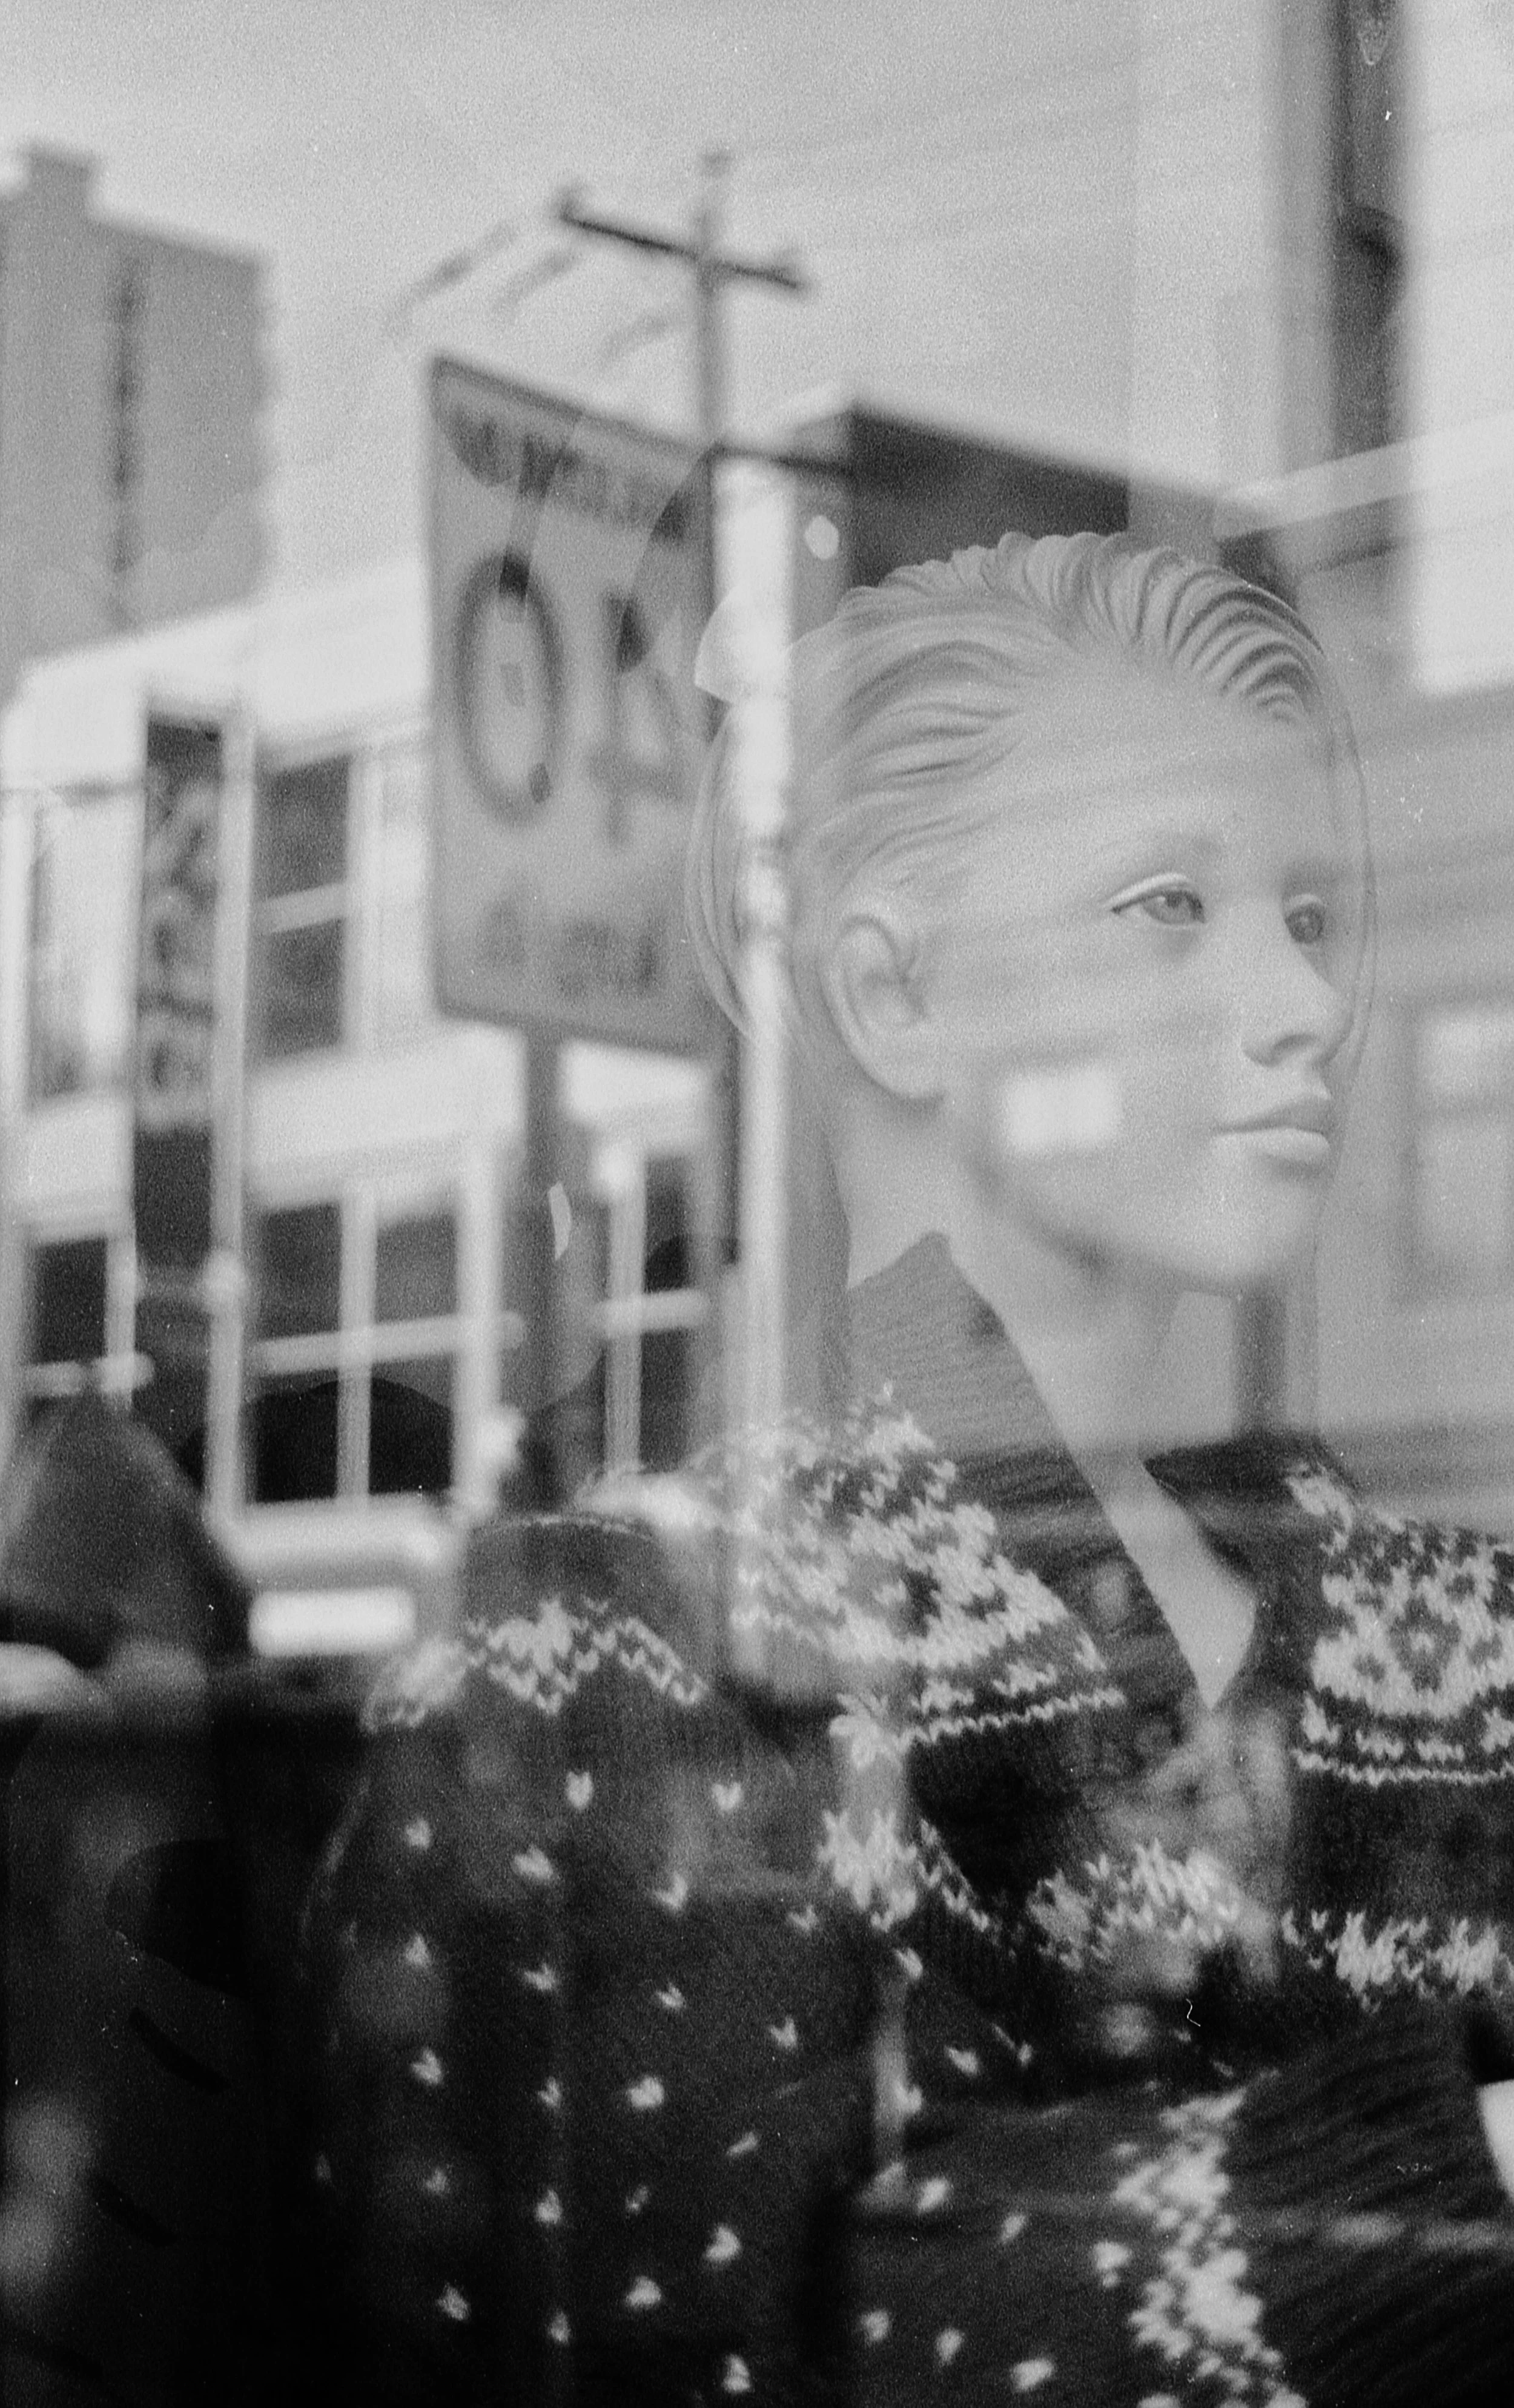
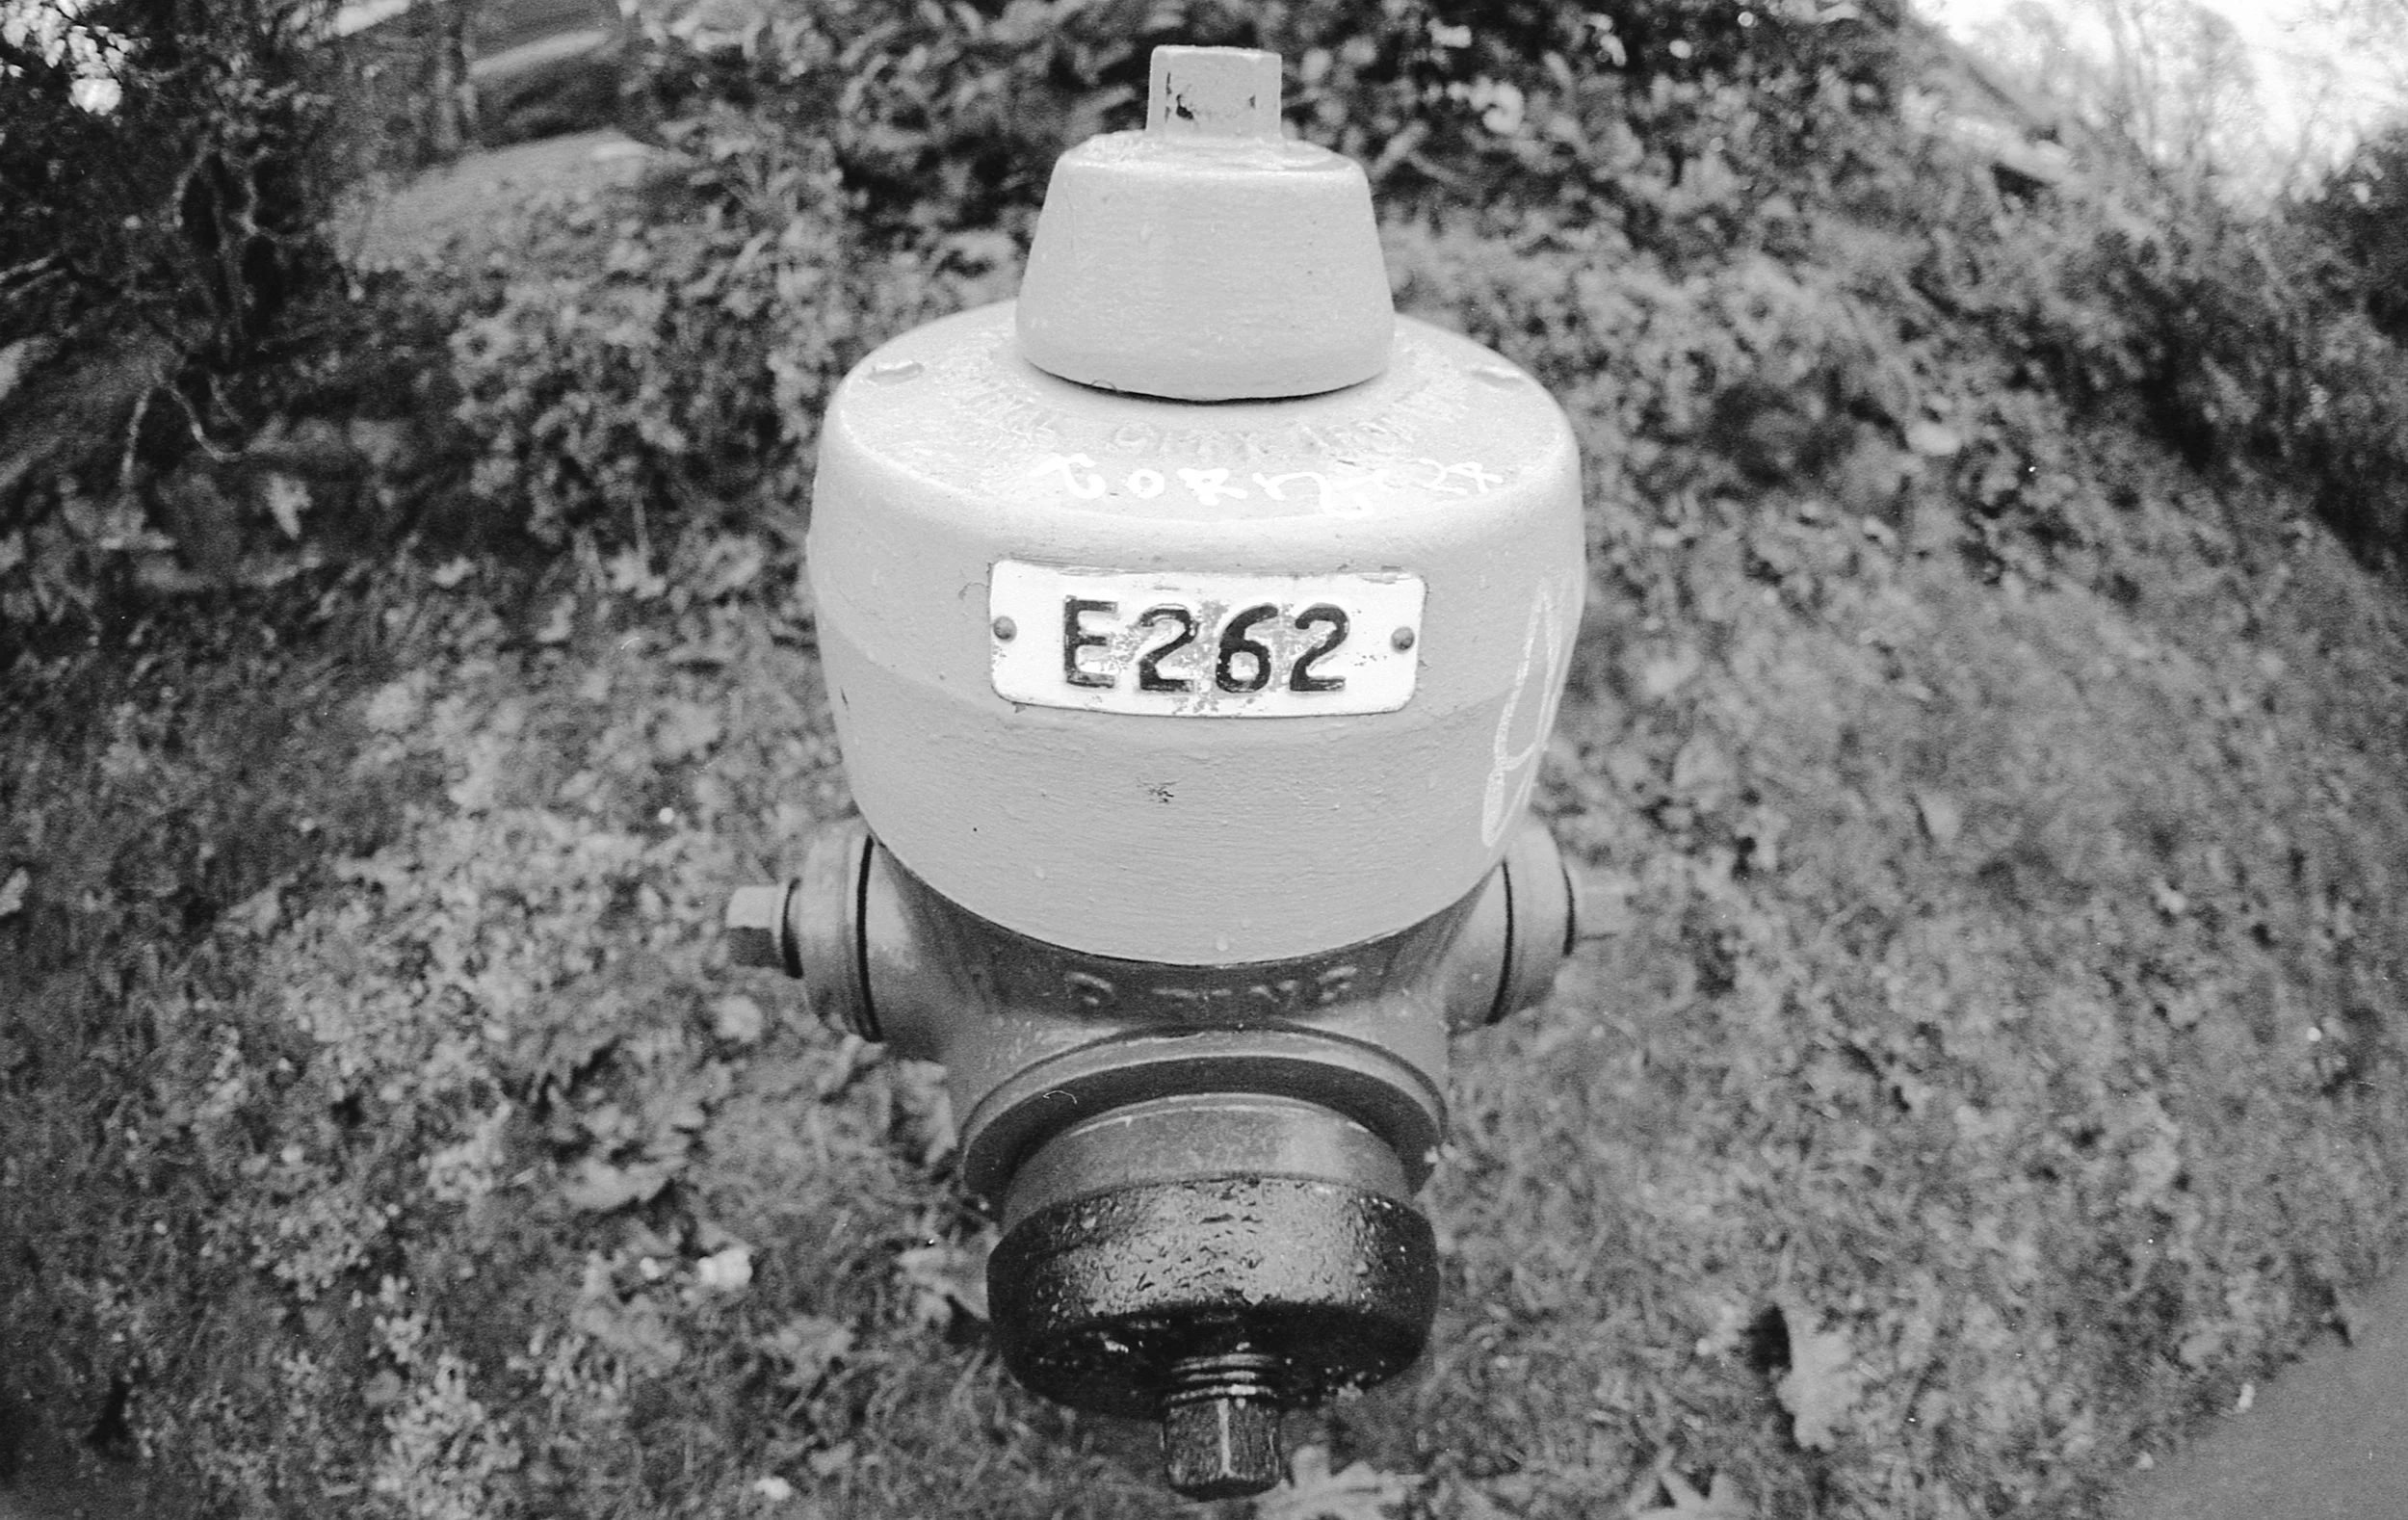
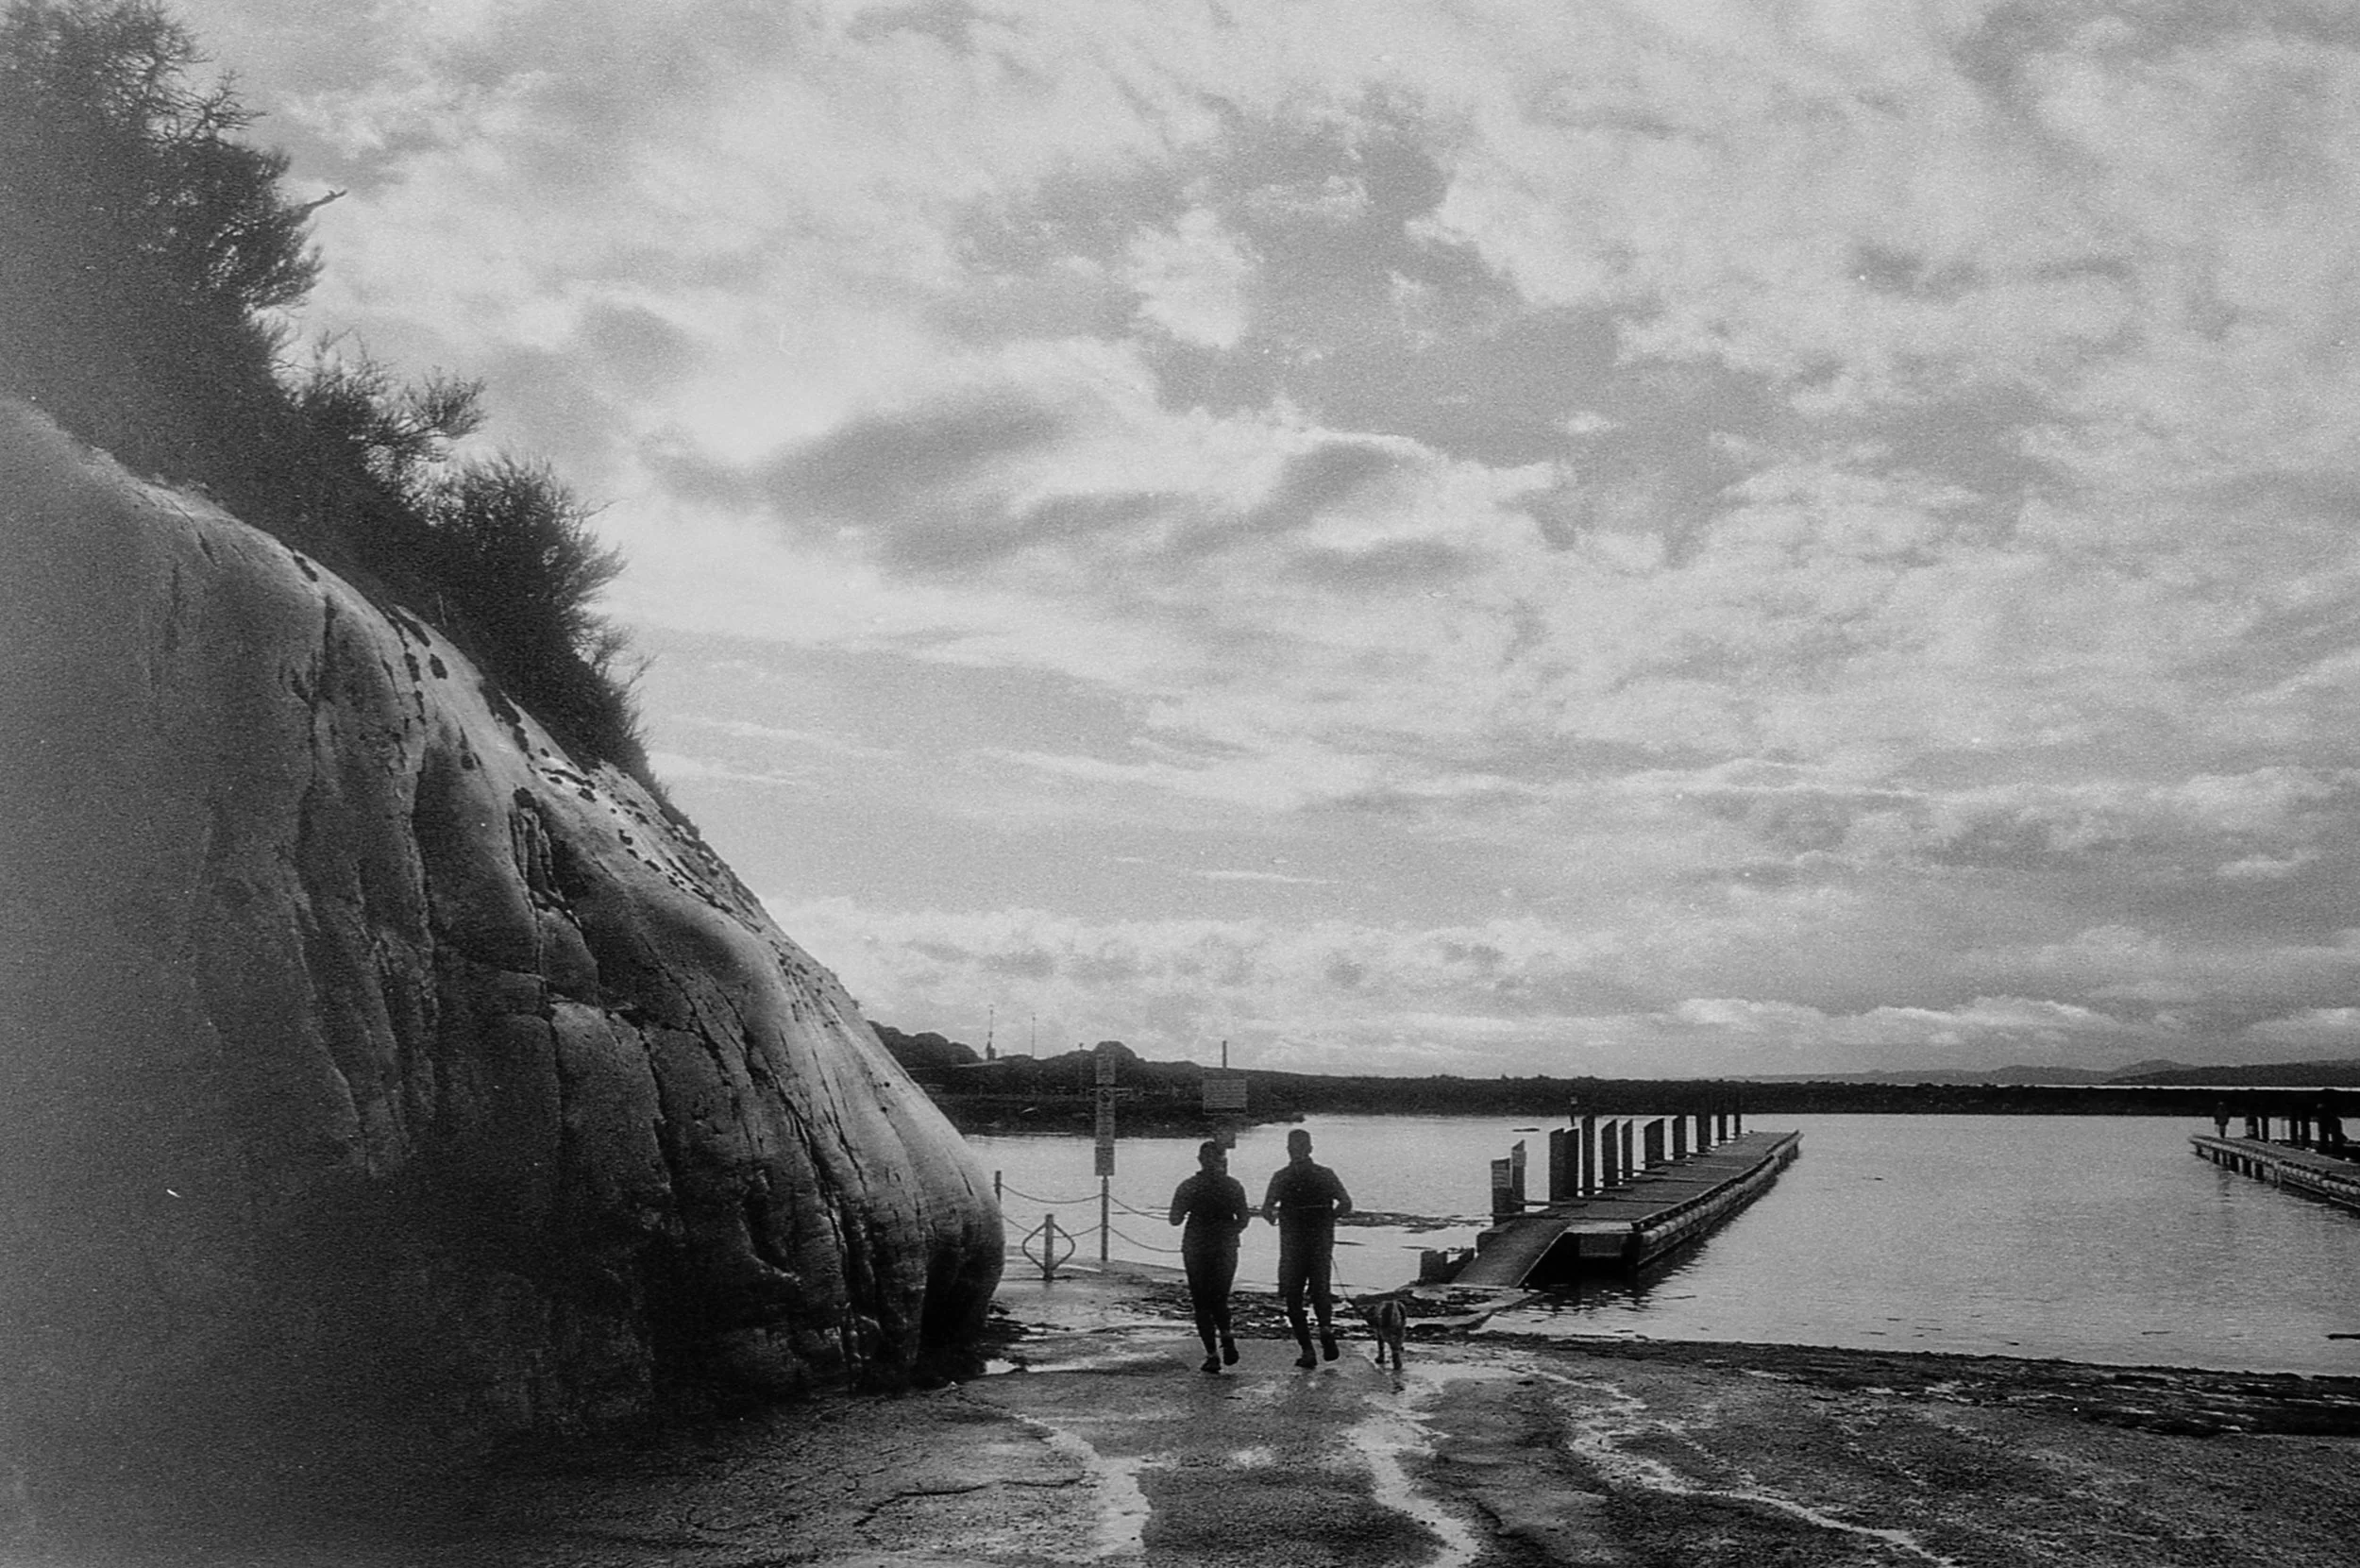
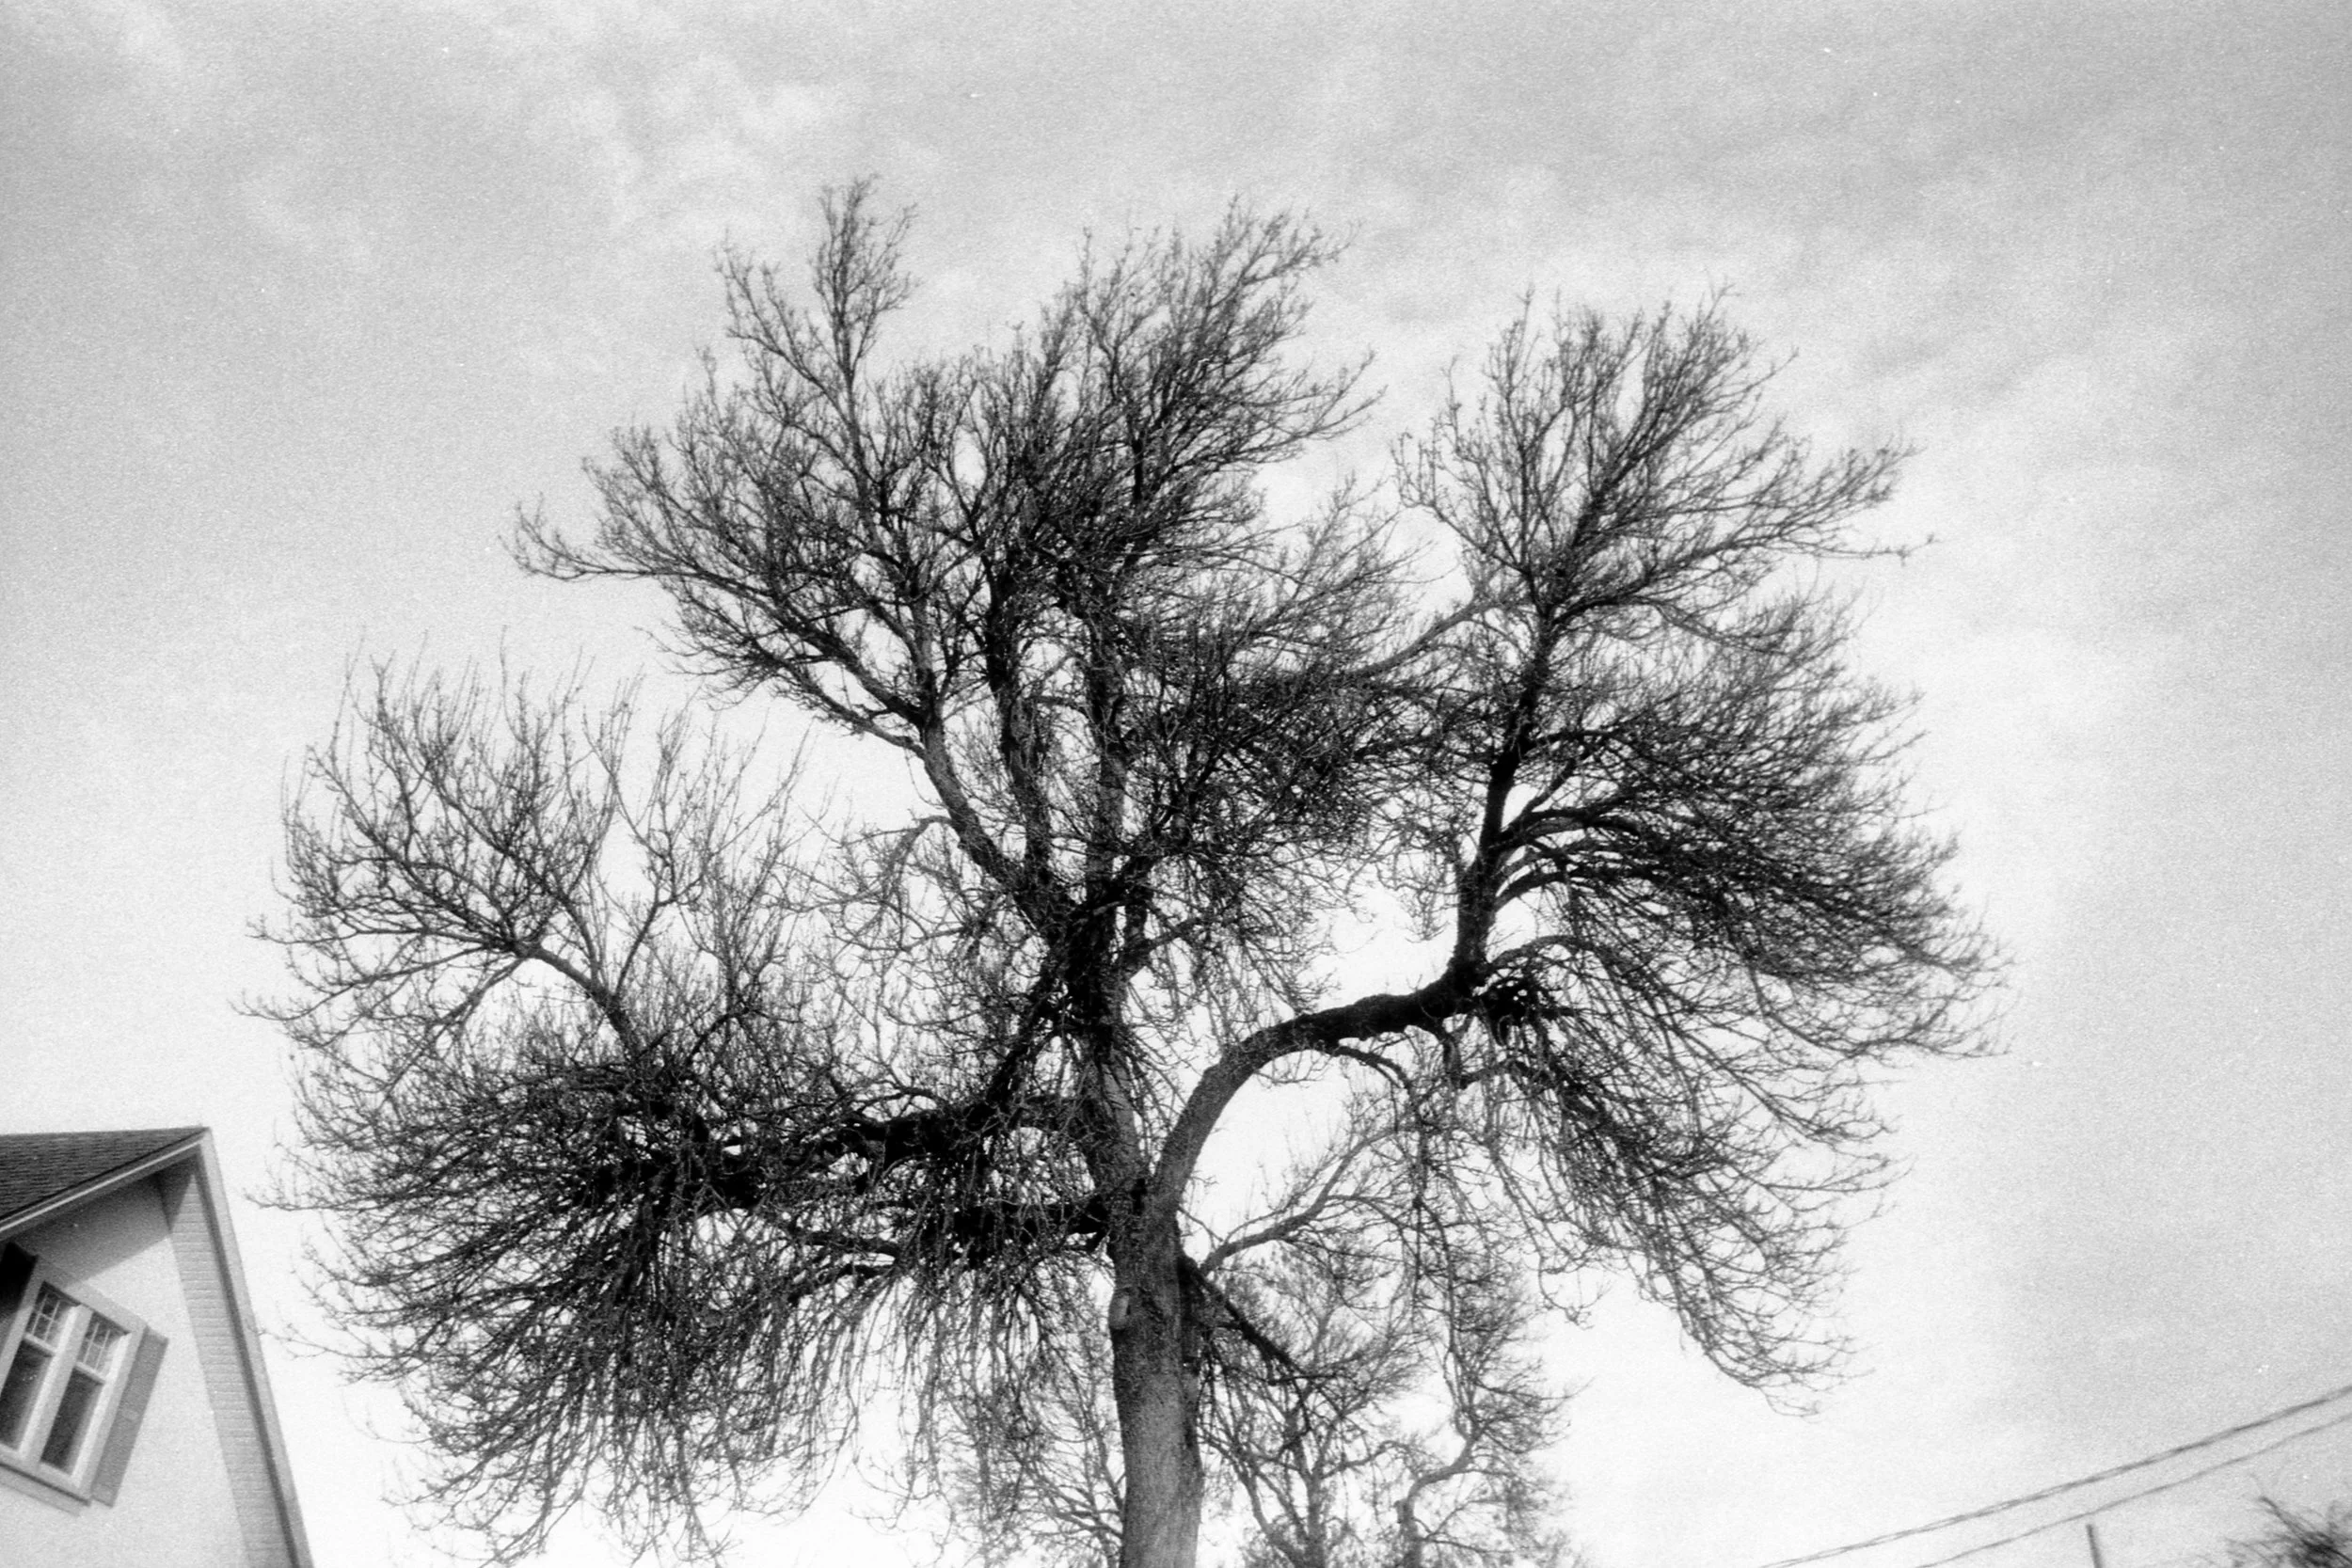
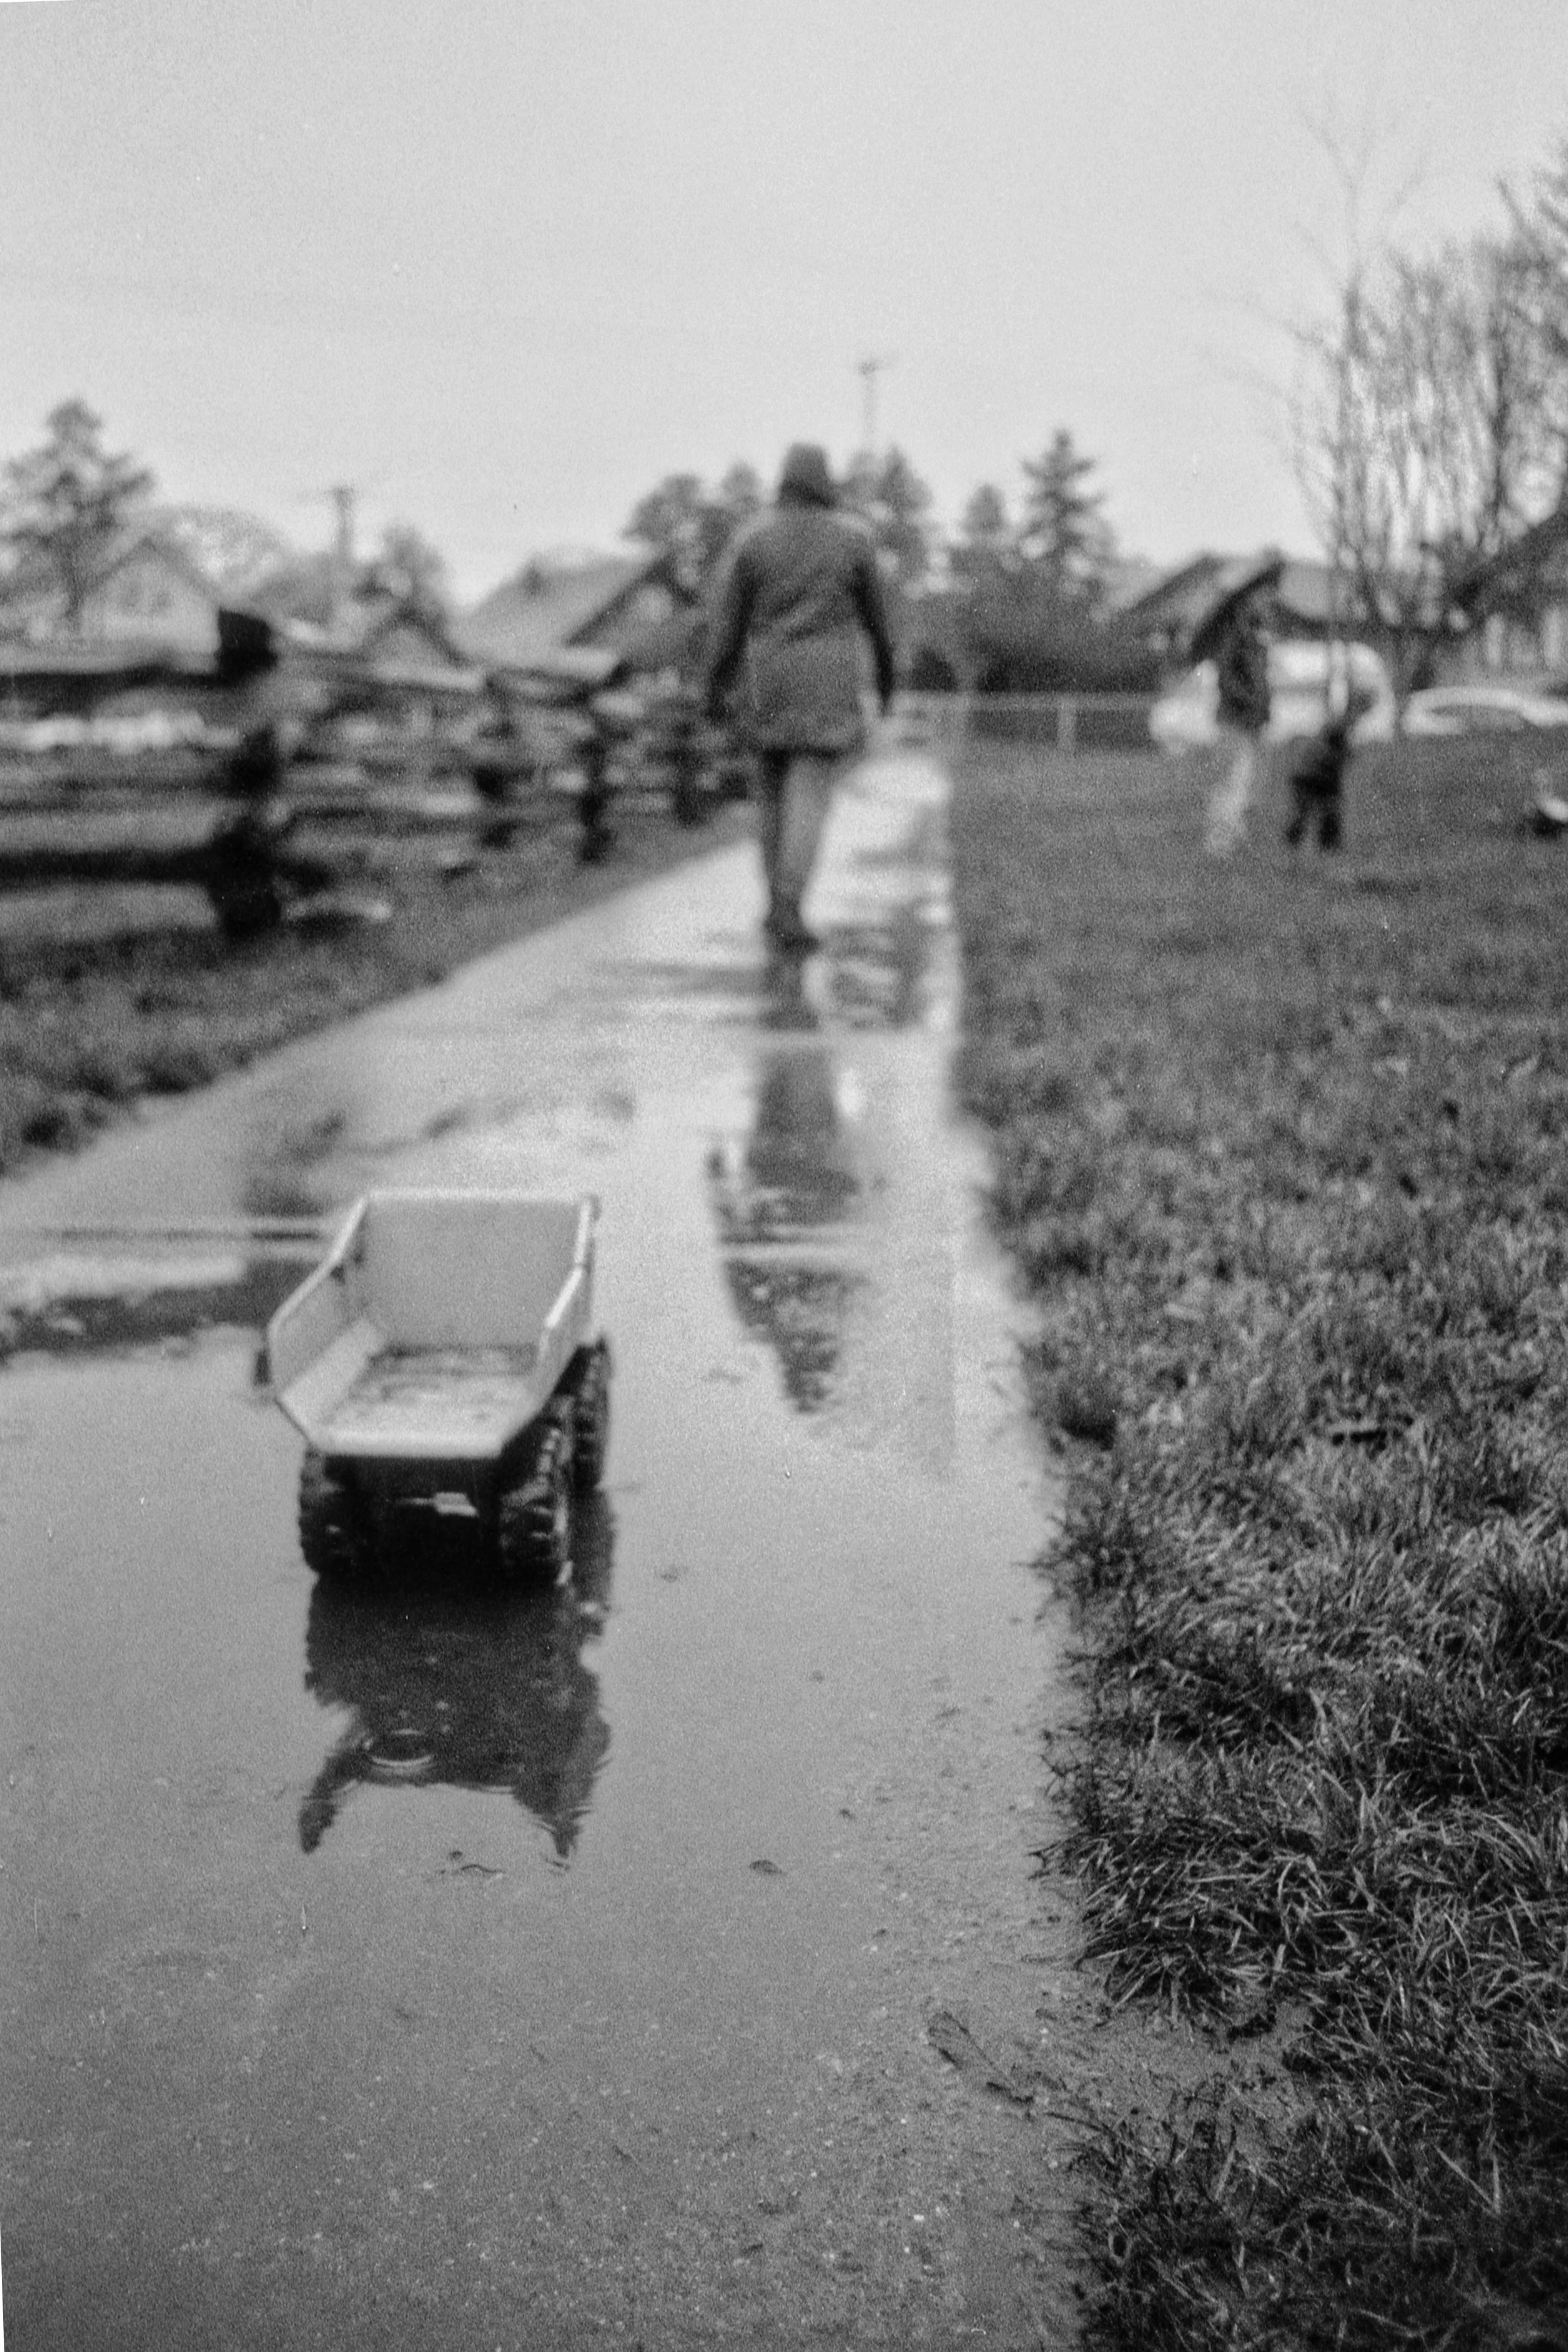
Pushing Film Washi F 100 to 200
Film Washi F is one of my favourite black and white films. What makes it unique is that it is actually produced for x-ray machines and the small French company that makes it, cuts the film down to 35mm rolls. That means that this is pretty strange film when it comes to shooting it. It has no anti-halation layer so you can get quite dreamy looking pictures with it. And that is when you shoot and develop it normally. Despite this being an older film, I could not find any information online about pushing it. Since I was using the same Flic FIlm developer, I just asked them if the standard 1/3 increase would make sense and they said it was worth a try. (Flic Film really is a Canadian national treasure, everyone should be supporting them) so I did and went from the 12.25 minutes to just over 16 minutes. Again this was just a single stop push and you can see these turned out a little more funky than the Kentmere, but I still quite like the results.


Let me know what you think in the comments and if you have tried pushing film, particularly black and white, let me know which ones have worked well for you. And now that it is February, getting out and shooting is getting a little easier so make sure you do it. If you are interested in joining my upcoming photography workshop at the Vancouver Island School of Art, all the details are available here.