Portrait Editing with Luminar Neo
I have been using Luminar Neo as my main photo editing software for well over a year now. If you are interested in some of my earlier articles about switching to Luminar Neo from Adobe Lightroom, you can read those articles here and here. As you will see in those articles, Luminar Neo can do pretty much everything that Lightroom can do, but at a significantly cheaper cost. That said, as I note in those articles, it isn’t perfect. If I were in charge, I would try and reduce the prominence of the use of the term ‘AI’ in their materials. Photo editing software has always used some form of algorithmic process to try and guess your preferences so it feels more like marketing inside the software than something new and beneficial. However, if you look past that, the actual software and the output is really impressive.
It might be helpful to understand how I blend Luminar Neo into my work flow. When I get back from a shoot, I upload my JPGs to Google Photos and save my RAW files to a drive. I then go through my JPGs and select the ones that I want to work on more. Those are the photos that I upload as RAW (or JPG if they are from my phone) to Luminar Neo. I do this all the time and I have a good work process inside the software on what I want to change in my images. It is pretty much second nature now. One area that I almost never play around with are the portrait tools. I am not a great portrait photographer. I would say that I am learning and improving, but certainly have a long way to go. Because of that, I just don’t take a lot of portraits and so that area goes largely unused. Recently Skylum (the company that makes Luminar Neo) reached out to me to let me know that they were updating their portrait tools. They asked if I wanted to try them out in beta before release, I said sure though told them that it was not my forté as well. The tools are now available in the main product and so I thought I would do a few edits on some photos and let you see what it can do. I will say that the tools can really transform the image of a person and I would never go to the extremes that the software allows, but I know that there may be photographers out there that would want to. So I suppose you have an opportunity with this article to see me in a way that no one has before or will again.
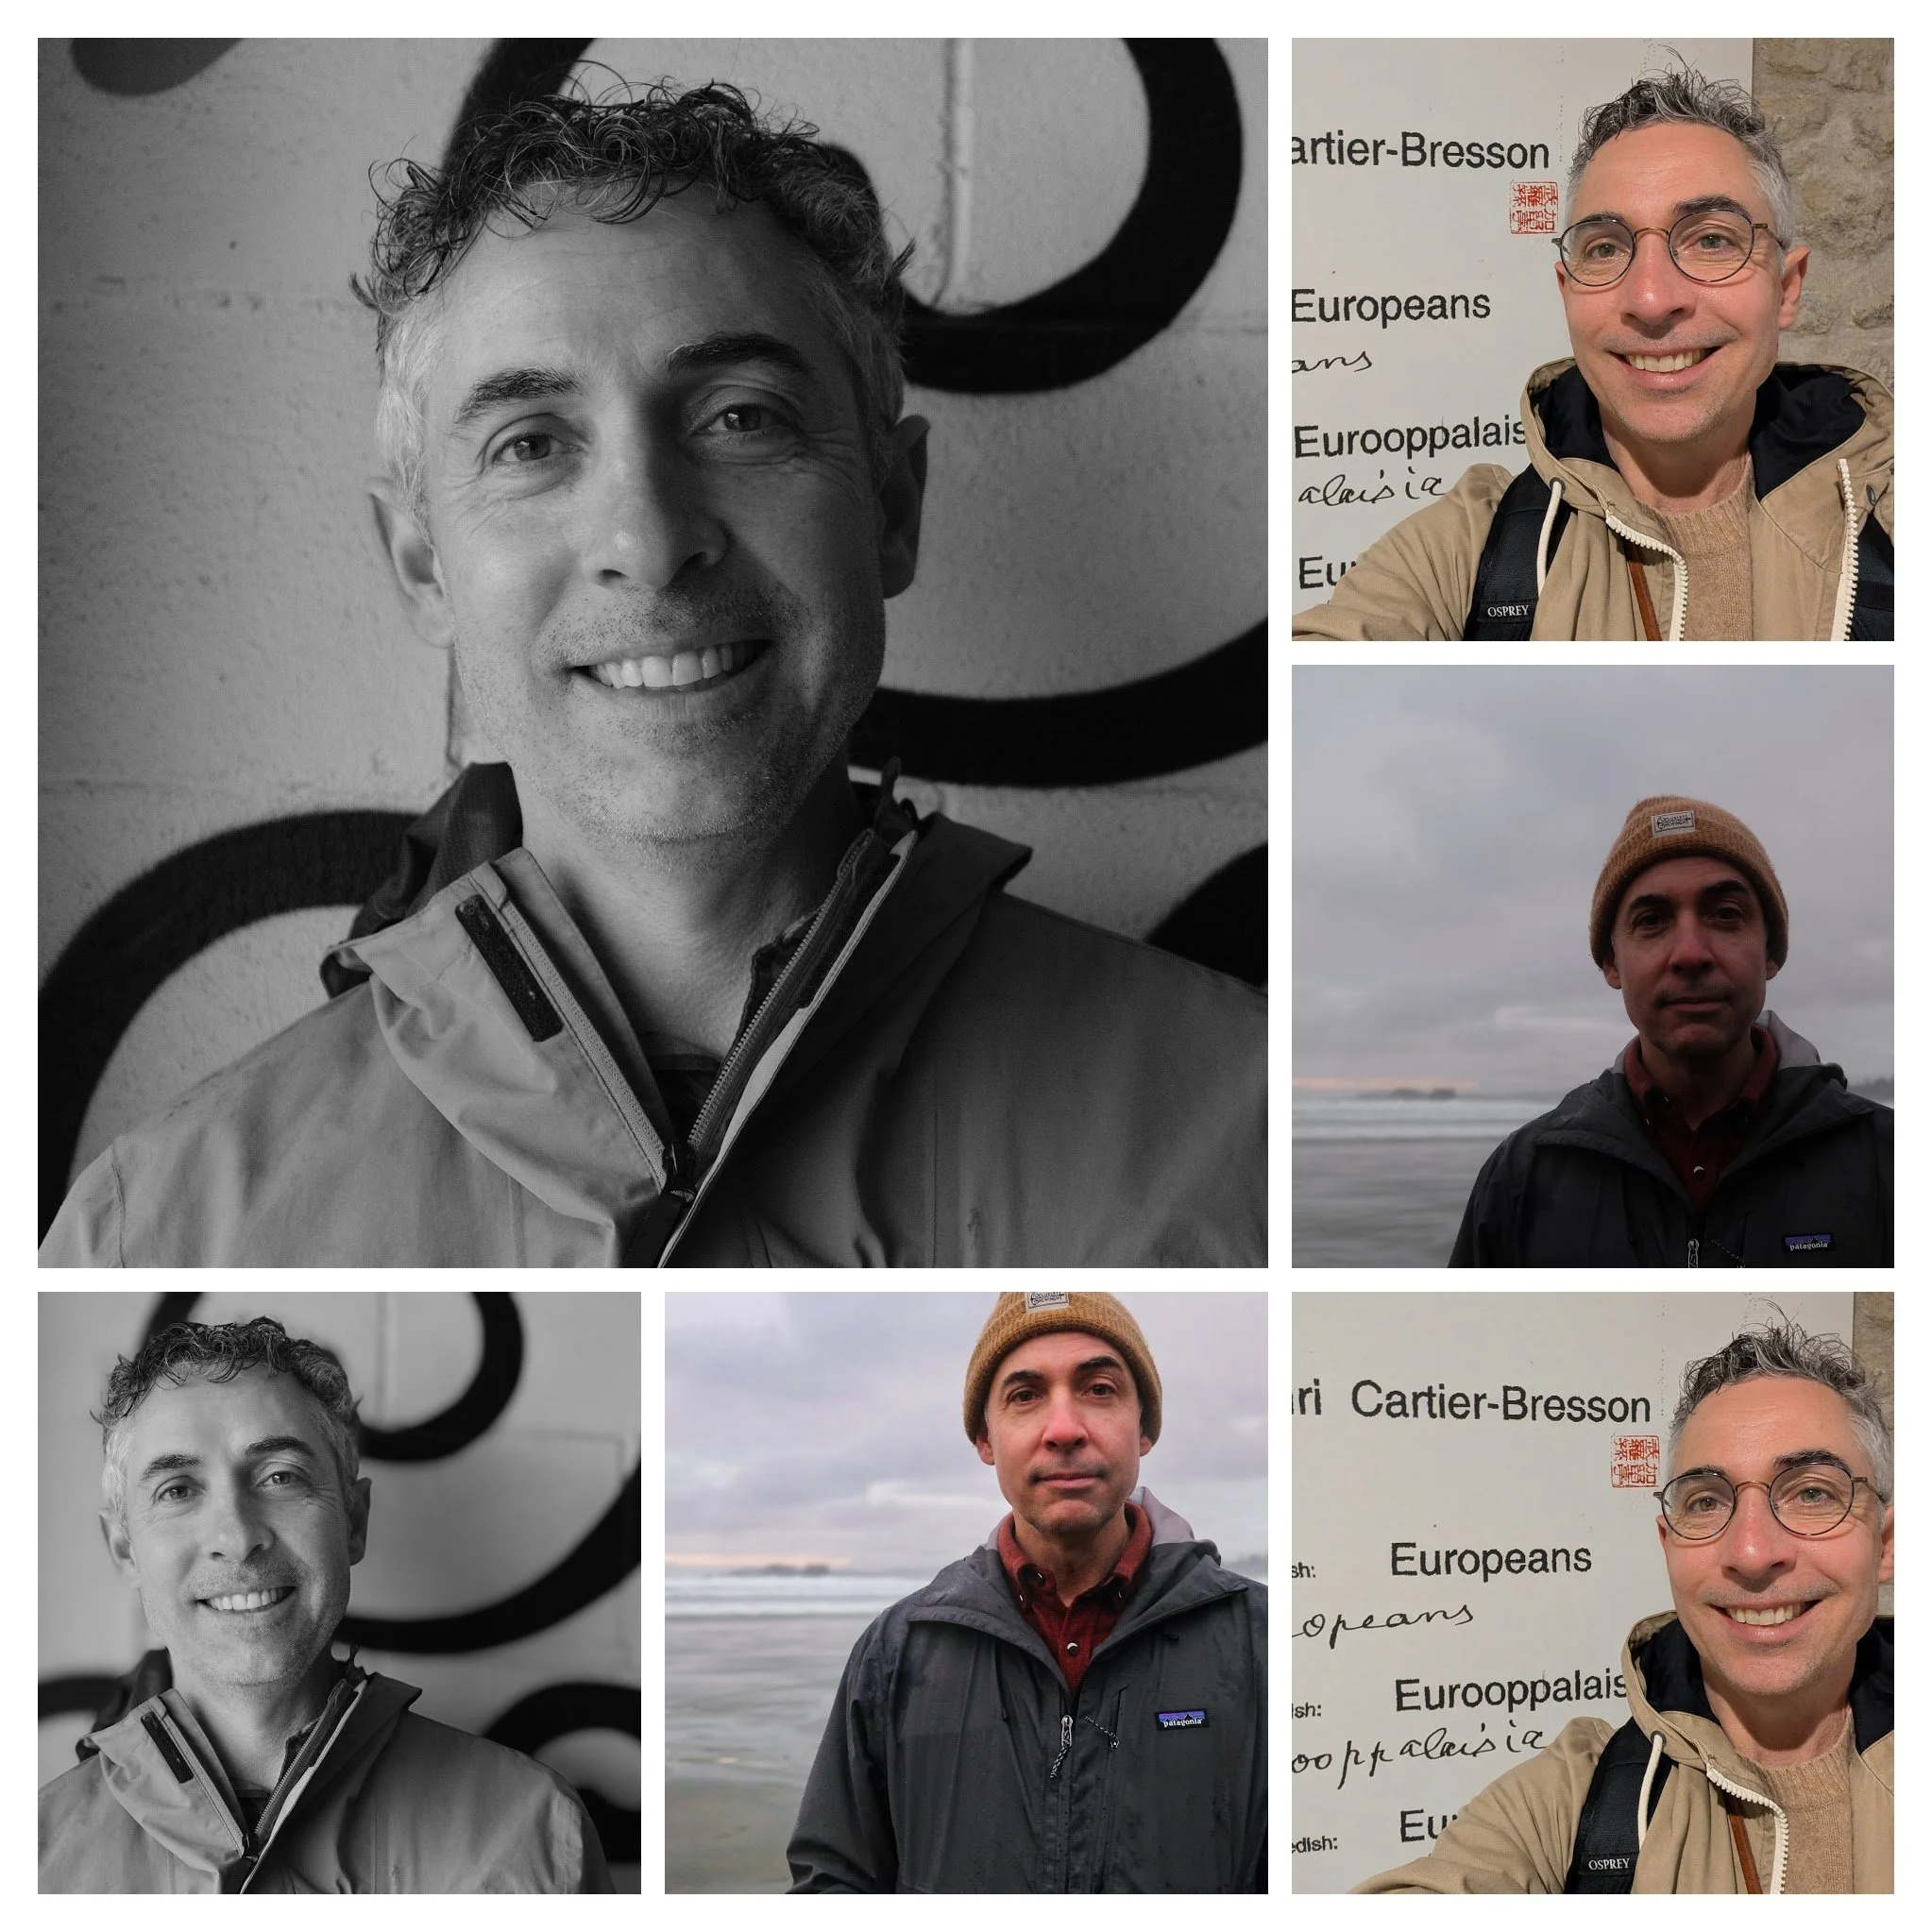
I took three self-portraits I had of myself, and edited them with the new Advanced Portrait Editing Tools. Just so you know which ones I focused on using, they were (as stated by Skylum):
Bokeh AI – now evolving beyond portraits to work effectively on objects as well.
Dark Circles Removal (within Face AI) – an improved tool that stands out from competitors thanks to its simplicity and strong results.
Skin AI – expanded capabilities now include four sliders: Face Skin Smoothing, Body Smoothing, and Shine Removal – which is now a fully automated – along with a brand-new Blemish Removal tool.
Mask Feather – a new feature that softens mask edges for smoother blending.
For each one, I will let you know which tools I used. I have included the before and after, so you can see the impact of the changes. They are pretty dramatic!
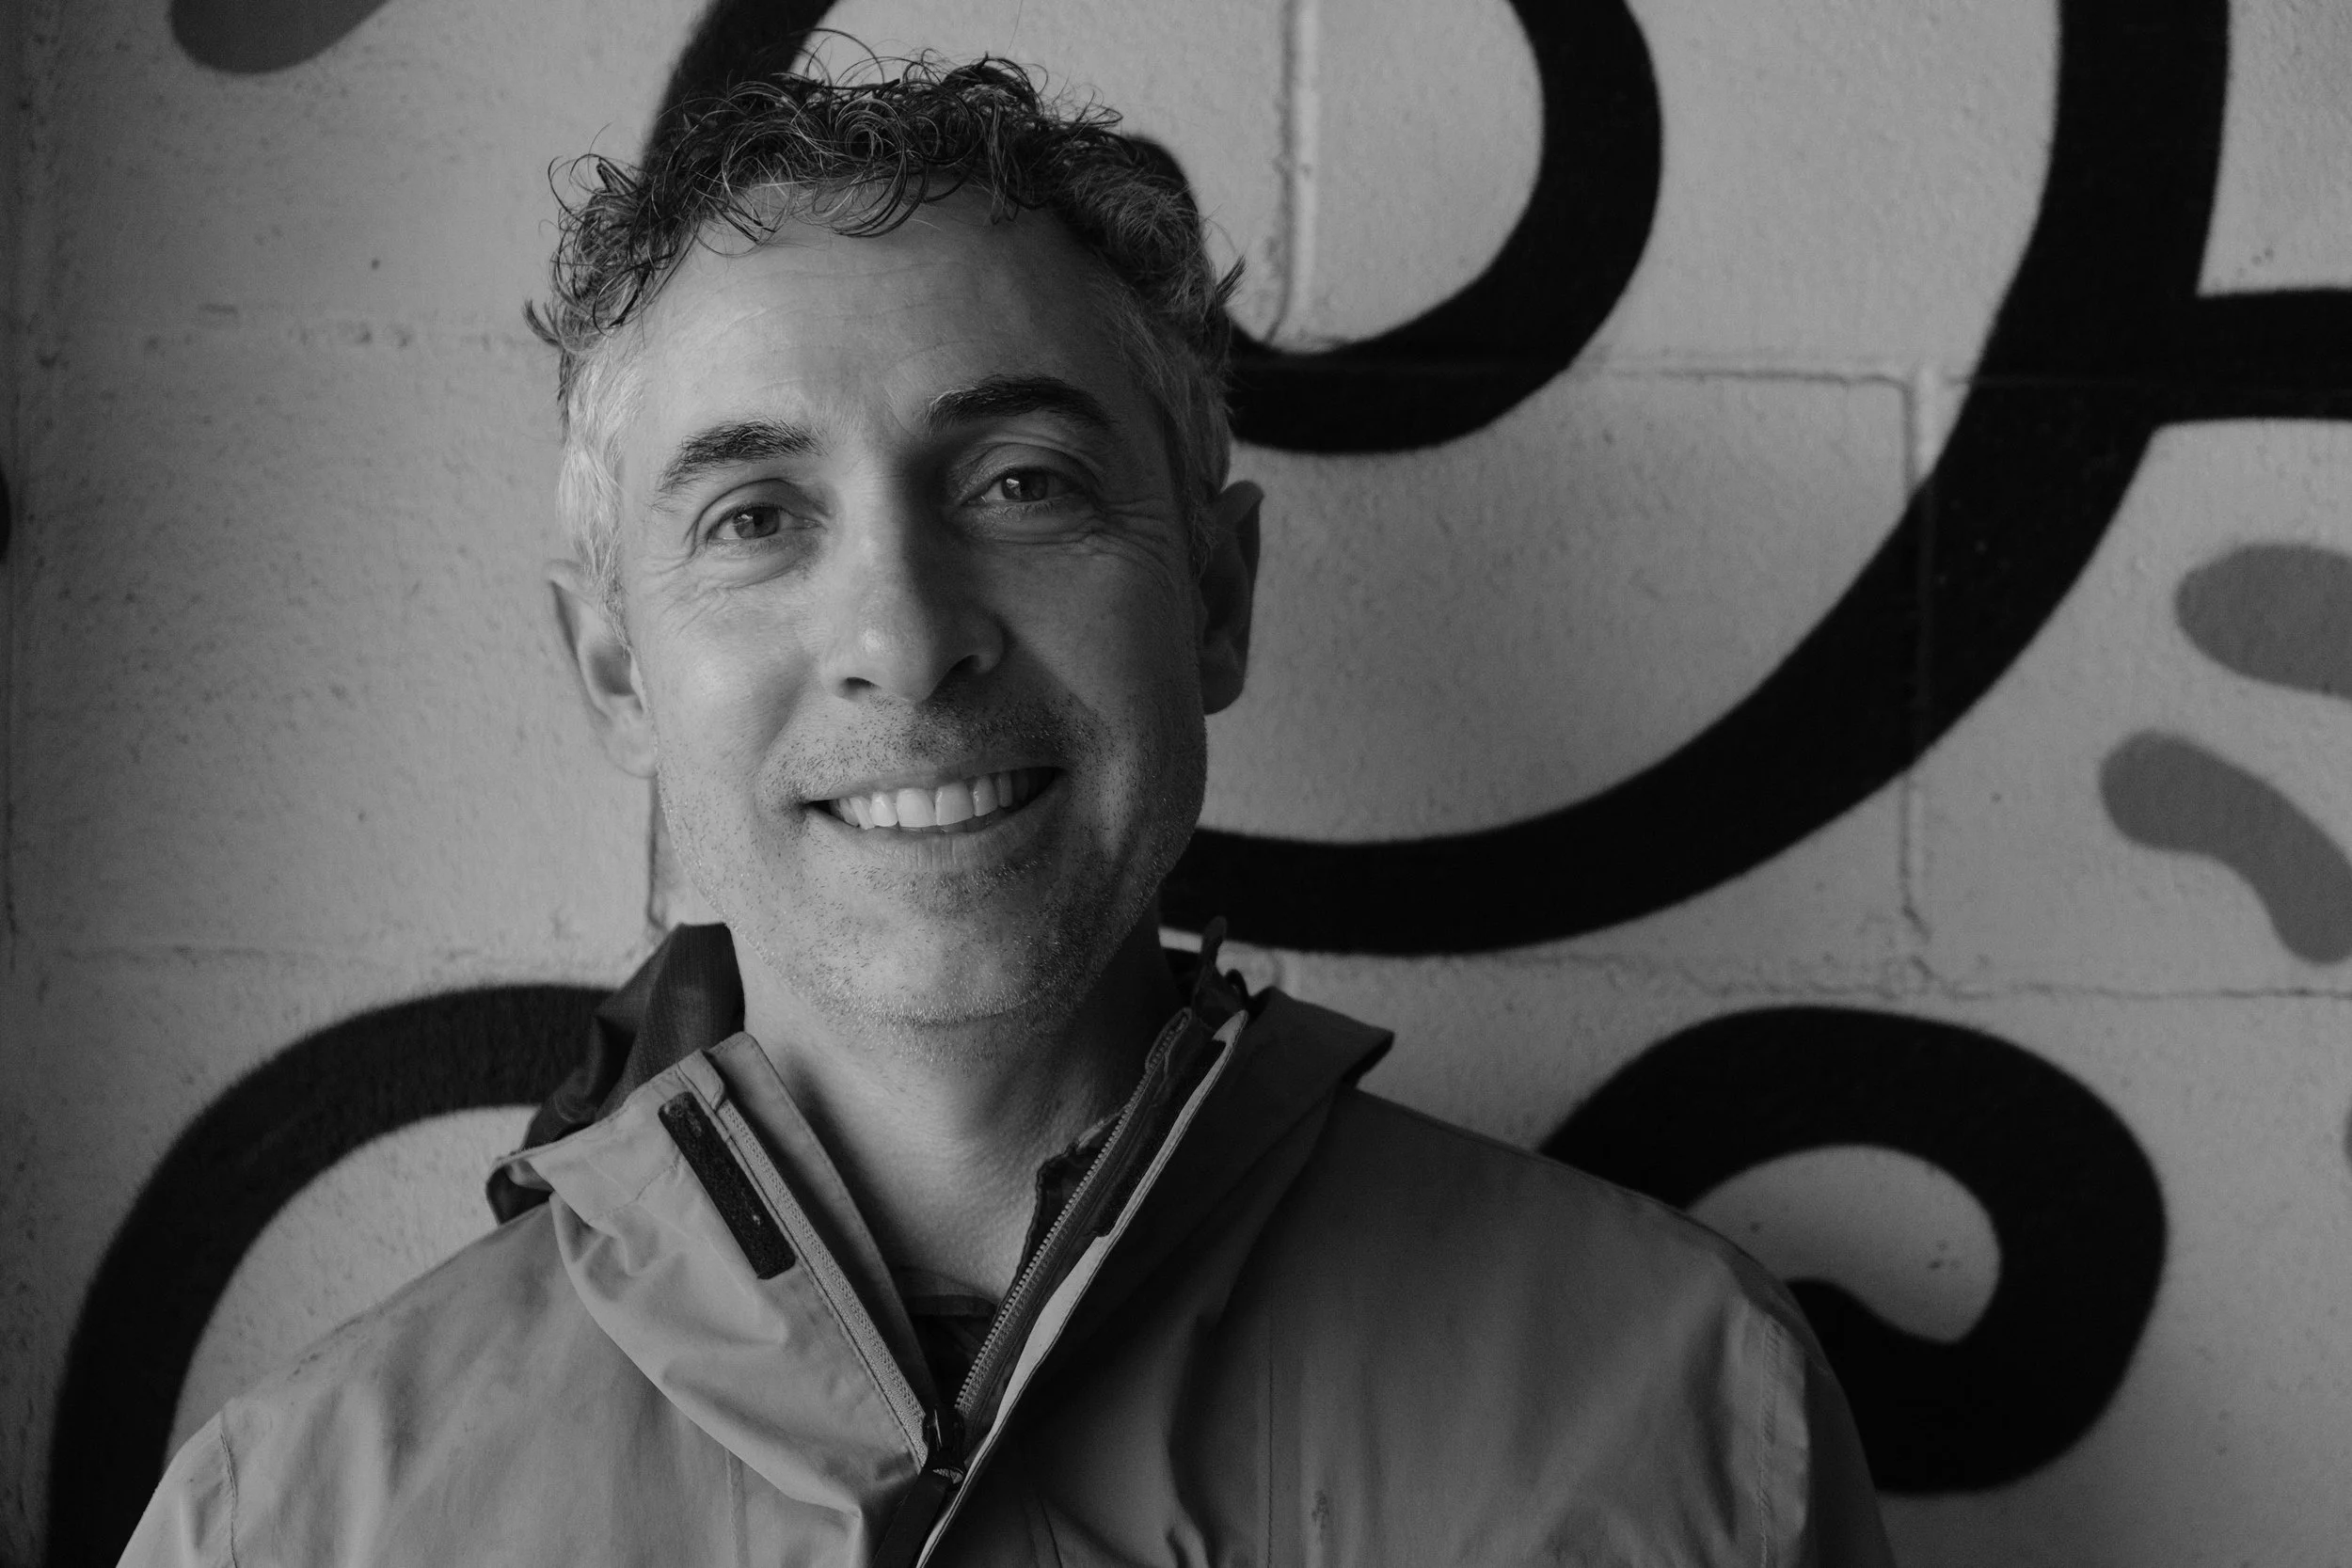
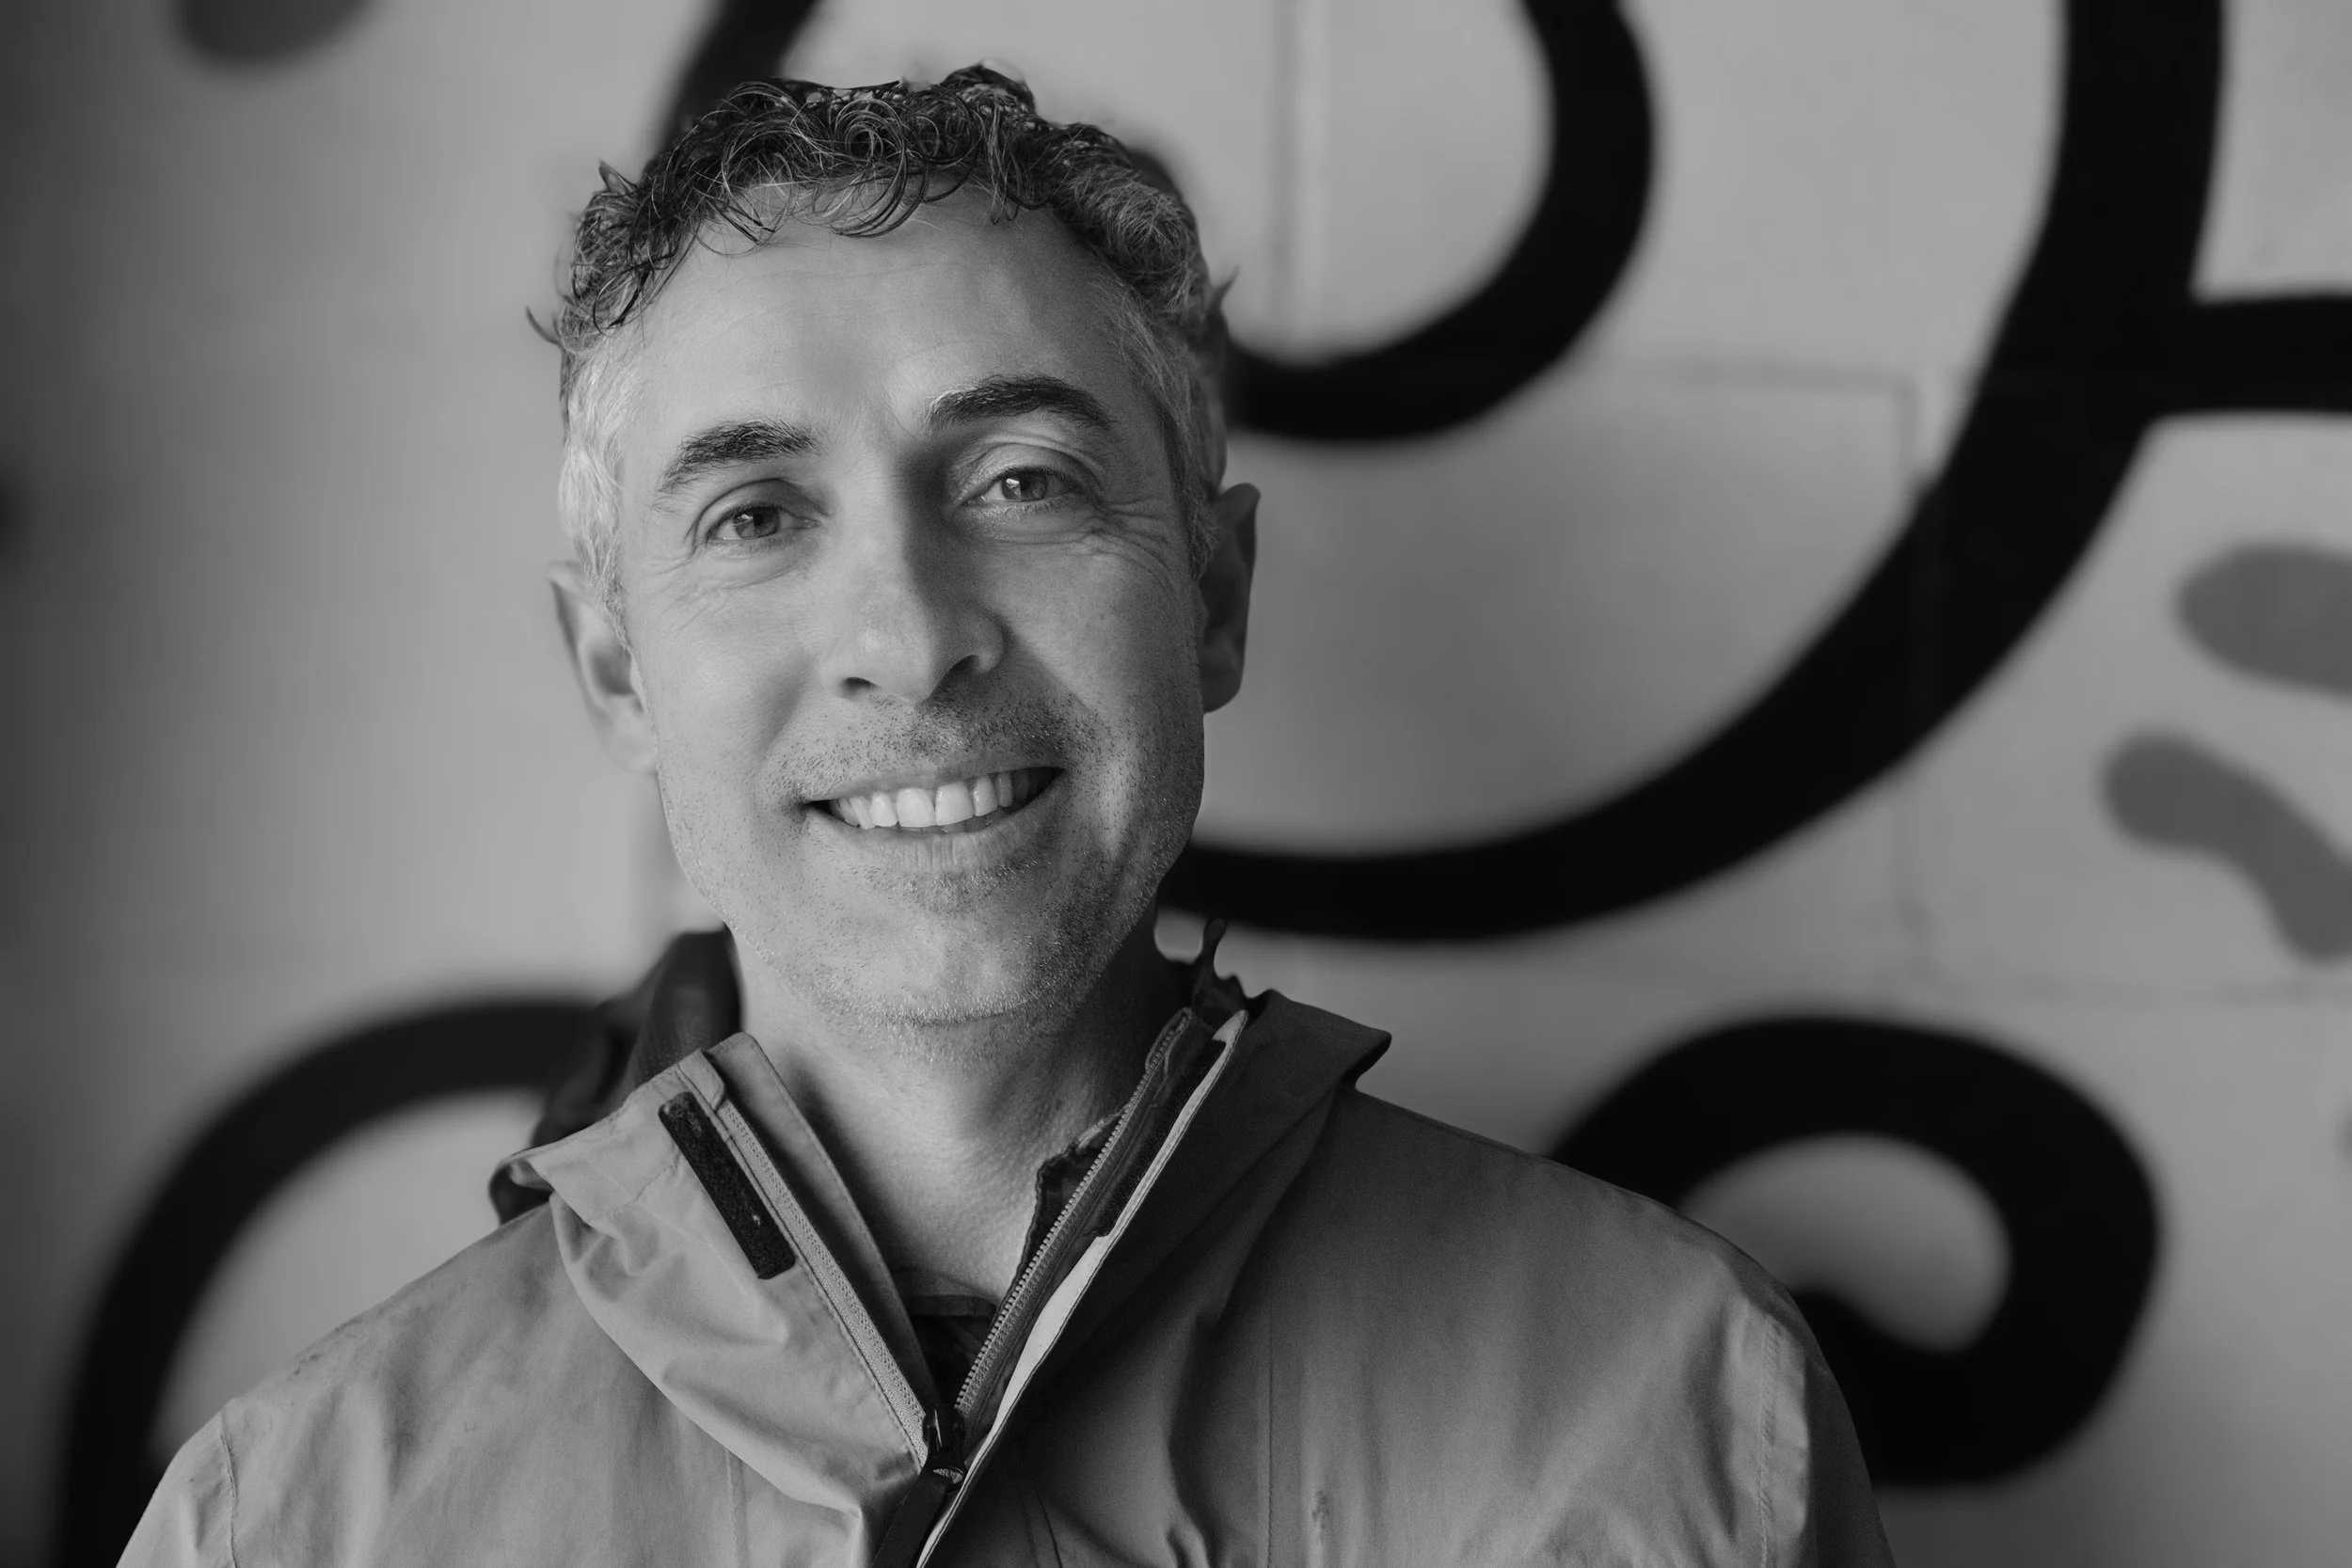
For the first photo, this is likely the photo you might have seen of me if you have looked me up on social media. It is the current head shot that I am using most often. I should likely update it as it is a couple of years old. In this photo I have used the Bokeh AI, dark circle removal and the Skin AI. I also played with some of the other sliders in the Portrait Editing including on my eyes in the photo. I do like the improved lighting on my face, though I do think that face smoothing looks a little odd on me. I am sure for certain people, they would appreciate have some of their wrinkles a little less noticeable. The lighting options in the Portrait Editing section are really very impressive. It basically allows you to add studio lights to a space virtually and you can adjust the colour and positioning.
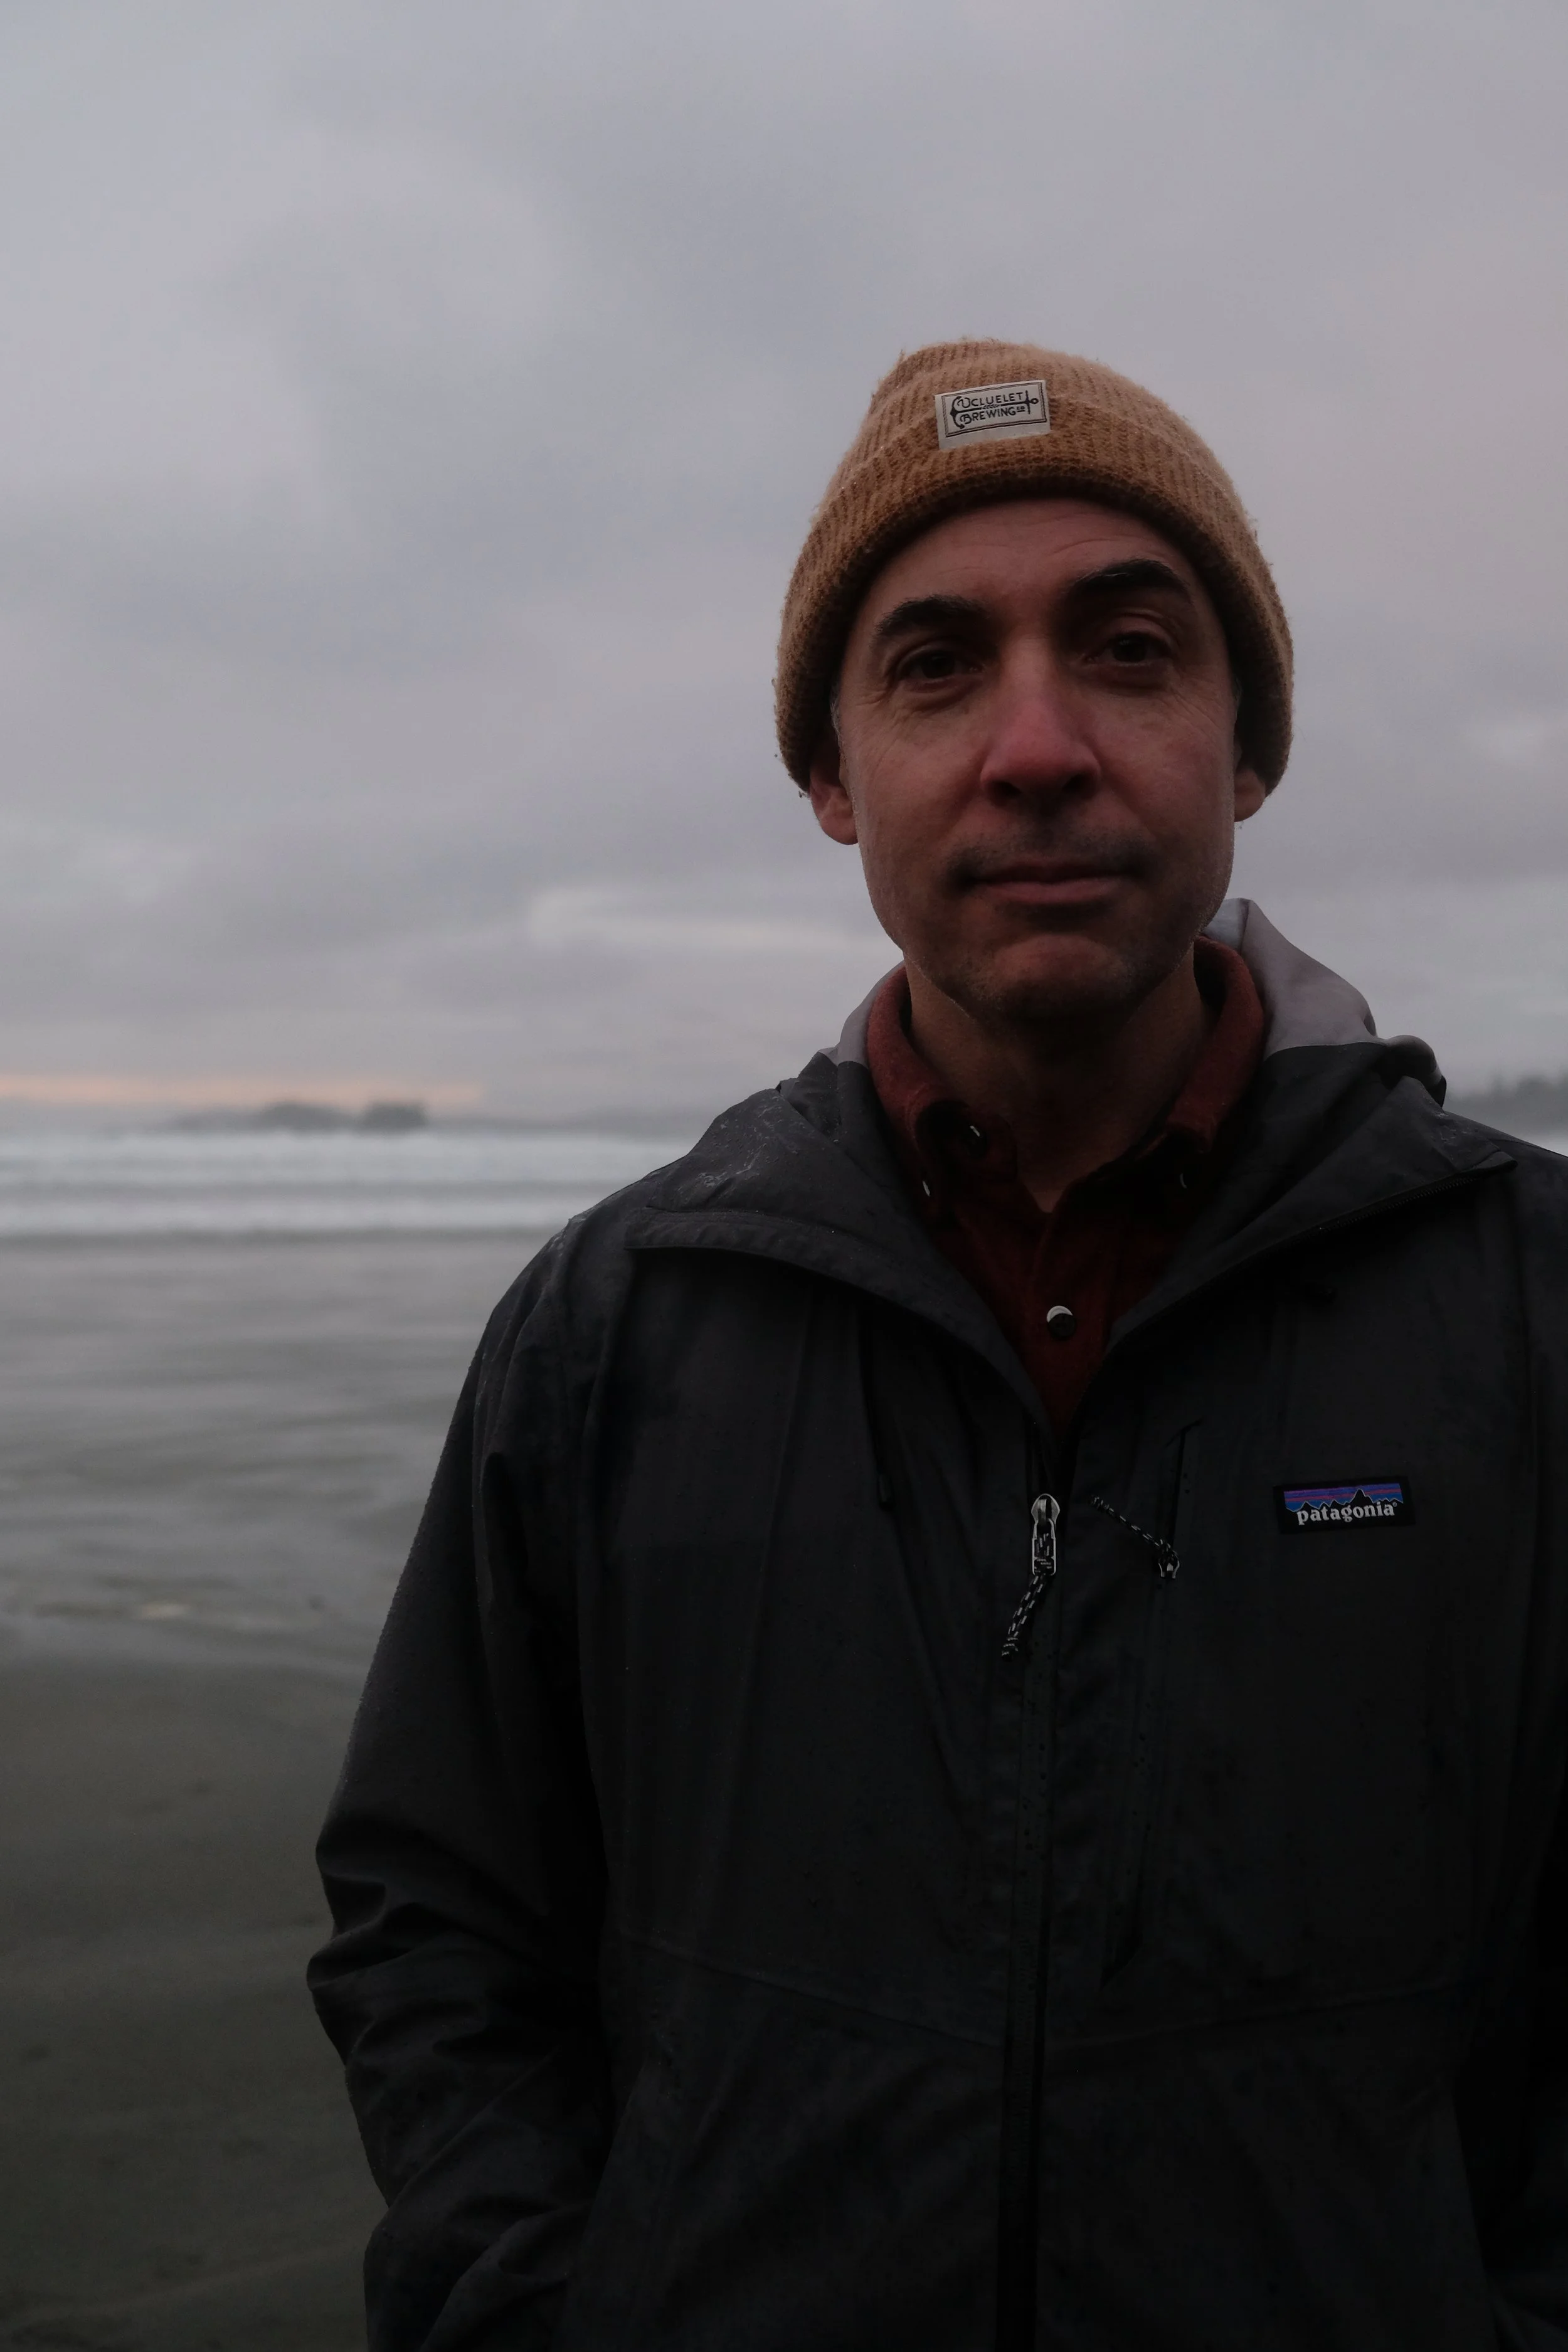
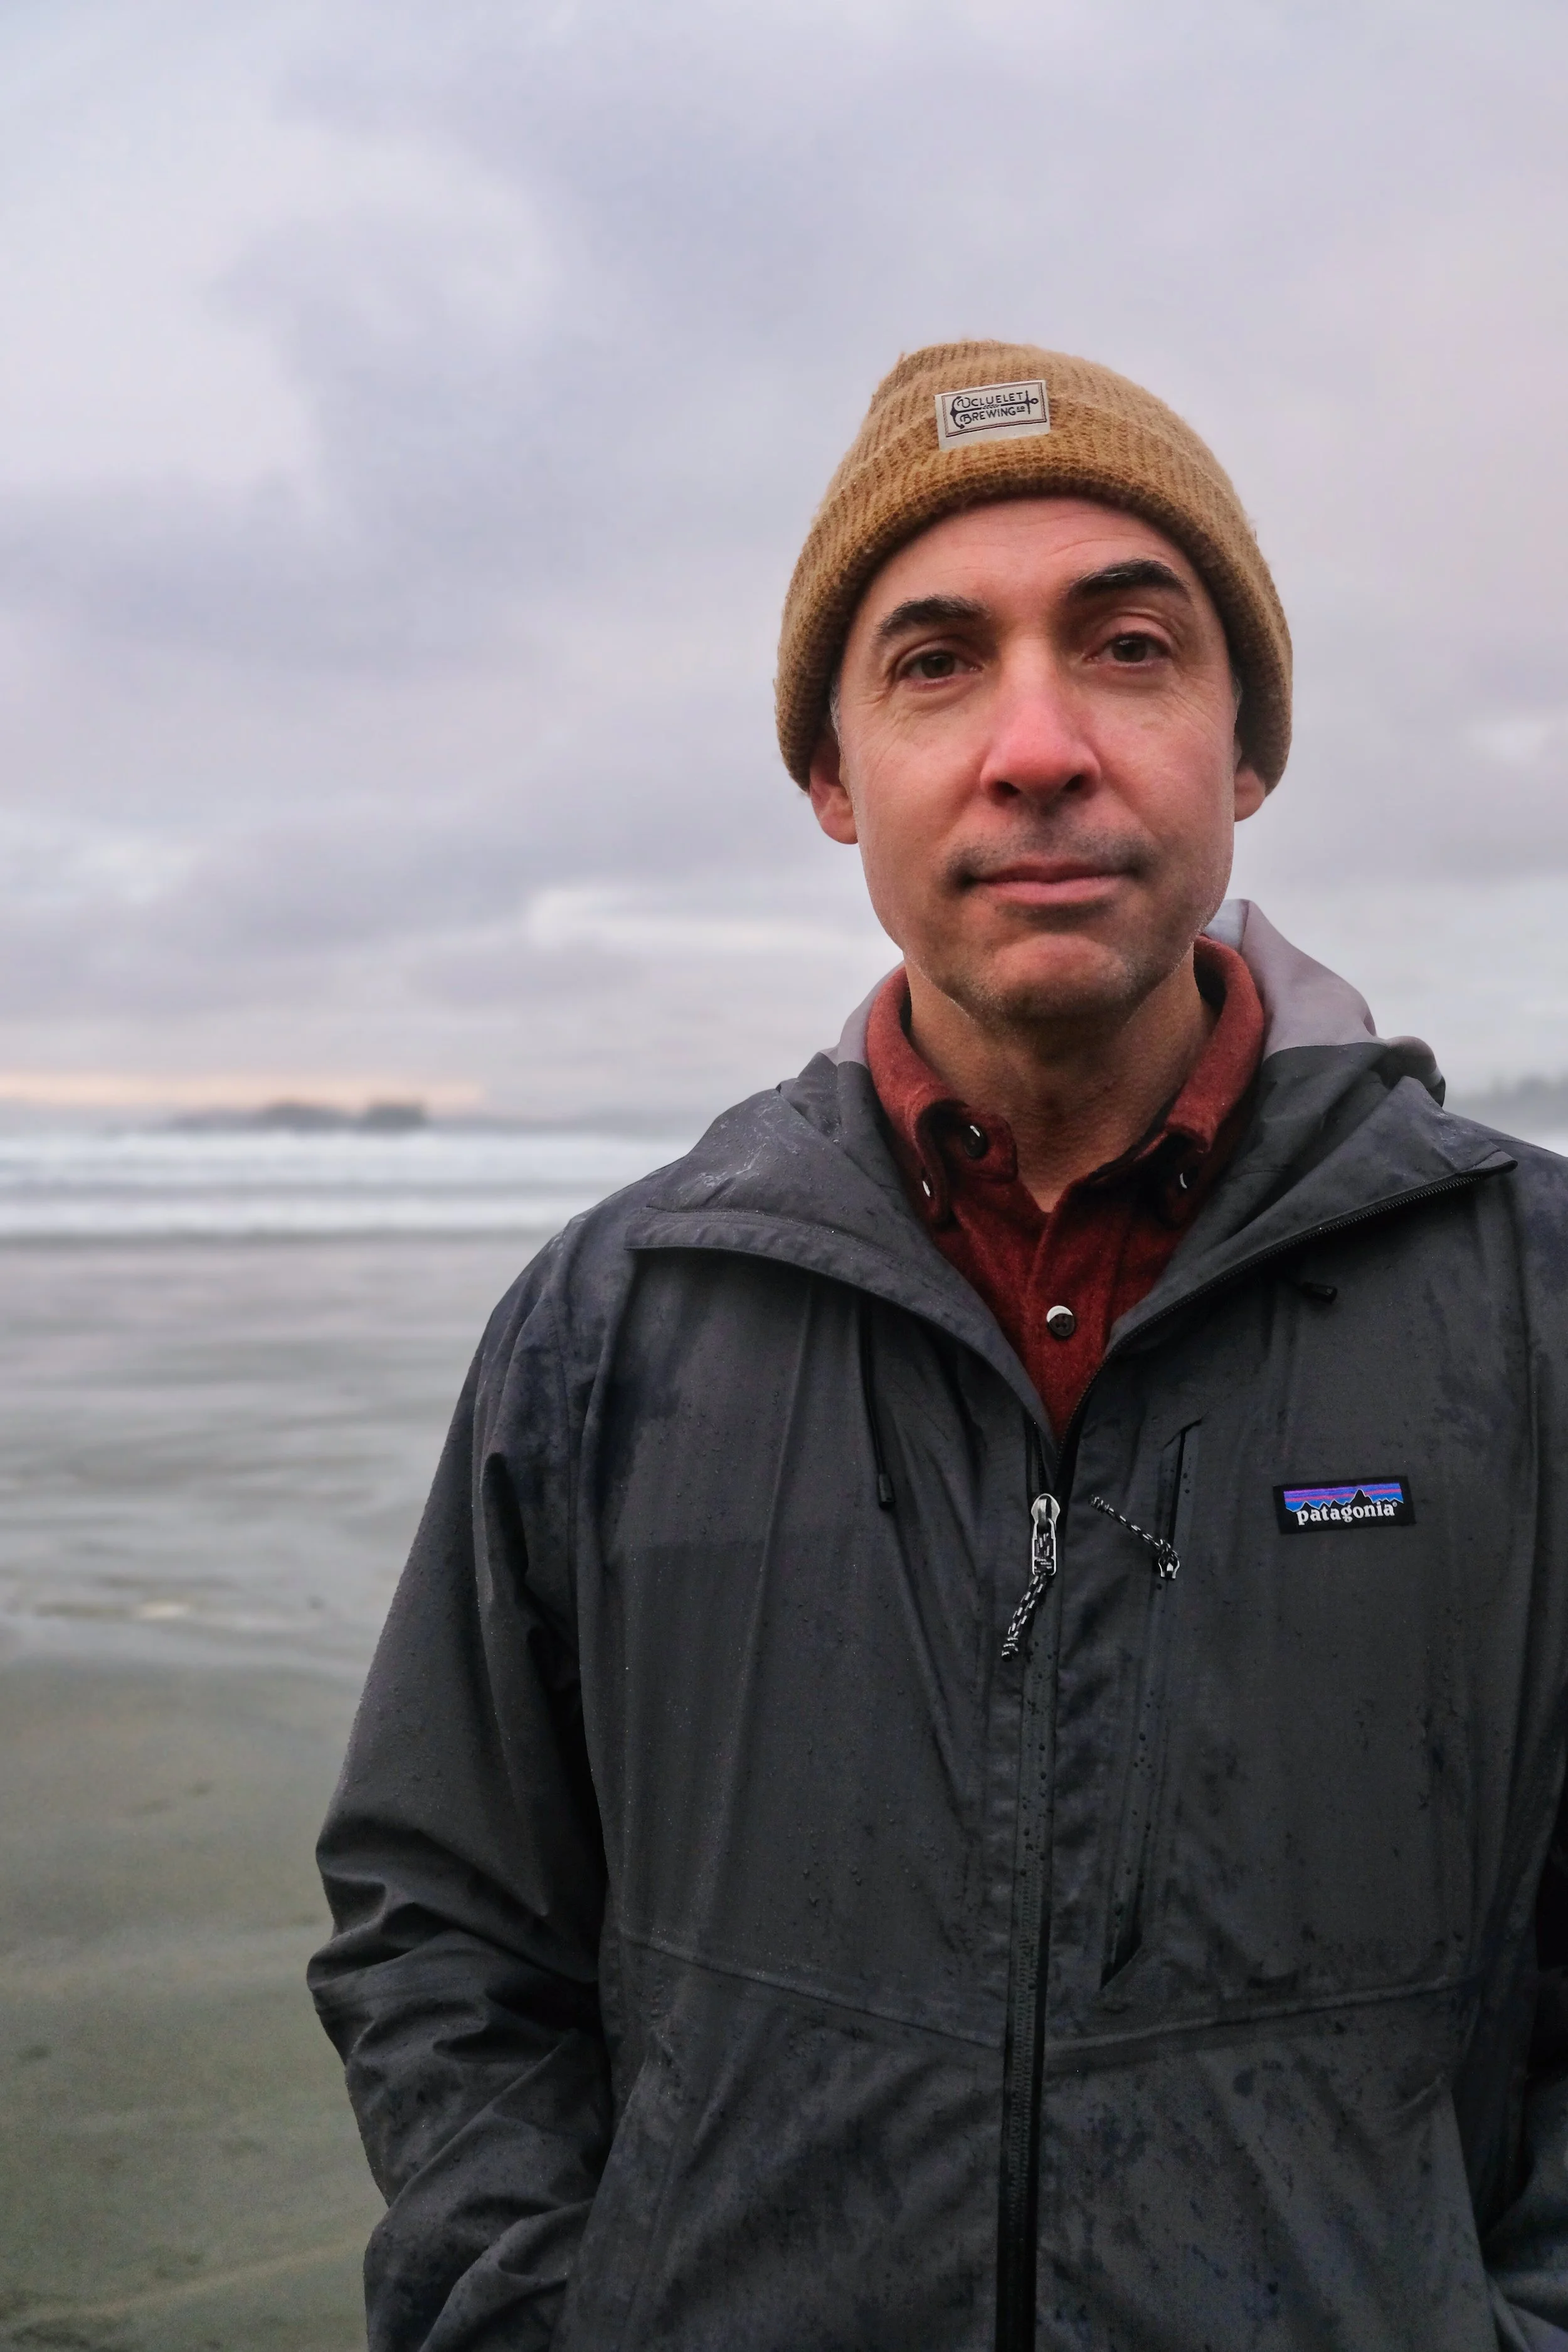
This second photo is from a trip to Tofino last year. I actually just used this photo as a test in an article I published last week on Aiarty Image Enhancer which is a product that I had been given to test out. If you want to see how that product handled this image in comparison, you can read it here. For editing this photo, I definitely added some light and reduced the shadows. I also used the Dark Circles Removal Tool as well as adjusting the colours a bit. I did play a little of the Bokeh AI as well. Overall, the editing on this one is a lot less dramatic than the last one, and I think because of that, I like it more.
This last photo was from my recent trip to Paris. As you can see, I was visiting the Henri Cartier-Bresson museum. It was a great place. You can read about my whole trip to Paris in this article here. For this one I went a little crazy with the some of the tools under the Face section. I even shifted the size of my eyes a little in addition to adjusting my eyes and the skin. Apart from how my eyes look though, it is hard to see too many of the differences right off the bat. One thing I really didn’t adjust was the lighting in this one which is why the changes may not look as drastic.


Overall, I think that these tools will really work for someone that does a lot of portrait work and they work well within the whole Luminar Neo software. If I am doing some family pictures for someone, I would definitely consider asking them if they would like to see some of these adjustments made. I would love to know your thoughts on this. If you like the looks of these photos and want to try out Luminar Neo, just go to the link here. I should let you know that I have an affiliate arrangement with Skylum so I do get paid if people by the software. I want to be open about that because it does matter, that said, I do use Luminar Neo for editing all of photos. It is really a great product and it just feels wonderful to not be paying a monthly fee to Adobe anymore. I should also tell you that you may want to come back in a couple of days and check out this space again, as I will have something exciting to add to this section of the article.
IMPORTANT EDIT: Okay from now until June 30th, if you use the promo code SIDEWALK20, you will get a further 20% off of the price. This is a great chance to save even more on the Luminar Neo software package.
So what do you think? Leave me a note in the comment section!
